Sunday, August 31, 2008

on to the lining

Have to be honest here. I haven't actually lined a bag with a circular base before... so I am going to cross my fingers and hope for the best!

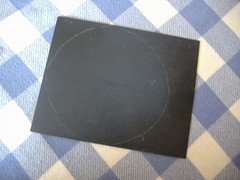
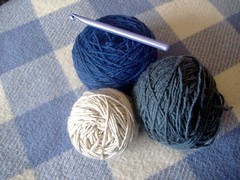
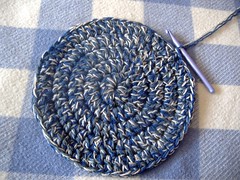
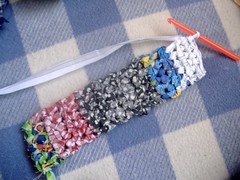
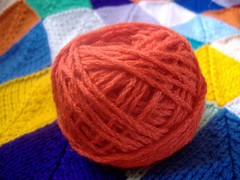
I figure I will need a circle shape for the base, and a rectangle to go around the sides... and then somehow join the two together...

3

So when I was crocheting the bag, I used the circular base as a template for cutting the fabric. Just look at that beautifully ironed fabric, would you?

4

I left a small seam allowance around the edges.

19

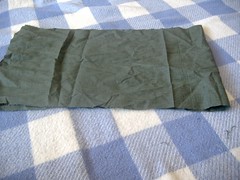
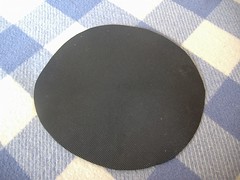
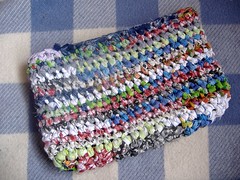
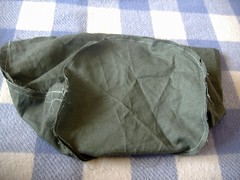
Here is my rectangle. It is a little taller than the bag, and twice as wide (plus a seam allowance)
Once again, it is beautifully ironed! Sorry mum

20

21

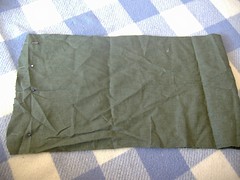
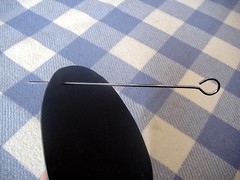
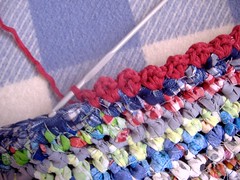
Hmmm. Can you see those pins down the left hand side there? I'm going to seam down that side to make a tube.

22

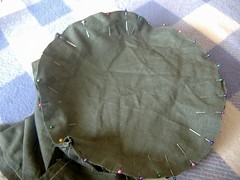
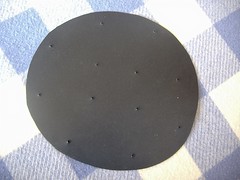
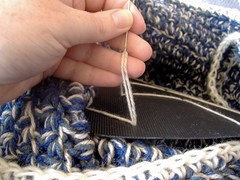
I've attached the circular base to the tube with pins.

23

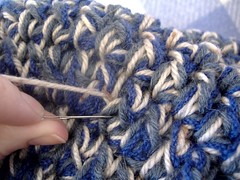
And then sewn it in place.

24

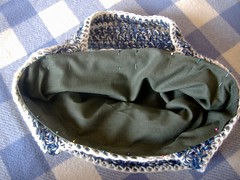
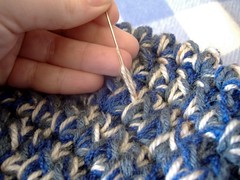
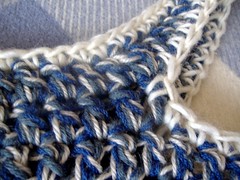
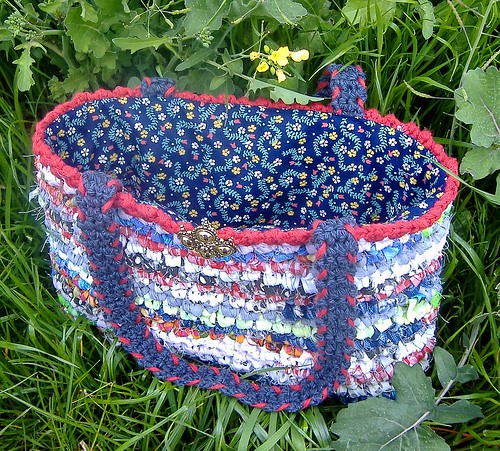
Top edge has been folded down and I have finally IRONED the lining. Here it is pinned in place ready to hand stitch.

25 yuk

Uh-oh! YUK

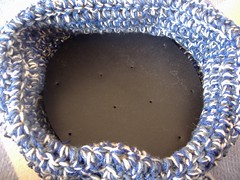
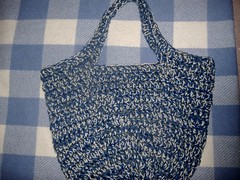
Big problem here... that base I put in is horrendous! This photo doesn't quite depict how bad it is. Believe me... it is appalling!

It was supposed to help to give the bag some shape... a nicer shape... NOT A WORSE ONE.

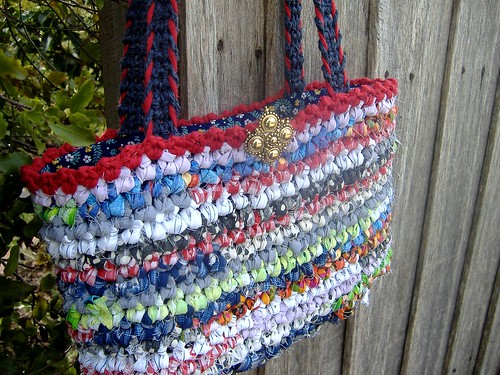
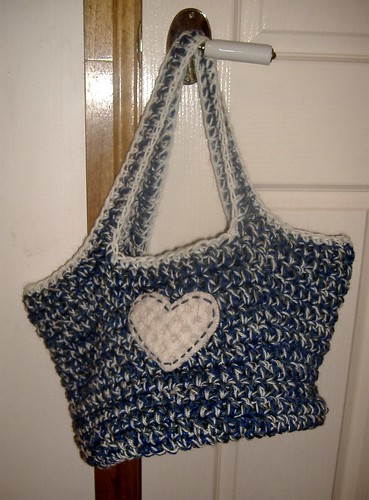
The problem seems to be that it makes the bag so wide at the base, that the sides have to pull in too steeply. Which makes it look really weird and angular. Also, I had made the handles longer than the pattern called for, so that I could carry it over my shoulder... but then the base makes the bag stick out so far from your body that if feels ridiculous!!!!

My verdict? The idea of the base is great, and the technique works beautifully... but the base was inappropriate for this particular bag.

Time to remove the lining and the base... then stitch the lining back in again...

I'm taking a few deep breaths here... this task calls for patience...

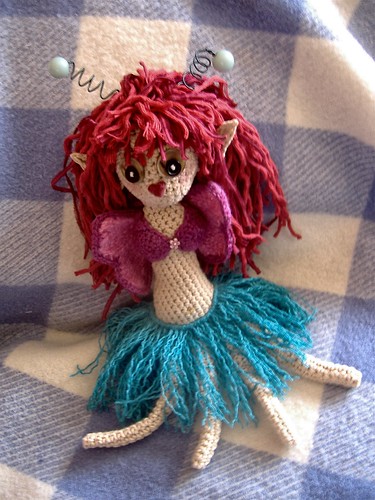
click here to see the completed bag


Saturday, August 30, 2008

the base

Working some more today on the Lisa Gentry Yarn Bag.

Firstly... I knew that I wanted to stiffen the base, so the bag would sit nicely and keep its shape. I'll need something plastic, just in case the bag ever gets wet.

9

I found this plastic piece which was the base of an old laundry bag. It's quite thick, but still flexible... so it should do the trick beautifully.

10

First I cut out a circle the same size as the base of the bag. It is a bit of a rough circle... but as long as there are no sharp corners, it will be fine.

11

Now I add some holes. If you are squeamish... close your eyes! It is not a refined process. I am literally stabbing holes into the plastic, using a metal skewer.

12

I need holes so that I can actually attach the base to the bag. Twelve holes are plenty.

13

I've popped the base in... ready for stitching.

14

15

Using one of the yarns from the bag and a wool needle, I am sewing right through the plastic and the crochet bag

16

17

I'm stitching over a few crocheted threads and then going back into the bag and through the same hole in the plastic again.

18

I don't need to worry about the mess on the inside... this will be covered by the lining. Mind you, I do like to ensure my starting and finishing knots are on the underside of the plastic.

Ready for the lining now... click here for details

Friday, August 29, 2008

lisa gentry yarn bag

I was invited to join a new group at Ravelry the other day... for lovers of Lisa Gentry's designs. Have to be honest with you - I had NO IDEA who Lisa Gentry was!

Well... it turns out that she is the fastest crocheter in the world. Since 2005 she has been the Guiness Book of World's Records holder of the title. To achieve this title, Gentry crocheted 853 trc (5113 sts) in 30 mins... that's 170 stitches per minute.. WOW!

That was enough to peak my interest... so I joined. I figured I would just sit back and lurk for a week, and then decide whether to become active, or leave the group.

Anyway, I spotted that they are just starting a crochet-a-long (CAL) working on a free pattern of Gentry's for a yarn bag. It is a very basic bag worked in super bulky yarn on a large hook... and should only take a couple of hours to complete. So I jumped in and got involved. The CAL is actually a contest running until mid September, so check it out if you are interested.

1

Instead of 'super bulky' acrylic... I am using three strands of wool held together.

2

Circular base completed.

5

Body and handles done... I modified the pattern for longer handles... ch30 for the foundation of each, instead of ch16 as stated.

7

I worked the final row (sc) of the bag in a contrasting colour, and added a row of sc in the same contrast around the inside edge of the handles.

6

Now you know I love my felted hearts... so I had to add one to this bag.

8

Ta-da! That's the yarn part complete...

click here to see how I added a firm base

I'll also be adding a lining to help the bag keep it's shape


EDITED TO ADD:

if you are a member at Ravelry
click here for the free pattern
if not, you can click here to purchase the pattern

(pssst... join
RAVELRY it's a huge online knit and crochet community... and a fabulous resource)

Thursday, August 28, 2008

anatomy of a rag bag

Want to see how the easy peasy crochet bag works up in rags???

15

I've cut my fabric into half inch strips using this method, and used an 8mm crochet hook. Because the fabric does not 'give' in the same way which yarns do, there is a tendency to work with too much tension... which results in painful wrists. My recommendation is that you focus on keeping your tension loose. Relax your grip. Perhaps even change your technique a little. For example, I would usually grip the hook in a 'pen-like' manner... but when working with rags I switch to a 'knife-like' grip. You just need to experiment a little to find what works for you.

This will be a multi-coloured bag, to use up some of my oddments of rags. When changing colours you can use this method to join in the next 'yarn'.

1

I'm starting with this assortment of rags. I have 10 different prints here.

2

Here's the 5 starting chain, plus a turning chain for luck!

3

Now the 5 sc... and another turning chain

4

20 rows of sc and the base is complete

5

Starting round of sc along the sides of the rectangle

6

Keep spiralling around in sc.

7

15 rounds of sc and the body is complete

8

Time to choose a colour for the trim. I like to pick one of the colours in the bag to accentuate. In this case I would choose either the green, blue or red. The green will be too gaudy for my taste... a little in the bag is fine, but I don't want to make it more of a feature. Blue is not a bad choice, but a bit too subdued. I'm liking the red.

9

Picot trim in red using a 4.0mm hook and thick cotton.

Choosing a colour for the handles. Nothing too bright, I'm going to go with navy.

10

3 starting chain, plus a turning chain for luck...

3sc plus another turning chain... repeat until desired length

then make another exactly the same

11

Add some colour.

12

Attach handles to bag.

14

Pop in the lining... tutorial here

13


I've added an old clip-on earring as a removable embellishment, and the job is done!

Wednesday, August 27, 2008

wild red head...

My 'salad bar creation' now has a wild head of thick red hair!

more salad


Here were my original instructions...


  • humanoid - check
  • pointy ears - check
  • antennae - check
  • belly button - check
  • wings - check
  • extra legs and/or arms - check
  • flippers or webbed feet - planned
  • tattoo or tattoos - complete mystery

The optional extras include...

  • moustache - nah
  • beard - nah
  • unibrow - nah
  • boobs - check
  • piercings - maybe
  • clothing - check
  • long hair - check

So, I'm nearly done... I've started on the arms and the webbed feet. Need to have a big think about this tattoo... what? where? how? etc... and then make a decision about the piercing.

winding yarn

I've always imagined that it would be so much fun to own my own ball winder... to be able to make those adorable little perfect yarn cakes. But I was astounded at the cost. I decided to do a bit of research first to make sure I chose wisely before purchasing.

In the meantime, I learned a very simple technique for winding a centre-pull ball of yarn... and it cost me nothing. I'm not going to be buying a ball winder now! I have no need for one... I am totally happy with this method.

All you need is a cardboard tube and your own two hands!

The perfect size tube is the inner roll from toilet paper. Now I have learned that there are two different types of people in this world... there are those who happily recycle these cardboard tubes for any purpose... and there are those who see them as germ-infested breeding grounds, which must be disposed of immediately!!!

These photos are a tiny bit blurry... because it's actually quite difficult to photograph yourself while your hands are busy winding yarn...

1

I have taken the tube from inside a roll of baking paper, and will need to cut it down to about one third of the size. So it is about the size of a toilet roll!

2

Make a small snip in the end of the tube.

3

Tie the start of your yarn in a knot.

4

Slip the knot inside the snip you made at the end of the tube.

5

Slide your thumb inside the tube, and hold the yarn in place with your finger as shown.

6

Begin winding your yarn.

7

Wind it three times around the tube. See the way the yarn runs diagonally across the tube? Look carefully... it is moving up and to the left. This is intentional.

8

Tug gently on the yarn, and let the tube rotate a little on your thumb. Allow it to make about 1/4 turn, and then wind diagonally three more times.

9

Again tug gently on the yarn, and let the tube rotate a little on your thumb. Allow it to make about 1/4 turn, and then wind diagonally three more times.

10

Keep going... wind, wind, wind, tug... wind, wind, wind, tug... wind, wind, wind, tug... I find it easier to hold the yarn still in my left hand, and wind the tube around the yarn. Probably sounds crazy... but that's what works for me!

11

See the way I am always moving the yarn diagonally across the ball...

12

Continue in this manner until done. Once you develop your own technique, you will find that the tube moves easily in your hand, and you no longer consciously turn it. It feels a bit awkward at first... but persist with it until you work out a rhythm... it really is easy!

13

Tuck the end of your yarn under a couple of strands to secure (but not hide) it.

14

Free the knot from the snip at the end of the tube.

15

Carefully slide the ball from the cardboard.

16

17

Squish the sides of the ball to ease the tension on your yarn.

18

Ta-da! Tuck the centre yarn end inside the ball. Leave the knot there... it will make the centre end easy to locate when you are ready to use the ball.