I've taken some 'operating room' shots... don't look if you're squeamish!!! And I've explained how I like to go about making repairs like these.
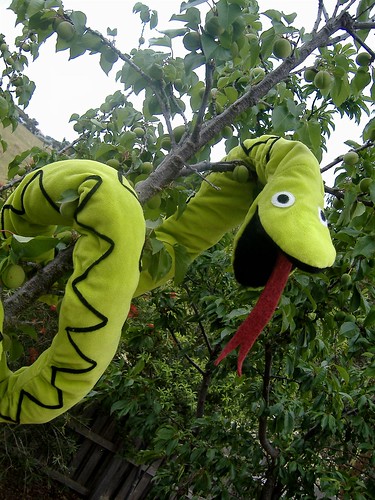
snake:
this one was required the most work, and I have been putting it off for about a year... so I felt a bit silly when it was done in about 20 minutes
somehow I've managed to attach the tongue a bit off centre... which makes him look a little bit drunk! never mind... gives him character...
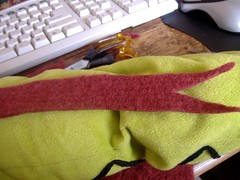
first up, I needed a new tongue - this one was cut from an old felted jumper
(click here to learn more about how to felt a jumper)

I over stitched the tongue to the back of the mouth

then stitched back and forth a few times to make it secure

the seam across the back of the mouth needed completely re-sewn... go in and out with the needle on one side, as pictured above

then in and out on the other side, as pictured above
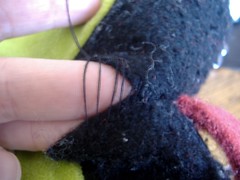
keep working back an forth in this manner... it's as though you are forming the rungs of a ladder
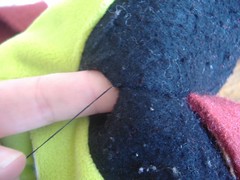
and look what happens when you pull the thread to tighten the stitches... they disappear completely... I would usually tighten after every couple of stitches
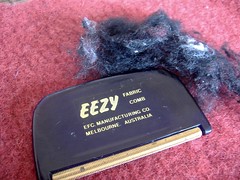
the finishing touch was to remove the pills from inside the mouth... all done... looking as good as new

I used the same seaming technique for Big Ted
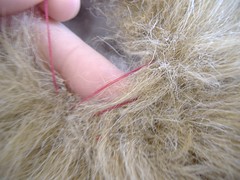
working from side to side

like rungs on a ladder
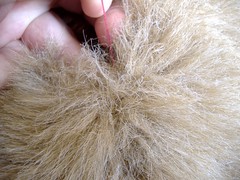
then tighten, and watch the stitches disappear
For Rosebud, I am using a couple of strands of embroidery thread to replace her mouth
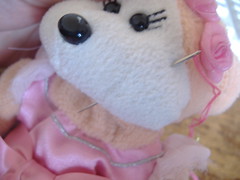
I've tied a knot in the end of my thread, then put my needle into the bear about an inch away from where I want to start the mouth... then I've brought the needle out at the point where I need it
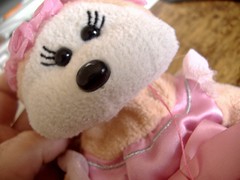
Then I've pulled the knotted end of the thread into the bear. The idea is that the knot will disappear into the bear, then get caught in the stuffing, and not pull out on the other side with the needle. My first knot pulled all the way through... unsuccessful. So I made it a double knot... which also pulled all the way through! Finally a triple knot was small enough to pull into the bear, but too large to pass through the stuffing and out the other side... SUCCESS!!
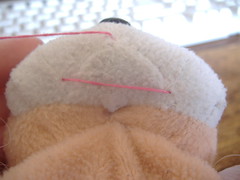
working my way across
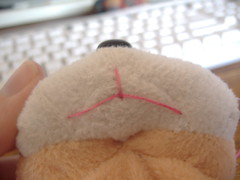
and then down
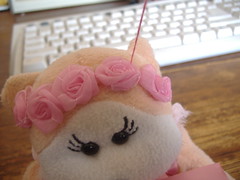
I've finished the mouth, but I need to secure the end... so I have brought my needle out at the flowers (somewhere a thread might not be noticed)
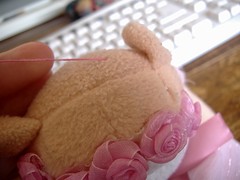
I worked a couple of tiny stitches at the base of the flower, to secure the thread... then gone back into the bear, and come out at a random spot about an inch away

the final step is snipping the thread close to the surface, then allowing it to slide back inside the bear
What a difference! I'm happy to see everyone is recovering well. Mr Snake seems espcially happy. I love your blog.
ReplyDeleteGood work! Snake looks much better, and I bet they're all relieved to be tidied up again.
ReplyDeleteCongrats Dr. Purps animals all fixed and I just love the snake in the tree.
ReplyDeleteAnd what a surgeon you are!!! They look much better. You have given me a case of the guilts though. I must go through and fix some of our favorite teddy's, we have a few here too, poor little guys.
ReplyDeletejust to let you know i've tagged you, details on my blog
ReplyDeleteemily - thank you so very much :)
ReplyDeletesam - kids were impressed... and have been told in no uncertain terms... NO MORE TUG-O-WAR
lucky - thanks... the snake look quite at home there, doesn't he?
jacqui - kids are so rough, aren't they?
donna - thanks.... will go and have a look
I've subscribed to your blog a while ago and I love it! You are so crafty, and your projects are great! BTW, did you MAKE the snake? If so, can I get directions for him?
ReplyDeleteThanks!
earthwom@gmail.com
misty forest farm - so glad you're enjoying the blog... thanks for taking the time to comment, too.. I love the chance to get to know who my readers are :) the snake was not made by me, he was an IKEA purchase
ReplyDeleteI'm very pleased with what you do. You skillful and creative.
ReplyDeleteI liked very much the picture of that green snake.
mohammed - thank you :) and he is the most lovable snake you could ever hope to meet!
ReplyDelete