Wednesday, June 30, 2010
bright ripples
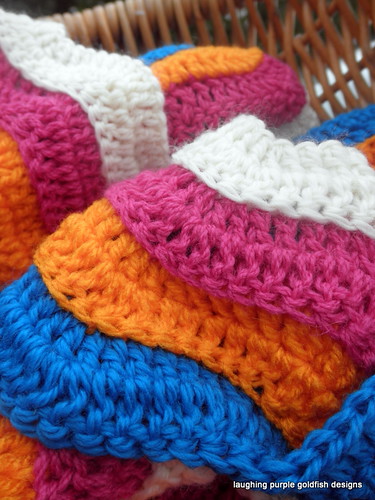
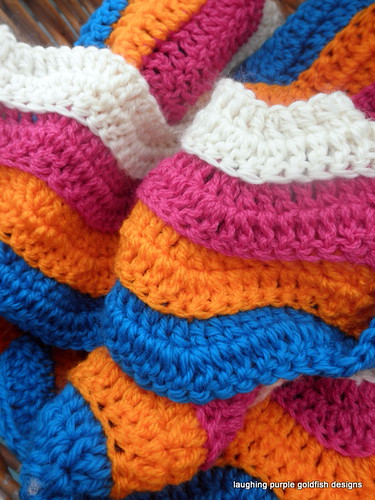
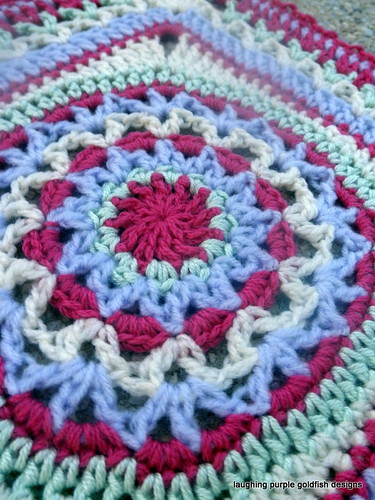
I warned you that they were bright, didn't I?
I've decided that my bedroom needs uplifting... and this ought to do the trick, don't you think???
Plus, of course I will be adding MORE colours into the mix...
Click here to go and visit Lucy over at Attic 24 to see the tutorial I am using for my blanket. The only thng that I am doing differently, is that when I change colour... I work that first row into the back loops only... which gives that gorgeous overlapping effect.
While you're over at Attic 24, you should stop and browse for a little... and enjoy the magnificent colour inspiration!
Tuesday, June 29, 2010
skull beanie #2
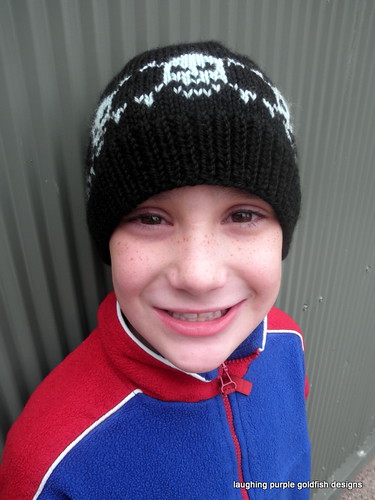
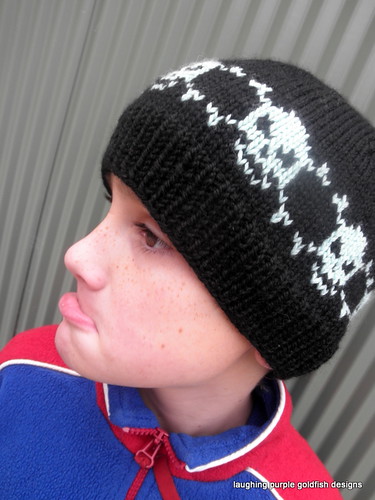
Master Eight loves his skull beanie, too...
but he's equally as uncooperative as his brother when it comes to having a photo taken!
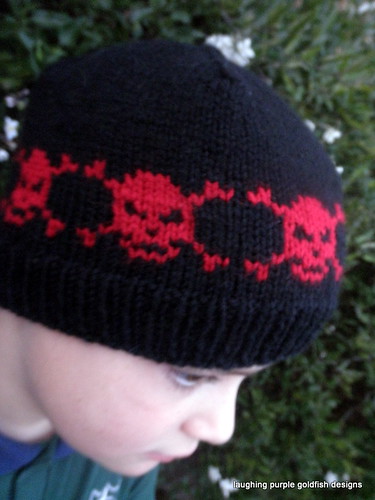
Here's an idea of how it looks:
It's actually black, with a light green contrast for the skulls... but you can't really tell that from the photos. They look almost white!
Still love the pattern. It's available as a free Ravelry download here.
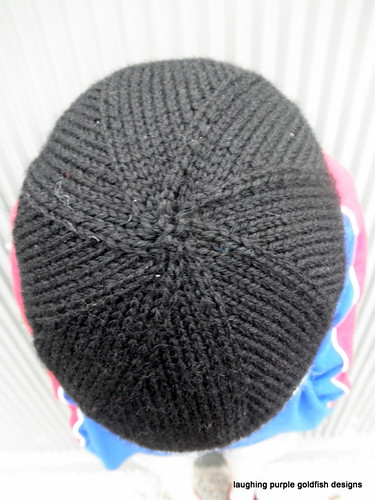
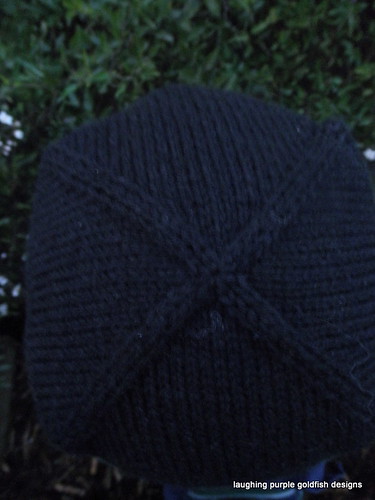
This time I have modified the decrease shaping, more in line with a regular beanie (the original shaping is here if you want to refresh your memory) I've just decreased by one, at eight different points around the hat. It's a shocking photo, but it'll give you an idea of what I mean.
Monday, June 28, 2010
what I'm reading this week
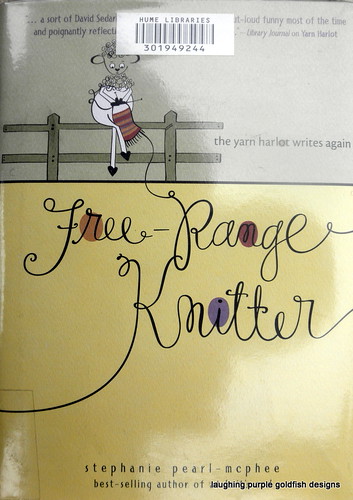
Free Range Knitter by Stephanie Pearl-McPhee.
I've been wanting to take a look at one of Stephanie's books for a while now... and I've finally managed to sit down and have a bit of a read.
It took me a while to get into it, but I think that might be more of a reflection on my reading skills than her writing skills. Over the years I've become quite a lazy reader. I favour books with lots of illustrations, and simple point format. So sitting down to a novel was a bit of a challenge.
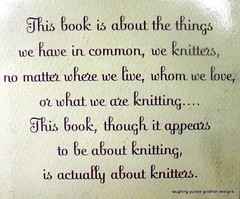
There's so much to relate to in this book. For example, one of the early chapters is a letter of apology, addressed to a designer. Any designer, really. Just a generic apology for the author's compulsion to modify patterns. No matter how well written the pattern is, she feels a need to personalise it, and not necessarily for the better!!! Stephanie explains this compulsion as being like a disease for which she cannot be held accountable, and begs forgiveness from the designer... I can totally relate to that! As you would know, I very rarely manage to follow a pattern precisely. I am compelled to give everything the Goldfish Touch!
Anyway, loving the book... but I still have a fair way to go with it.
You might be interested in checking out the popular blog which Stephanie Pearl-McPhee writes... she is the Yarn Harlot
Thursday, June 24, 2010
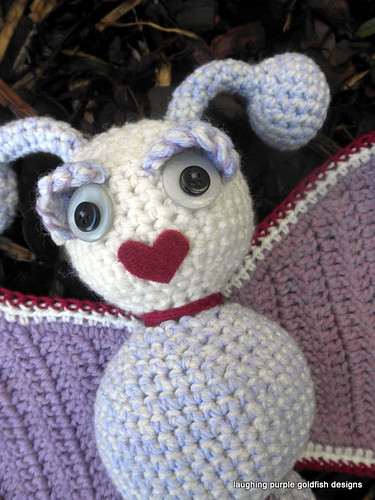
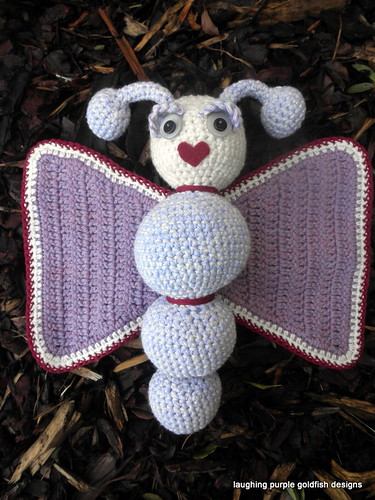
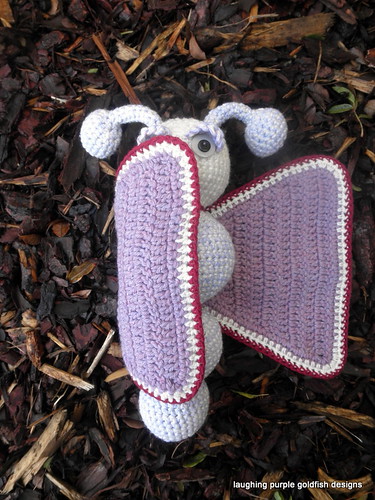
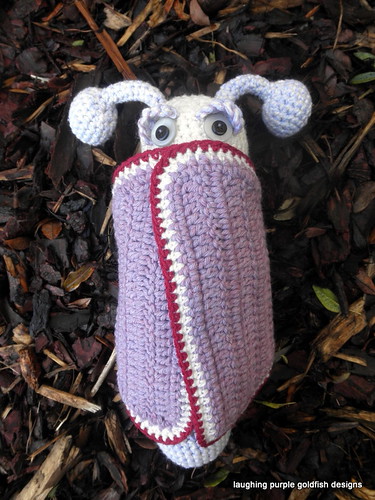
adorable flutterbye
Little Miss Five has just turned Six.
And to celebrate, I made her this adorable butterfly - in her favourite colour - PURPLE.
The pattern was written by Jacqui Delaney, who is one of the girls from my craft group. I've been keen to try it out for a while now. It's called Flutterbye and is available for sale here.
Did I follow the pattern as written?
No. Of course not.
It didn't actually NEED changing, but I fiddled about with it just a little bit anyway!
Firstly - I turned the whole thing inside out, so that the reverse side of the sc is showing... just because I like it like that...
Then - I worked a bit more detail around the wings.
Plus - I couldn't help but add eyelids... I love eyelids. And a felted heart for the mouth.
Oh - and I didn't stuff the antennae stalks. Because they were worked inside out, there wasn't much room for stuffing... and I thought that they semed stiff enough without it. But the more I handled them, as I stitched them to the head - the softer they became, and they're now quite droopy.
Our favourite part of all is the way the wings wrap around the butterly when it's time for bed.
So snuggly.
Goodnight!
Wednesday, June 23, 2010
skull beanie #1
Master Ten loves his skull beanie...
but he doesn't love standing still while I take photos!
Actually...
I think that maybe he doesn't actually KNOW how to stand still...
Never mind, I should be used to it by now!
Here's an idea of how it looks:
Love the pattern. It's available as a free Ravelry download here.
One thing I don't love is the shaping at the top. It's all boxy like this:
That's BOXY... not POXY... or maybe both!
I could see from the pattern that the decreases were going to work up like this. I haven't ever made a hat with this type of shaping before, so I figured I would give it a go as written.
Ugh.
Don't... like... the... shaping...
At all.
So I've made the other ones differently. Will try and get photos of them over the next few days for you
Tuesday, June 22, 2010
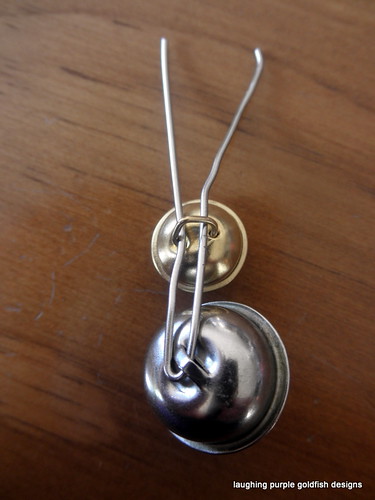
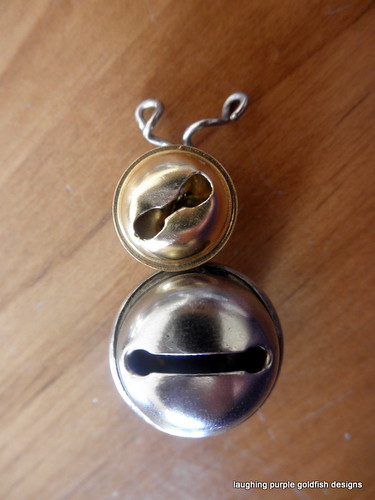
bellie bug
Remember the Junk Drawer Challenge???
The idea was to take three or more items from your junk drawer, and create something new with them...
I didn't think that I was going to have time to play along, but then I managed to put this little bug together while chatting on the phone the other day.
Multi-tasking... it's the only way that I ever get anything done!
Don't know what will become of him...
I'm sure he'll end up embellishing a bag... or a hat... or something...
Monday, June 21, 2010
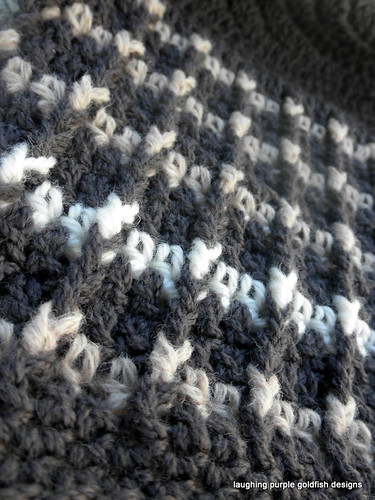
textured stripes
Already finished a beanie from Lisa's new crochet booklet...
Supposed to be worked on a 5.0mm hook - but I couldn't find one, so I just got stuck into it with a 4.0mm... my tension tends to be loose anyway, so it's turned out just fine.
This one is for my brother... so the colours are fairly subdued - I had to choose something that I thought he would actually wear!
Really loving the textured stripes in this piece... they're way more striking in real life than you expect from the pattern booklet.
I blogged about the booklet here, if you're looking for pattern details
And here's the obligatory celebrity shot...
Saturday, June 19, 2010
what I'm reading this week
Look what arrived in the mail for me this week...
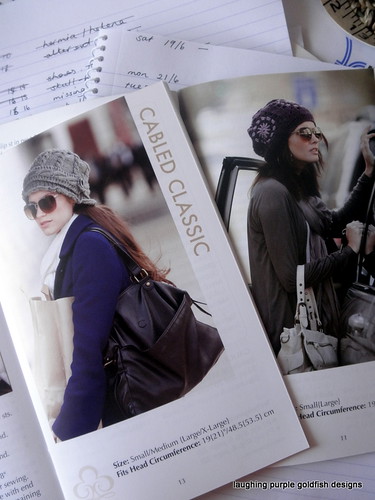
Two new booklets from my friend, designer Lisa Gentry!
Both are titled Celebrity Slouchy Beanies, and feature a variety of popular beanie patterns for the whole family.
One booklet contains knit beanies, and the other one is crochet.
I've been flipping through both of them, and trying to decide where to start...
I think I might crochet the Granny Square one, or maybe knit the Cabled Classic instead. Decisions, decisions...
Either way, I know that Lisa is a fabulous designer, and I'm sure to wind up making more than one of each anyway!
There's more information about the boklets here, they're incredibly cheap and if you live in the US there is free shipping until 30/6/2010
Now to choose my yarns...
Tuesday, June 15, 2010
free crochet pattern - suggestion square
- this clearly written crochet pattern creates an interesting 12 inch square
- as written there are four colours used; the colour changes at the beginning of each round – but it also looks superb worked in a single colour
- square requires a 4.5mm hook and approx 50g of 8 ply yarn (DK)
- please read through the assumed knowledge and special instructions before beginning
- US terminology used throughout
- available as a free download - download now
Monday, June 14, 2010
free scarf pattern
I've had some enquiries about the 'With A Little Help From My Friends' scarf pattern...
It's hardly a pattern really... but here's how I made it:
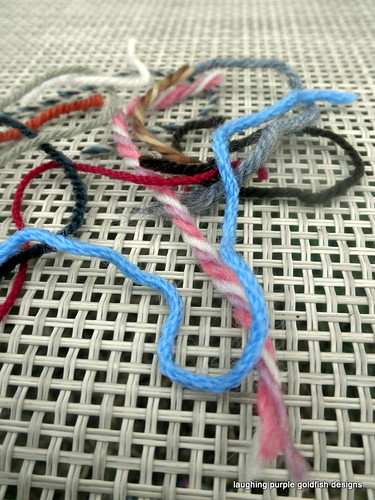
Start by collecting a bunch of scraps. Word your crafty friends up so that they can collect scraps for you too. That's how my scarf came together - my friends saved their scraps from the bin, and passed them on to me.
Now I'm talking about absolute scraps.
Not partial balls, or anything like that.
Just the stuff that would otherwise be thrown out. All those little lengths. About 4-12 inches long. The leftover pieces you have after weaving the ends into a finished project. Save them from the bin!
I find that anything much less than about 4 inches is just too short to join... but I keep those pieces too... because I WILL find a use for them one day.
I save my ends in an old biscuit tin:
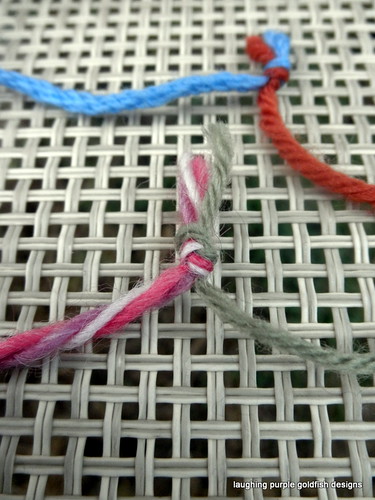
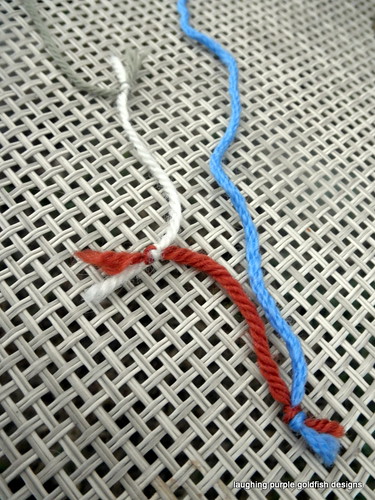
Then when I'm feeling industrious (or just want something to keep my hands busy with while watching a movie) I start joining them together. There's a few closeup shots to show you what my joins look like. Just did a quick google, and discovered that it is called a one-sided overhand bend which makes it sound way more complicated than it actually is!
Okay.
Pieces are joined and it's time to start knitting. You won't need any fancy stitch patterns - the yarn is busy enough just as is.
Use a pair of 4.5mm needles. Or 4mm or 5mm. Or whatever you please - this is your scarf!
Cast on 15 stitches.
K every row until scarf measures 2 metres long.
Cast off.
That's it! Easy, huh?
Friday, June 11, 2010
what I'm reading this week
Of course I'm still here.
You didn't think that a pesky permanent job was going to keep me from blogging, did you? Or crafting for that matter?
There's no way I could stay sane without my craft... so NO plans on giving that away... EVER!
This week I've been reading through a fascinating book on altered shoes. Now, I'm not sure that it is really my 'thing' but the recycling aspect of taking an old pair of shoes and turning them into a new and inspired piece of art really appealed to me.
But I don't know if I would ever wear them.
Mind you, it looks like a fun experiment anyway.
Basically, it just seems to be 'cut and paste' for shoes. Using fabric, paper, paint, ribbon... whatever.
Altered Shoes by Marty Stevens-Heebner
click here for the website
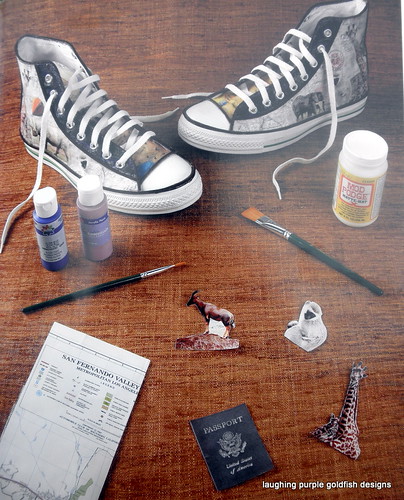
Some shoes in the book have been decorated with photos. The idea was to commemorate a trip to Africa, so photos and other memoribilia were used in the process.
Unusual, but quirky - and very personal...
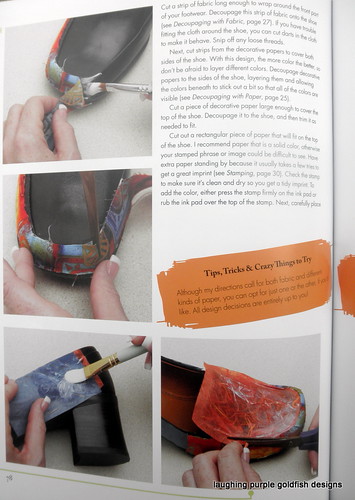
There's loads of clear step-by-step photographs to guide you along the way... and I love the 'tips, tricks and crazy things to try' sections which the author has scattered throughout the book.
An interesting book to flick through - but I don't know if I'll be altering shoes any time soon. In fact, I'm starting to wonder if the quote on the front of the book was what really drew me to it. See on the toe of the main shoe pictured?
Art washes away from the soul the dust of everyday life - Picaso
What do you think? Does it?
hermia
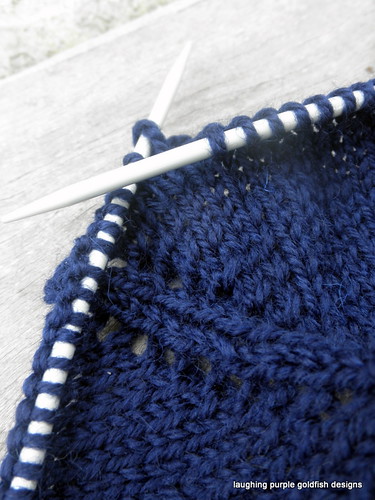
This will probably be the most boring project that you ever see me working on...
Mostly because of the colour.
Navy.
(not that there's anything wrong with that)
But it's JUST navy. Not navy and this, or navy and that. No colourful trims or embellishments. Just a plain navy cardigan.
To be honest, I don't know if I will have the stamina to see this one through - I get bored REALLY easily!
Why am I making it then?
Well... today was a big day in the Goldfish Household.
I went back to work. Actual permanent work.
Let's just say it's been a while! I've done casual bits and pieces here and there, but it's ELEVEN YEARS since I left my last permanent position. That was before kids!!!
Anyhow, I need a navy cardigan for work. Just plain navy. I've started a few already, and then changed my mind and frogged (unravelled) them.
This one is called Hermia. It's a free online pattern, available here. A while back, I made my daughter this jacket here called Helena... well Hermia is an adult version of the jacket, written by the same designer.
I'm still kind of undecided about it though.
It is worked top down. My plan it to knit it as written until just below the arms... and then maybe modify a bit. Basically, I'll just play it by ear, and if I don't like how it is shaping up - 'rip-it'
Wish me luck... with the job AND the jacket!
Wednesday, June 9, 2010
a new favourite scarf...
I'm fickle, I know...
But I have a new favourite scarf:
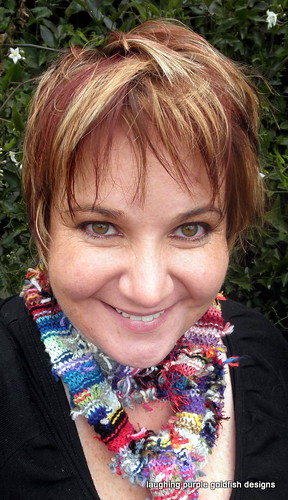
And looky here - my hair is growing back!
Remember the big shave of 2009???
But I have a new favourite scarf:
And looky here - my hair is growing back!
Remember the big shave of 2009???
Tuesday, June 8, 2010
jumpers to recycle
At a guess... I would have to say that I've unravelled between 70 and 80 jumpers.
Maybe more, but definitely not less.
It would be interesting to know the exact figure... but somewhere along the way I stopped counting.
At first I planned to keep quite detailed records. I was going to take photos of the original garment, to make note of the fibre types and quantities, and photos of what I made from the reclaimed yarn.
But then I got way more interested in playing with the yarn... and forgot to take details. Not that it really matters, I'm just curious - and it would be fun to look back over my adventures.
Never mind - I guess that's what my blog is for!
Anyway.
Often when I search for suitable garments to recycle, I come home empty-handed. And then there's days like this...
Six perfect pieces.
"Someone's going to be warm this winter" comments the lady behind the counter.
I just smile and nod in agreeance. I used to excitedly explain my plans for reclaiming the yarn... but most people just look at me as though I am entirely mad, or creating the greatest sin to mankind by unravelling another crafter's hard work.
So I keep my mouth closed... and skip home to tell you guys all about it!
Monday, June 7, 2010
junk challenge!
We all have a junk drawer, don’t we?
Well… maybe it’s not a drawer, but a box… or a jar… or a tin…
You know.. .the kind of place where all the junky little bits and pieces from your household tend to accumulate?
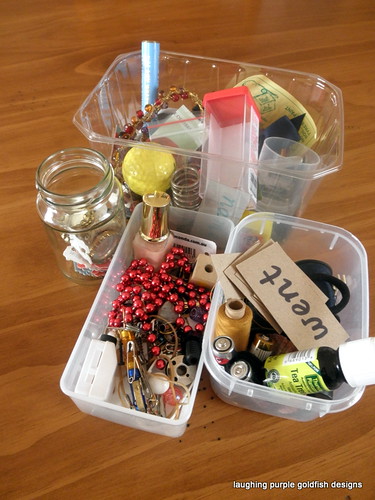
I kind of end up with junk tubs all over the house, like this:
There’s random keys and screws, bread tags and buttons, elastic bands and pieces of foreign currency. Probably some paper clips, safety pins, a couple of marbles, an old mobile phone, a reel of cotton and a few old batteries which may or may not have any charge left in them…
Okay… so here is the challenge…
First - take a photo of the junk (mostly because I’m a big old stickybeak, and I’d love to see what’s hiding in there)
Next - choose three or more items of junk to work with, and take a photo of course
Then - it’s time to get creative…
Make a project which uses those junk items…
Use any additional materials that you like. Incorporate the junk into your knitting, sewing, crochet, or whatever… Or just grab a hot glue gun and go crazy with it.
Head on over to my Ravelry group to join in... we're a friendly bunch! The Junk Challenge will be running for the month of June, with a prize for the entry which most tickles my fancy...
Or you can just pop in and see what everyone is up to...
Saturday, June 5, 2010
what I'm reading this week...
I've only dabbled a little bit with dyeing yarn.
Basically, I've worked using vinegar as a pre-mordant... food dye for the colouring... and the microwave method. It's fast, simple and effective - but it made me more curious about other methods of dyeing.
If you haven't experimented at home with your own microwave, then you might like to read about my experiences here. It really is very simple.
Unfortunately the microwave in the Goldfish Household died several months ago. For some reason or another (in fact - I haven't really worked out the details yet myself) I didn't want it replaced. Mr Goldfish has offered over and over again to replace it, but I've been quite determined to live without it.
There's only been two occasions on which I have REALLY missed it...
First was when the cold nights started to roll in recently, and I realised that I had no way of heating my MICROWAVE HEAT BAGS... you know, those nice ones filled with wheat and lavender oil... oh so toasty on a cold winter's night??? Bit tricky to use if you don't have a microwave!
(oh... and if YOU know of another way to heat one... you simply MUST leave a comment for me... pleeeease)
The second occasion was when it dawned on me that you CAN'T dye in the microwave if you DON'T HAVE a microwave. AArghhhhh!
Anyway
I'm sure that the point of this post was to talk about the book I've been reading this week:
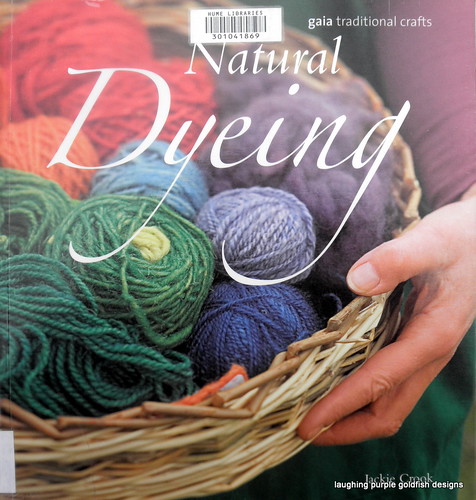
Natural Dyeing by Jackie Crook
published by Gaia Traditional Crafts
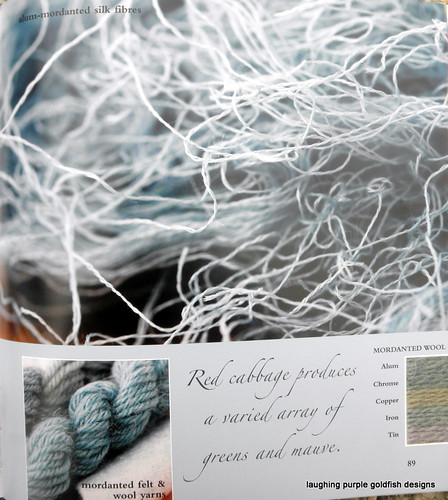
Jackie has been experimenting with dyeing all sorts of materials over the last twenty years... and she shares her knowledge very clearly in this book. There are loads of photos on every page, showing clear step-by-step instuctions of preparation, mordanting, and the actual dyeing process.
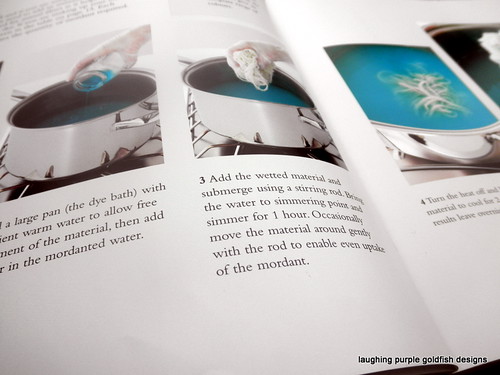
The book also discusses about 30 different natural dyes in great detail, including photos of the resuting colours when different mordants are used.
Despite the clear instructions, and all that useful information... I've become aware of two huge problems for me with this type of dyeing.
Number One - I don't want to stuff around with hazardous chemicals. The dyes themselves may be 'natural'... but you need to use a mordant to help the colour to set. There are five discussed in the book... three of which are hazardous. As far as I'm concerned, if I can't safely pour it down my kitchen sink - then I don't want to be experimenting with it.
(mind you... I have no hesitation in melting vinyl records in my oven, or crocheting with video cassette tape - go figure)
Number Two - Jackie grows her own ingredients, and after reading through the pages in the book, I can understand why. Most of them I have never even heard of. Nor are they readily available here. There are some everyday dyes, like onion and cabbage and turmeric... but most of the were rather obscure.
So
Interesting as it was to read about, I won't be experimenting any time soon.
Though I do have some plans to play around with eucalyptus leaves and solar dyeing... if only I could find a book on that!