Wednesday, November 30, 2011
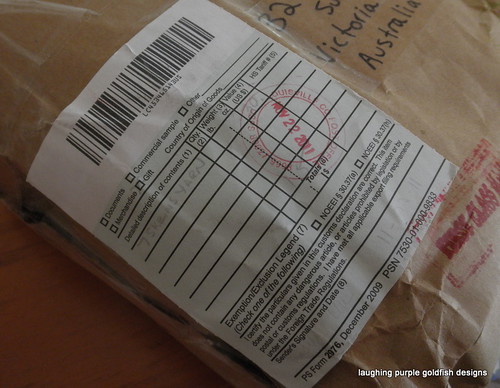
7 skeins yarn
"Detailed Description of Contents: 7 skeins yarn"
Yay!
This parcel arrived for me yesterday.
And what a surprise! There's that much other drama going on in my life at the moment, that I had genuinely forgotten that this parcel was even on its way... So it was both SURPRISING and DELIGHTFUL when I opened the letterbox to find a soft brown squishy parcel.
We've been doing a bit of online shopping this Christmas, so there's been an assortment of deliveries lately. Usually when each one arrives, I know what's inside. But this one was soft and squeezy - and I hadn't ordered anything soft and squeezy!
It... felt... like... YARN...
lots and lots of yarn... but I hadn't ordered any...
Then I remembered my PRIZE!
I'm embarrassed to say that I did a little 'happy dance' right there and then, so I hope that none of the neighbours were watching. But I was so excited...
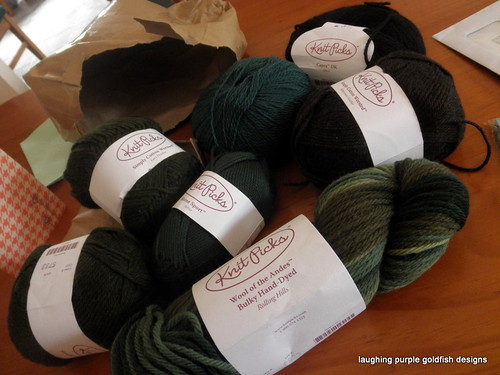
Remember the Celestial Wall Art which I made for a challenge recently? Well I won First Prize! How lucky is this little ducky?
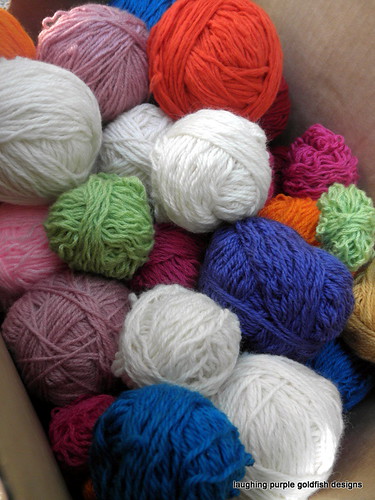
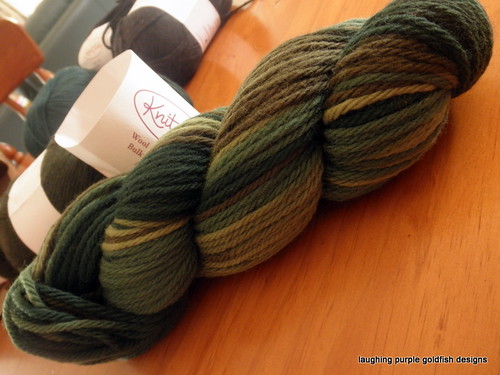
I'm especially loving this variegated yarn:
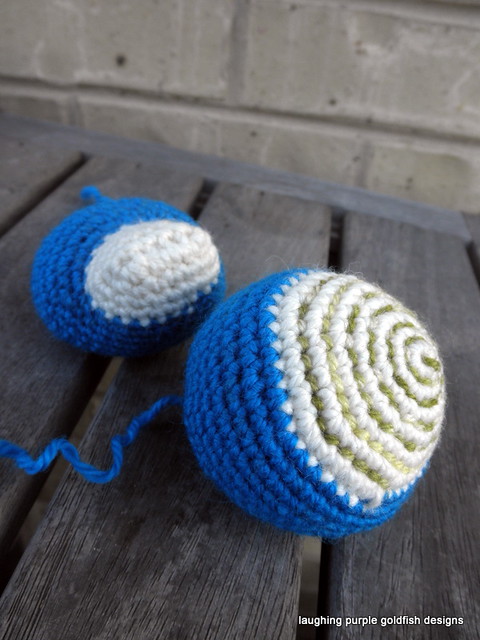
And I hope Cassidy doesn't mind me showing off her art work... but there was a little note inside, whcih included these two little guys:
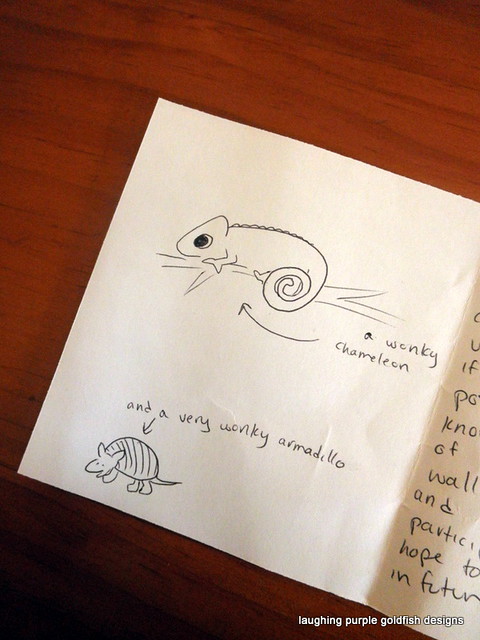
I'm inspired to make one of them... maybe even both... and I can use my NEW YARN
(yarn with actual labels... with all the recycled yarn around here, I don't get to see labels very often - so this IS really exciting)
Tuesday, November 29, 2011
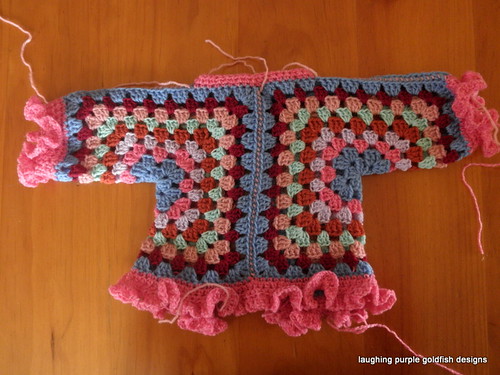
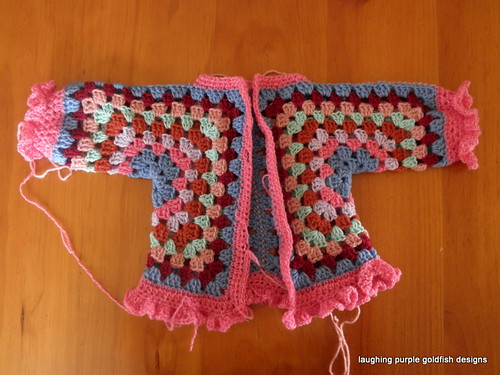
Granny Square Jacket In Progress
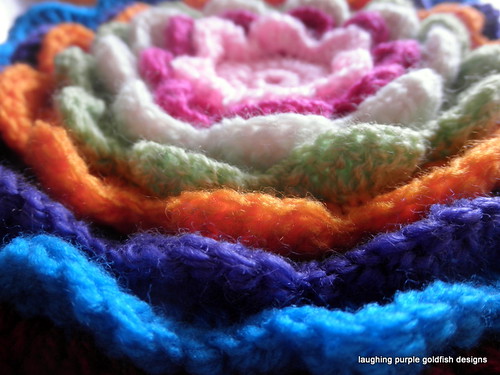
Well, there's not much progress to show you on the Blooming Flower Cushion. I worked on it for a while last night, but it's at that point where the rounds are taking ages to complete... so you can put in two hours work, and not really see your own progress!
So I thought I'd show you something else instead:
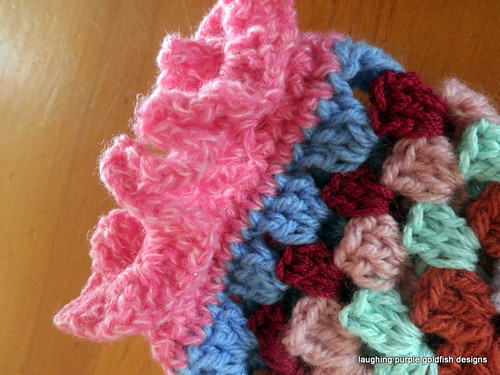
A few months ago I started on this beautiful jacket for Charlotte. When it was almost finished, I tossed it aside and decided that I didn't like it any more...
Then yesterday, I stumbled across it when looking for something entirely unrelated... and wondered WHY I had given up on it in the first place.
Actually, I do know why - there were four reasons
- I didn't like my overall colour choices, especially the pink for the ruffles... but looking at it today with fresh eyes, I've decided that there is NOTHING WRONG with the colours at all!
- I thought that the ruffled section on the sleeves looked ridiculously long and frilly... but I'm over that, too
- I chose to seam the pieces in a contrasting pink, which would stand out against the blue - which I loved the idea of, but wish I had used the brighter pink... I'm gonna cope with it the way it is
- I thought the jacket was so huge that it wouldn't fit my little one for at least another year... but I've tried it on her, and that will not be an issue!
So now I'm actually quite pleased that I didn't frog it!
In fact, I guess I'd better finish it off...
There is a little way to go on the edging, and then it's just a matter of sewing in those pesky ends...
And adding some buttons at the front.
Monday, November 28, 2011
That BLOOMING Flower Cushion
Can I just say that if you are planning to make this cushion, PLEASE be very careful with your increases!
I was working on my flower during a crochet meet and obviously wasn't paying nearly enough attention to the pattern. Too busy gossiping, or something like that I suppose...
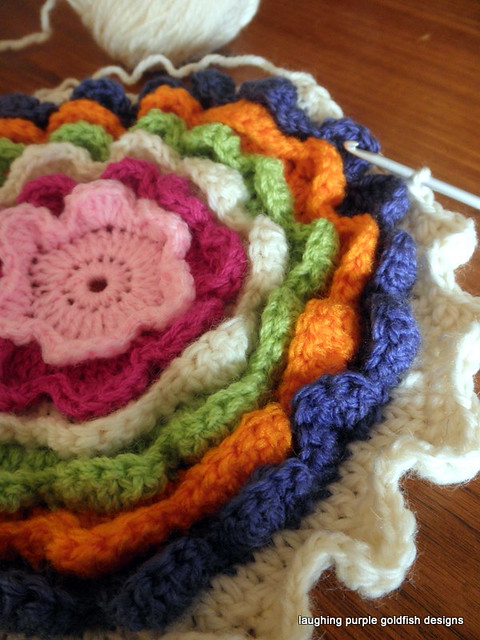
Anyway... I was increasing in the correct rounds... but increasing far too many stitches in each.
There's no excuse for it. In her pattern tutorial, Lucy is VERY clear about the number of increases to make. In fact, she uses red font to highlight the numbers. Oh, and there are stitch counts for the end of each round.
And still I got it wrong!
Annoying part is that I didn't notice until I was up to the sixth colour change. If you look at the photo below, you can see just how wavy the outer round is - that's because of all the extra increases I was making. And of course it was getting worse and worse with every round.
Of course, I had that niggling feeling that the piece wasn't sitting quite right... but I didn't listen to that inner voice early enough.
So NOTHING wrong with the pattern... just needed to focus on it properly...
And now that I'm READING the pattern correctly, it is turning out beautifully!
Friday, November 25, 2011
Do you Pin?
I might be a bit slow to catch on to these things... but I'm finally Pinning!
How about you? Are you a member over at Pinterest?
At first I wasn't entirely sure that I would use the site, but it really is VERY handy...
If you haven't discovered Pinterest yet, it's basically a virtual notice board. You 'pin' photos to your board, which includes a link back to the original source. It's kind of like 'bookmarks' but with photos.
You can set up different pin boards within your account... for example, I have one for recipes and one for craft ideas, that way you can keep things organised.
So...
Let's say I was browsing my way through the internet, and I came across an excellent tutorial for Slippers made from Old Jeans...
Now I'm not ready to make them now, but I do want to be able to find the instructions at a later date.... So what do I do?
I 'pin' a photo from the tutorial to my virtual notice board... then in six months time when I'm ready to start making those slippers, I just click on my 'pin' and the link takes me to the tutorial... How cool is that?
So if you're already a member, leave me a comment here so that I can follow you at Pinterest... That way I can see the cool stuff that you 'pin' and if it interests me, then I can 'pin' it too!
And if you're not a member yet, you can either request an invitation from them (which apparently takes a while to come through) or I can send you an invite. Email me from my profile page if you would like one.
Thursday, November 24, 2011
Christmas Wreath - Scrappy Style
Can you believe that it has been THREE WHOLE YEARS since I shared my Rag Wreath Tutorial???
Definitely time to make another one!
(a wreath, that is... not another tutorial)
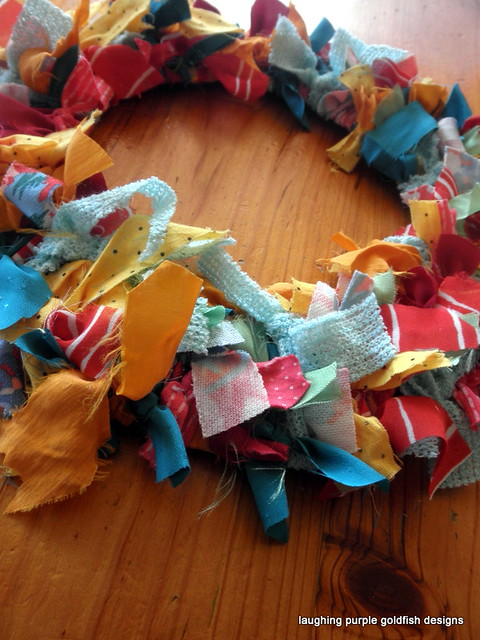
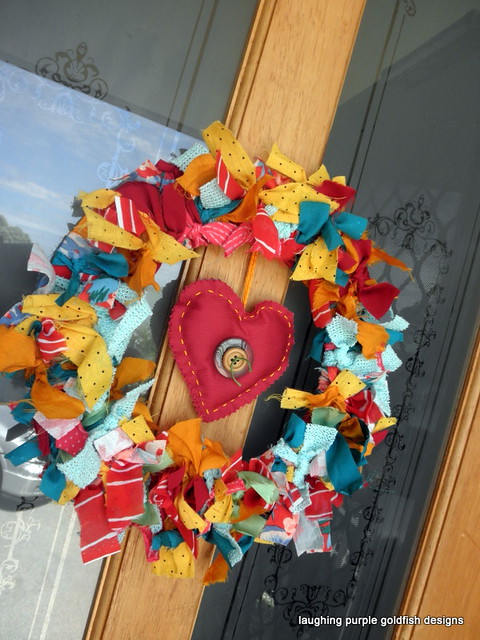
This was made for a Christmas Decoration Swap... where we had to make something for under $5... All I needed was some thick cardboard, fabric scraps, a little embroidery thread and a few buttons.
Oh, and a small brass ring for the wreath to hang from.
It started out like this:
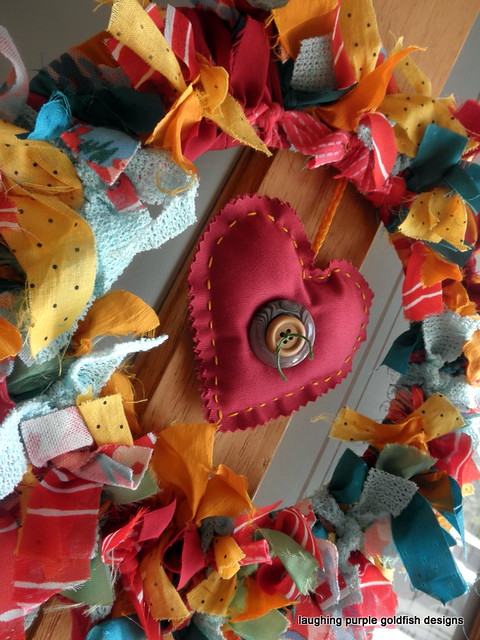
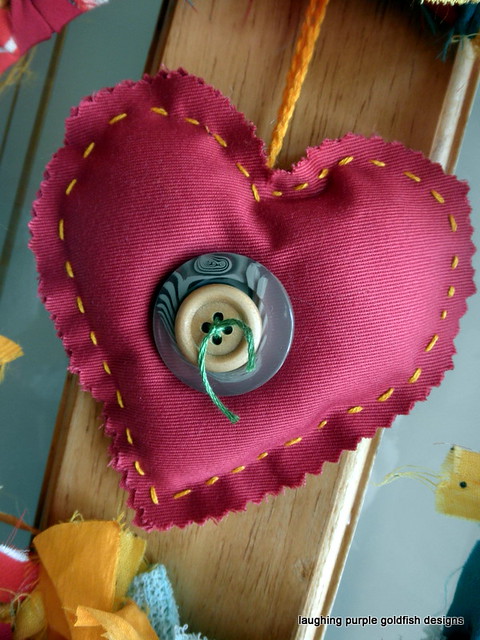
... but it seemed a little bland, so I added a padded heart to the centre:
Much nicer now...
And here it is hanging on my front door:
Not for long, though... It had to be parcelled up and mailed away to my partner Deb.
And would you like to see what Deb sent me in return???
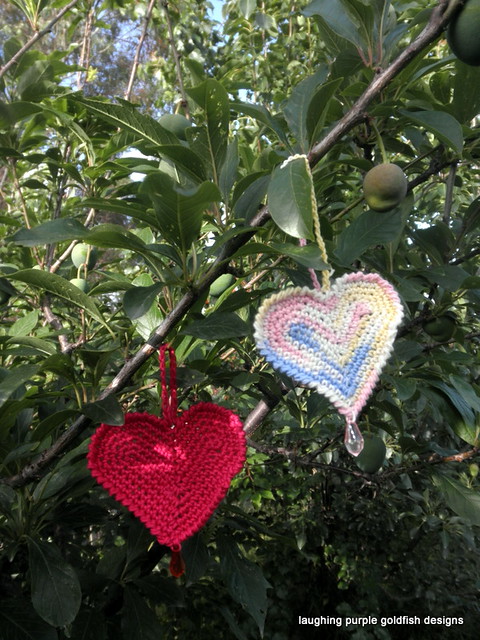
Well, first there were these two lovely crochet hearts for my Christmas Tree. I especially love the beads which weight them down perfectly, as well as adding some extra pizzazz!
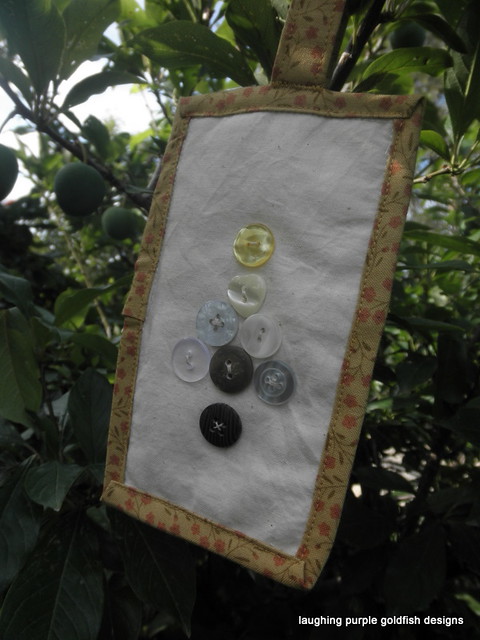
Next is this door hanger... complete with a button Christmas Tree - how cute
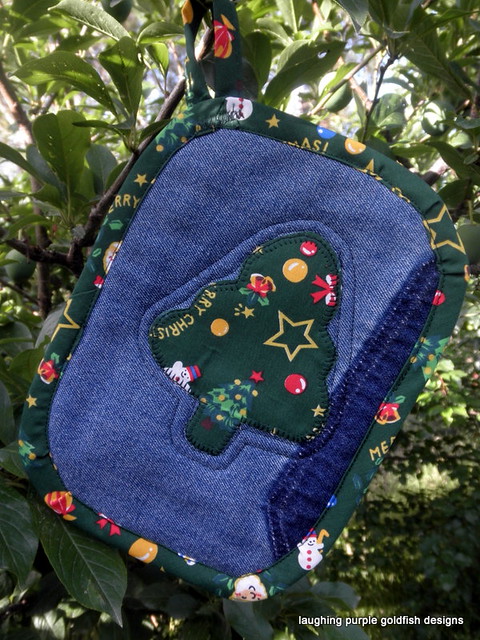
And also this pot holder... you can see that it has been made from recycled denim... that dark area is where the pocket has been removed from. What a fabulous idea. I think I might be making a few denim pot holders for everyday use here - I love the idea. And they'll match that denim apron I'm working on too.
Not that things around here really have to MATCH! It's much more fun if they don't.
Wednesday, November 23, 2011
Another Day - Another New Project.
How cool would it be if I actually FINISHED every project I started???
But that's just not how I roll - is it?
There's something intoxicating about starting a new project. Choosing a pattern and yarn... imagining how it will turn out... and working up those first few stitches is a real buzz.
You don't want to put your work down.
Just one more row... then another, then another...
Well, as you might have guessed - I have started ANOTHER new project!
This one will be for Little Miss Seven for Christmas, so I will HAVE to finish it...
I'm working on the Blooming Flower Cushion from Attic 24.
Have any of you made this yet?
If you haven't visited Lucy over at her Attic yet, then GET OVER THERE NOW!!!
It's full of all things bright and colourful and delicious. So much inspiration, and lots of tutorials too.
Just make sure you come back and see me again when you're done exploring... Or I'll have to send out a search party.
Tuesday, November 22, 2011
I got distracted.
Remember the box of yarn from the Ripple Blanket which I unravelled the other day?
Well... it was calling to me...
And I've started making a monkey!
Not entirely sure why.
Just because I wanted to...
Monday, November 21, 2011
That Patchwork Blanket...
Thanks to all of you for your lovely comments on Friday, about my gorgeous Little One in her new dress...
And a very big welcome to everyone who has been visiting here from Rhonda's blog!
In the comments on Friday, Tammy was asking me about the blanket in the photos, and whether I had made it?
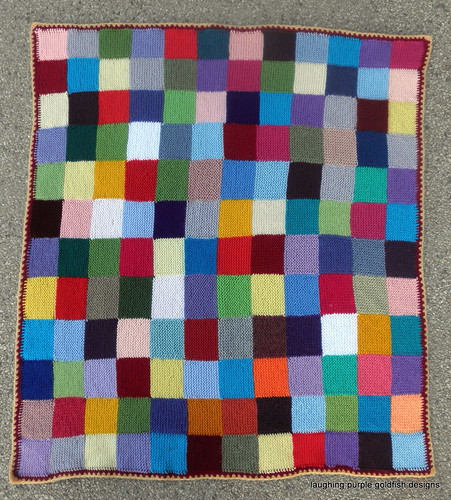
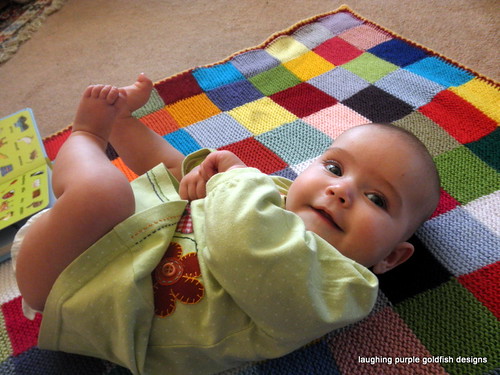
Yes I did... and I love it to pieces. For such a simple blanket, it gets SO many compliments whenever we use it. Generally it stays in the pram, so it's always on display when we go shopping, or out for a walk...
I get a real buzz when people ask me about it!!!
I blogged about it when I had just started on it, but I don't think that I ever got around to showing you the finished project. The original post is here.
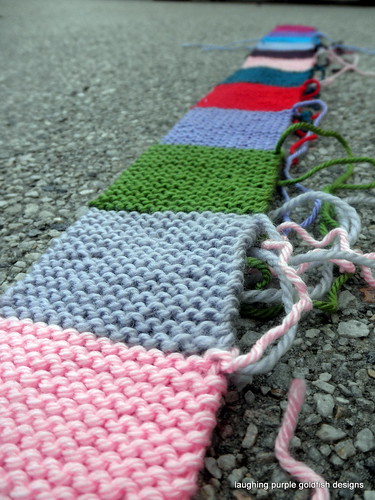
So I started out knitting in strips like this:
And then joined them together:
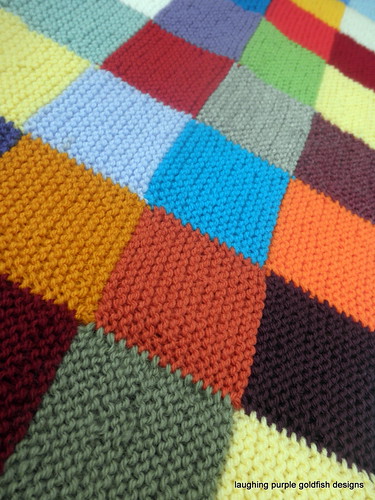
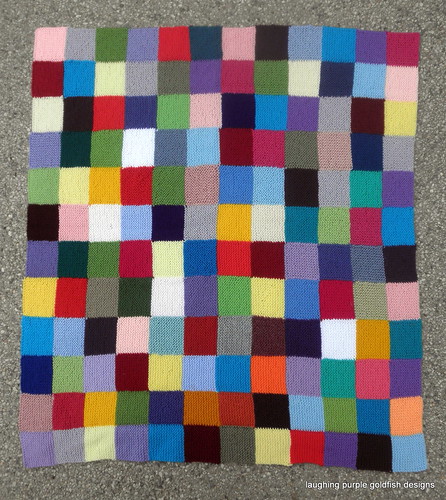
Which gave me this lovely looking blanket:
But the egdes were lacking stablility, and the blanket was losing it's neat shape really easily...
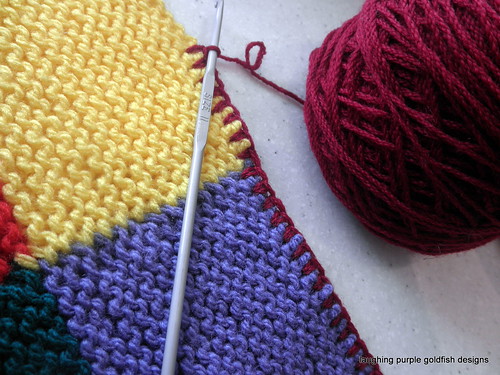
So I decided to add a crochet border:
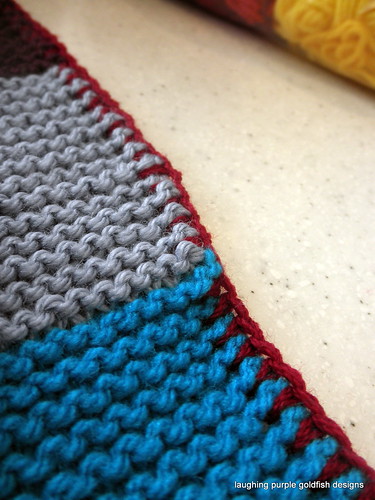
I only wanted something simple, which wouldn't detract from those fun squares. But one round wasn't substantial enough... see how the edges were all wavy? It didn't matter how many times I frogged it and tried again, it just wouldn't sit nicely!
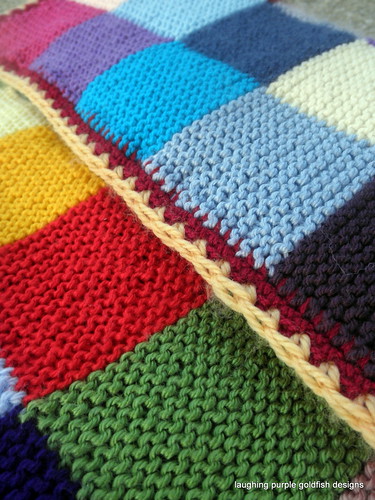
But with a few more rounds, I ended up with this edging:
And here's a full view of the finished project:
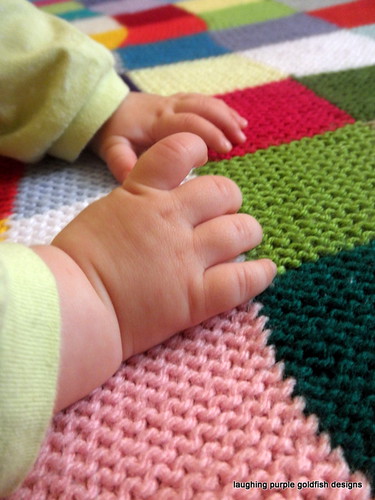
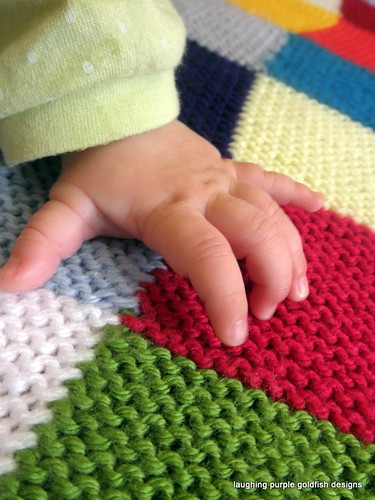
But it looks much cuter with BABY hands on it, don't you agree?
Adorable... Dimply... Pudgy... Scrumptious Little Fingers...
I could just KISS them right off...
Friday, November 18, 2011
On my Mind.
What's on my mind today???
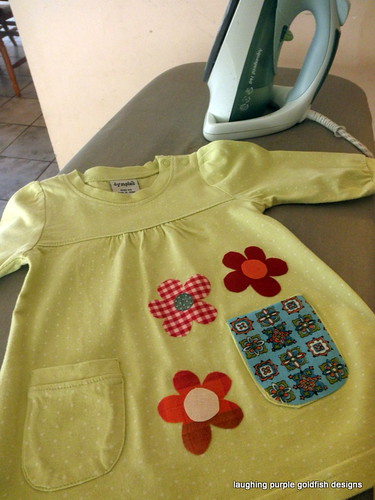
Well, I want to tell you all about what I did with that stained green baby dress...
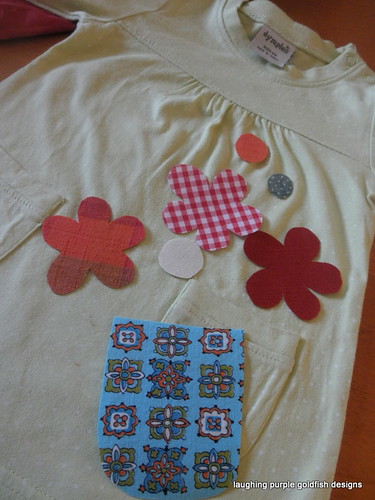
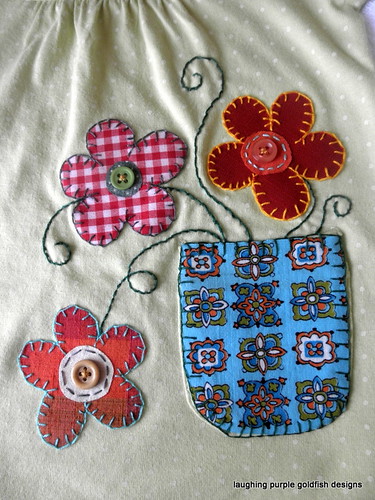
I took Melissa's advice, and went with some flowers growing out of the pocket... thanks for the idea!
So what exactly did I do?
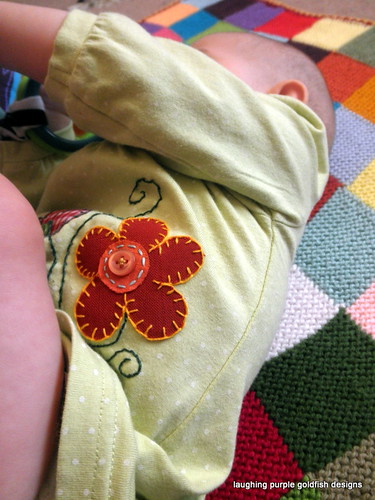
First I used some iron on interfacing to attach fabric shapes to the dress. Of course they were strategically positioned to cover the stains - after all, that WAS the point of the exercise, remember?
Then got carried away in the moment and forgot to keep taking progress photos...
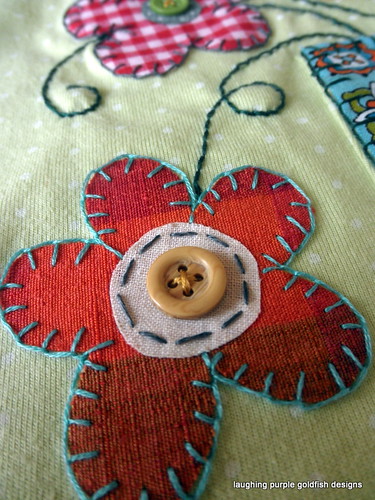
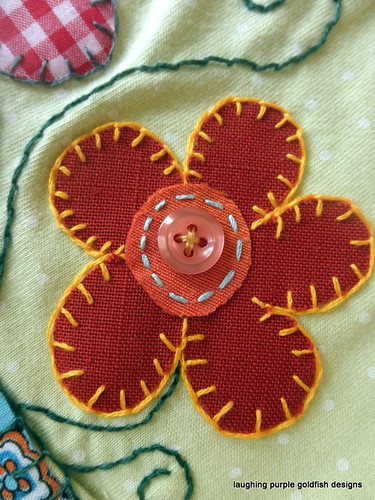
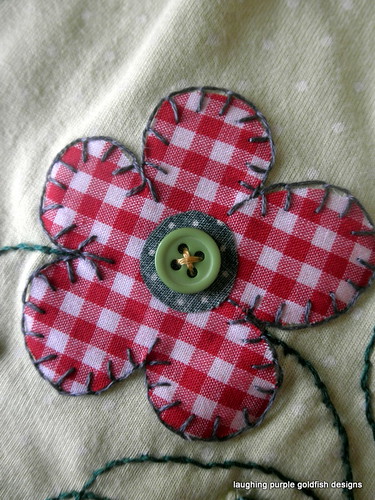
But basically I embroidered around the edge of each piece.
Added some buttons to the centre of each flower.
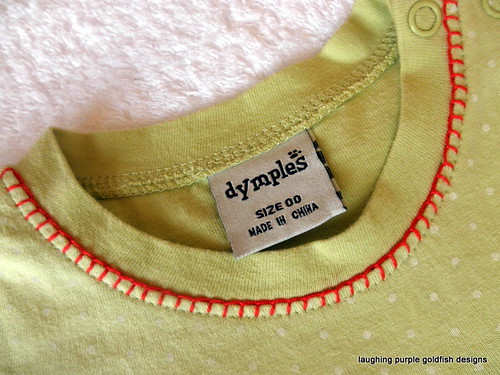
Worked some blanket stitch around the neck.
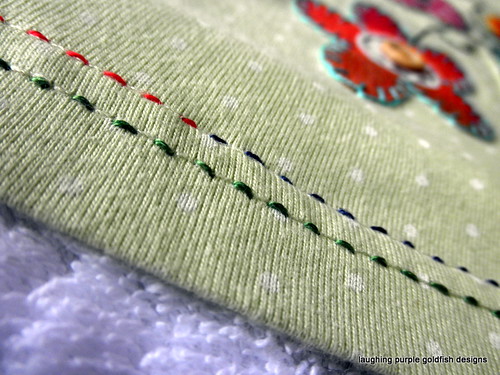
And some running stitch along the hem.
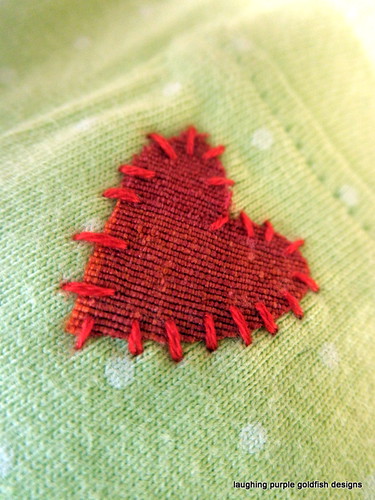
I couldn't help but add a little heart.
Ooooh... and I added some curly green stems...
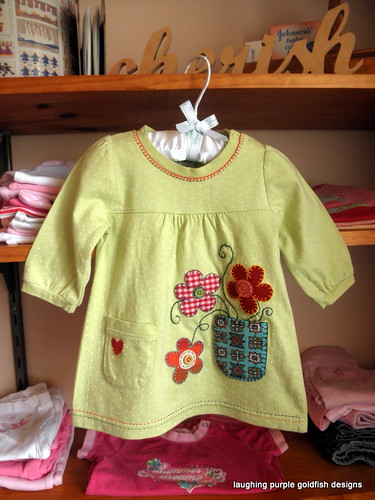
And here's the finished dress:
Want to see my Little One wearing it?
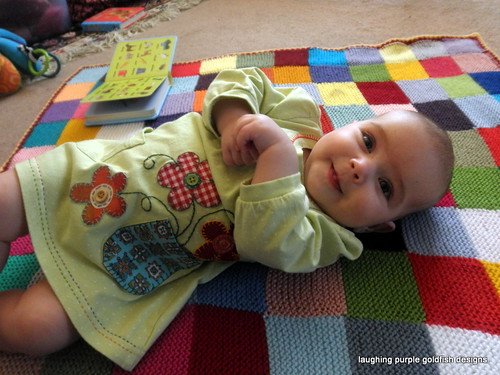
She wasn't very good at lying still for the camera, but I did manage a few shots:
Adorable, yes?
And if you'd like to see what's on Rhonda's mind today... head on over to Down To Earth...
Thursday, November 17, 2011
"Too Late!" she cried...
The deed is done.
The Ripple Blanket is no more...
No regrets though. I've been stewing on this one for quite a while now, and it actually feels like quite a relief to have finally made a decision about it.
And yes, Sam... I probably, okay.... definitely am just being picky...
But I'm allowed to be!
Wednesday, November 16, 2011
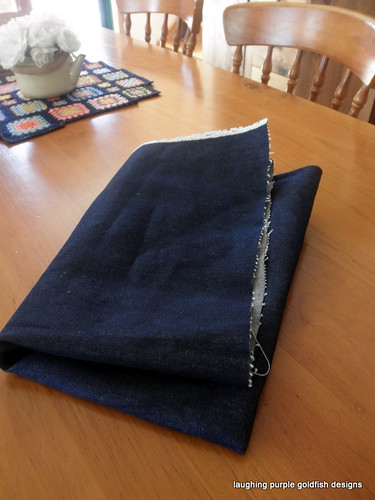
My Denim Apron...
If you take a few steps back from the screen... close one eye.. and squint...
Maybe you'll be able to see my new denim apron...
I can!
And boy do I need an apron. I am oficially the World's Biggest Grot when it comes to cooking (or eating for that matter) and it's time to do something about it. I'm making my first ever apron. I figure that the denim will be heavy enough to protect my clothes from the kitchen disasters which are my everyday life.
Actually, now that I think about it - I have made an apron once before - in Year Nine Home Economics class at school. I can picture it now, a blue and white gingham check apron bibbed apron... with a belt tie...
Only one tie went straight out to the side like it should... and the other one went straight UP...
Maybe I'll get it right this time!
Tuesday, November 15, 2011
I'll do it anyway...
You can tell me not to, but I'll do it anyway...
I should probably have that tattooed on my forehead, it seems to be my motto in life!
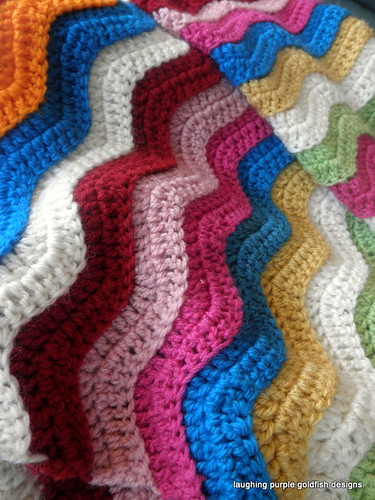
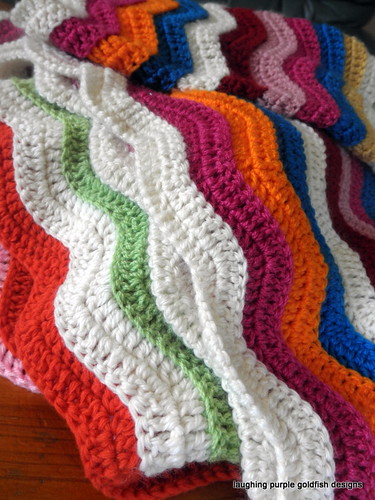
Anyway... ages ago I started on this crochet ripple blanket.
The plan was to make it for my bed, but plans have changed (as they do) and now I'll be making it for my daughter. Which means that it now only needs to fit a single bed, and not a queen size.
But it's wide enough for a queen, and I've worked about a third of the lenghth...
I could turn it sideways, and have the ripples running lengthways down the bed... but I didn't like it like that
So I thought I might literally cut it in half, and secure the ends.. then add the top to the bottom.
Only I decided it wasn't worth the effort, because I don't like the two rows of each colour...
So I'm GOING TO FROG IT!
Yes... unravel ALL of it... and START AGAIN.
I know that an awful lot of work has already gone into it - but if I don't like it now, it's going to drive me mad forever... and FOREVER is a very very long time!
Monday, November 14, 2011
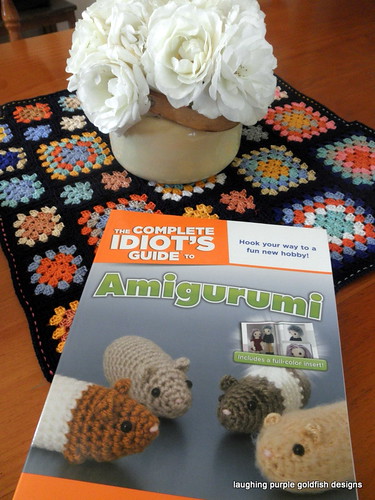
Look What Came in the Mail.
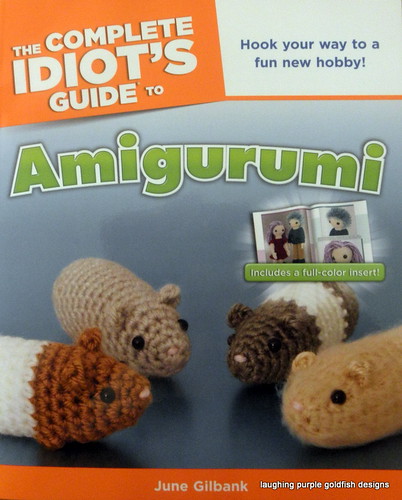
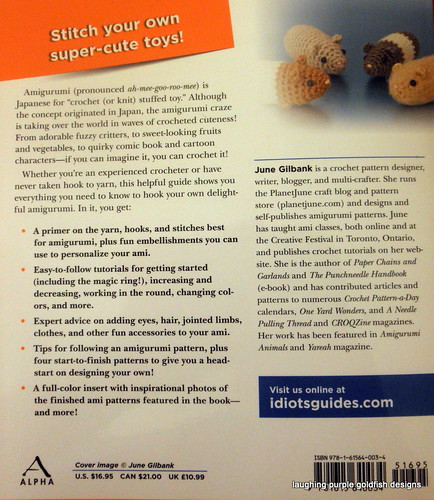
I'm a complete idiot at times... so obviously this guide was written especially for me...
I don't very often buy new craft books... most of those in my library have come from the Op Shop.
But when I saw this one - I HAD to buy it!
It's written by June Gilbank, or you might know her as Planet June.
I've seen her work on the net and around Ravelry, but haven't actually used any of her patterns.
When it comes to toys, I very rarely work from anyone else's pattern...
Which means that my amigurumi skills are all self taught through experience. I like what I do, but would love to learn more. I'm really looking forward to reading about other techniques which I haven't yet discovered... and of course I'll share photos of what I create!