Thursday, April 30, 2009

how I made my scrappy kitchen mat

holiday 064

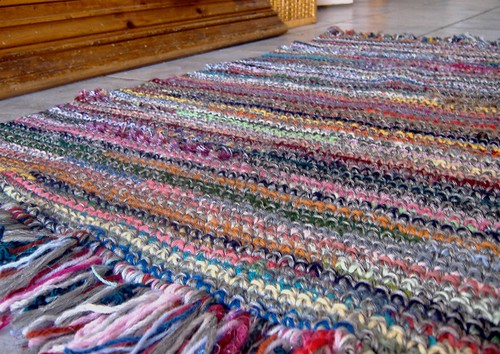
I have had a lot of requests for the pattern for the 'scrappy kitchen mat'

Well... I can't really call it a pattern, as such... but here's the low down on how I made it. It's super simple, and suitable for beginner crocheters.
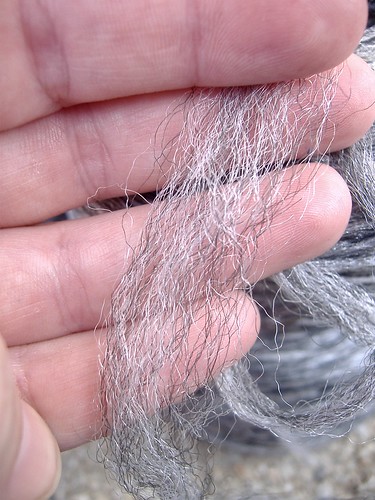
carpet nylon from daphne

From what I can tell, this is a grey carpet nylon. Unfortunately I can't be more specific than that. This batch was given to me by one of my crochet buddies. I have no idea where you would buy it from.

If you don't have access to carpet nylon... then think outside the square for alternatives. Before I acquired the nylon, I was planning to use some jute or sisal instead. Macrame cord would work well. Or even some old denim jeans, cut into thin strips.
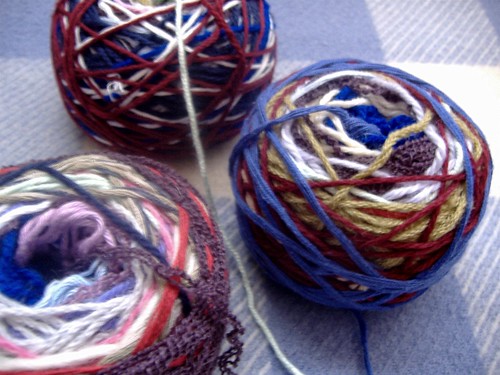
magic balls

The other yarn used was crazy yarn. Click here to read more about how to make your own.
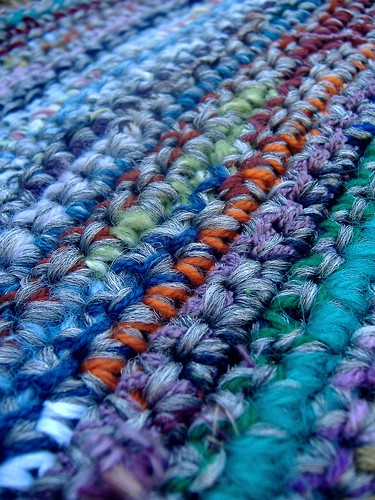
progress

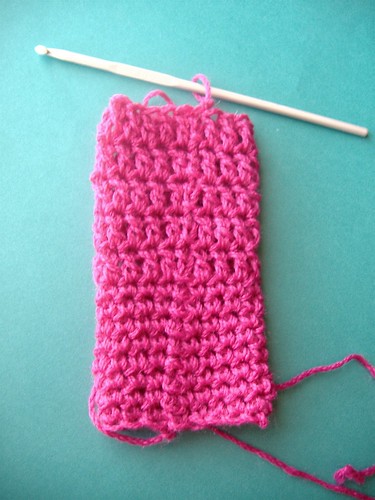
I used a 5.0mm hook, and worked with the carpet nylon and the crazy yarn held together. I made a length of chain 60cm long.

Then I worked back and forth in rows of sc (US) until the piece was 105cm long.

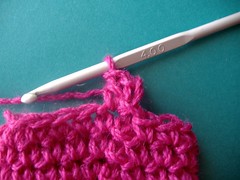
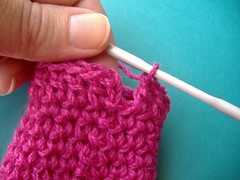
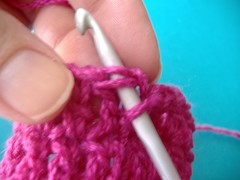
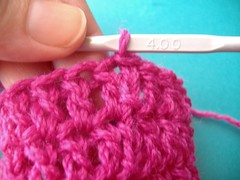
If you have trouble keeping your edges straight... take a look at this tutorial
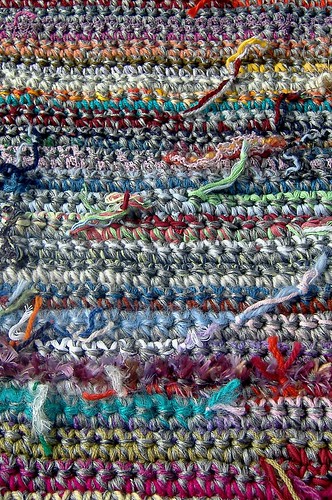
close-up of back

As I worked, I just made sure that all of the joins/knots in the yarn fell to the back of my work. I DID NOT WEAVE IN ANY ENDS IN THIS PROJECT.

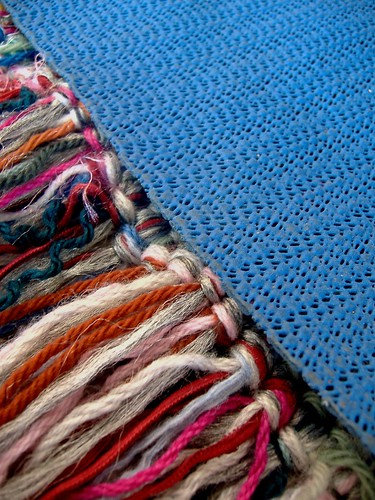
I added a row of tassels along each end of the rug... using one strand of nylon and three strands of crazy yarn for each tassel.

close-up of tassels

Then I cut a piece of non slip mat to size, and attached it to the underside of the mat. I sewed it on using four strand of sewing cotton for extra strength.
holiday 069

And here is my finished mat. You could make yours in any size. Just cast on as many chain as you need for the width of the mat... then work in sc for as long as you need.
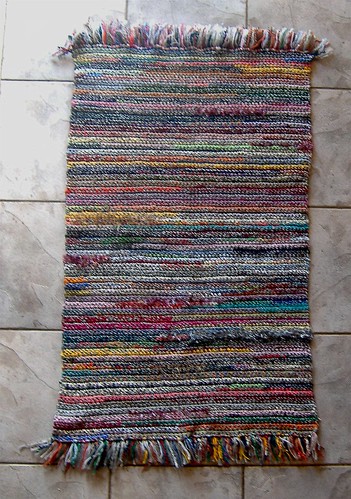
holiday 057

Wednesday, April 29, 2009

my tea cosy

I finished my capelet before I went on holidays... and have been getting quite a bit of wear from it. I'm loving how warm and snuggly it is... without being suffocating!

I took it away camping with me, and my friends affectionately dubbed it 'the tea cosy'. The name has stuck, and now that's how I refer to it too.

The background is a bit busy in the photo, but it give you an idea of how it turned out:

finished

pattern used:
hook used:
  • 9.0mm hook... just like the pattern asks for!

yarn used:
  • assorted reclaimed yarns in neutral earthy colours
  • the pattern calls for a 12ply/bulky yarn... but I have used 2 strands of 8ply/DK worked together
  • I changed colours randomly throughout
  • by only changing one colour/strand at a time, the harsh stripey effect is lessened, and the colours blend more smoothly as they change
thoughts:
  • I made a few modifications to the pattern
  • instead of the trim in the pattern, I made my capelet a bit longer... and then added a contrasting round of sc around the bottom edge... working inside out, so the the 'wrong side' of the sc trim would be showing
  • the neck felt a bit too open... so I pisked up the stitches around the top and worked a few rounds in the same stitch as the body of the capelet
  • I then folded over the neck, forming a collar... and added a trim to match the bottom
  • although the finished garment is probably a bit larger than a true capelet... it's perfect for my needs... I love wearing it!
neckline

bottom trim

Tuesday, April 28, 2009

frugality is the new black

I spent most of the day on Sunday with the girls from Crochet Lovers Victoria. We met late morning... then crocheted and chatted the day away!

It's always fun to spend time with other crafters, I love seeing what everyone else is working on... and there is so much that we can always learn from one another.

On this recent meet, I managed to work up quite a bit of crochet... in between all the chatting!

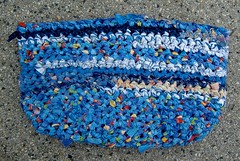
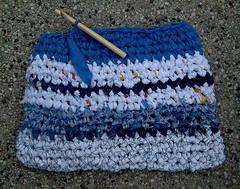
I've made a fabulous start on both of these rag bags...

DSCF9830

DSCF9829

One passer-by came over for a chat when she saw me working with rags. She started reminiscing about how her mother used to cut their old clothing into fine strips, and then crochet them into slippers for all the family.

Slippers.... adding them to my to-do list!

Sometimes we forget that 'recycled' crafting is not a new concept. In the past, it was common for people to recycle their old woollen garments into something new. In fact, in most cases it was a necessity to do so.

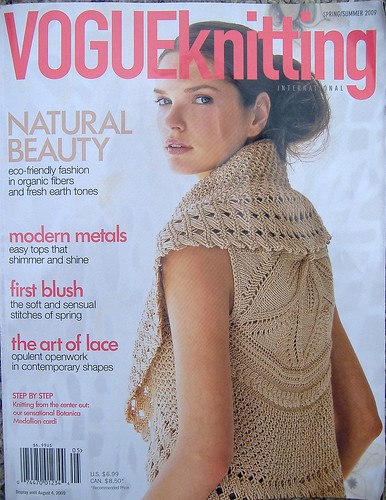
The current issue of VOGUEknitting (spring/summer 09) has a feature article on recycling... titled FRUGALITY IS THE NEW BLACK. If you get the chance to read it... you will see a couple of quotes from Sharon Maher... that's me!...very excited about that!!!

Congratulations to Cathy Mitchell from LA, who also rates a mention in the article. Cathy comments regularly here as 'cam90066'... and is just as excited as I am to have been interviewed for the piece.

I must say, that when I first received the email from Leigh Witchel - asking if he could interview me for VOGUEknitting, I almost fell off my chair...

Then I started making a mental list of which of my friends would have a wicked enough sense of humour to send me a gag email like that, and set me up! I should have been more trusting...

DSCF9831

Monday, April 27, 2009

couldn't you have made that yourself?

During my time away, I visited a local market. It was a bit of a cross between a car boot sale and a craft market... so I was in HEAVEN!!! Basically it was like a craft gallery and an op shop all rolled into one fabulous set-up.

I could have spent all day there... but it wasn't to be...

(maybe I shouldn't have taken the children with me???)

So many interesting stalls, with a huge range of merchandise on sale... but there was one stall which completely captivated me.

The stall holder was weaving. She had set herself up using the end of a display rack as a makeshift upright loom... and her other tools included an old wooden ruler, and a couple of broken bamboo garden stakes with some tape wrapped around them. I so wish that I had taken my camera with me. The 'recycled' set-up was fabulous in itself... but then watching her work was just... WOW!

I couldn't take my eyes off her hands, as they darted in and out rhythmically... row by row... creating a magnificent piece. I had so many questions that I wanted to ask her, but I didn't want to break the rhythm of her work... amazing!

Honestly don't know how long I stood there... watching... watching... watching...

But I do remember being disappointed when a customer required her assistance with a purchase, and my trance was broken...

(adding HAND WEAVING to my list of skills to learn ONE DAY...)

Since the trace was broken, I decided it was time to take a good look at the other items for sale.

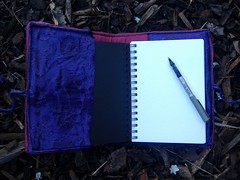
I found myself drawn to the fabric journal covers. Usually that wouldn't have been of any interest to me... but there were such an array of colours and textures, that I had to pick one up and take a look. Staring at the blank pages inside... I could just visualise myself using it to scribble down thoughts and ideas, designs and plans... and all of a sudden I WANTED one! It inspired me.... How could I live without one?

DSCF9823

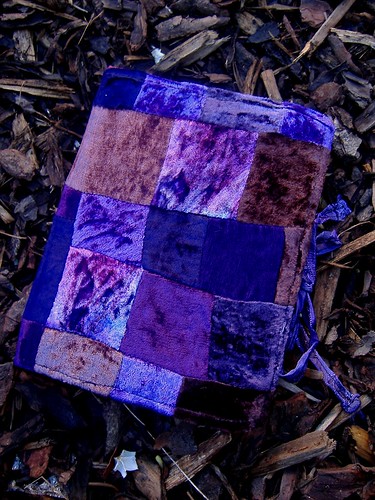
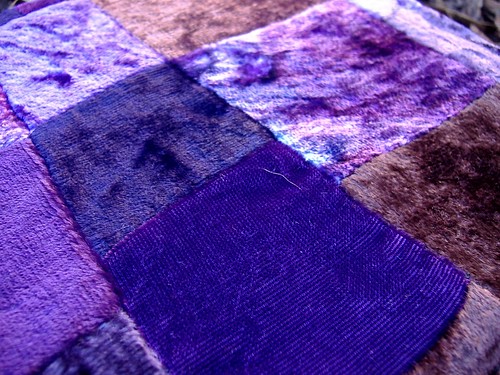
Purples are always a bit tricky to photograph, which is a shame... because I can't quite capture the richness that is the essence of this journal... but I will do my best:

DSCF9825


I was so excited with my new purchase, and I couldn't wait to share it with Mr Goldfish... even though I knew he wouldn't be quite as enthusiastic about it as I was.

His response?

He let me gush about the colour and the texture and the inspiration... and then said:

COULDN'T YOU HAVE MADE THAT YOURSELF?

DSCF9827

Saturday, April 25, 2009

another new bag

Sometimes I wonder if I will ever reach the point where I have TOO MANY BAGS...

Hopefully not...

Because I love making them... and every now and then I find one that I just HAVE to buy...

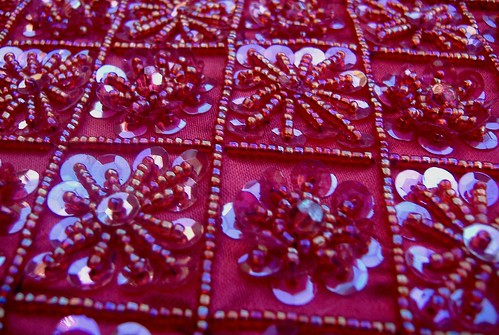
Like this pre-loved bag, which I picked up for $2

holiday 001

It's a small bag... perfect as an evening bag... with just enough room for a small purse, my car keys and the lippy...

I'm mesmerised by the beading... I love playing with the bag, holding it in different positions so I can watch the beads reflecting the light... and the red is very cool, too!

holiday 003

Friday, April 24, 2009

hello...

Here I am... back from a fabulous vacation! Spent two glorious weeks catching up with family and friends around the country.

I took a large bag of yarn and an assortment of hooks with me. I squeezed as many balls of yarn into that bag as I possibly could... in fear that I might run out along the way. But I might as well have not packed any!

I did so little craft while I was away. Maybe a grand total of two hours in two weeks. There was just so much else going on all the time...

Never mind

I want to show you a project which I finished before I went away, but ran out of time to blog about...

Remember the SCRAPPY KITCHEN MAT I was working on?

Well, I stitched a non slip mat to the underside...

holiday 069

and now it looks like this...

holiday 057

actually... I think it looks even better in real life!

holiday 064

Thursday, April 9, 2009

joining in the round

I hate being able to see where each round has been joined... in my experience, even when worked as neatly as possible, you can ALWAYS see a line appear where you have joined each round.

holiday 031

It drives me crazy!

So crazy, in fact... that I AVOID joining wherever possible...

Instead of joining at the end of each round, I just place a marker to define the end of the round, and keep on working into the next stitch. Basically you just go round and round in spirals, and when you want to finish up, then just work a slip stitch and fasten off.

But that's not what this post is about!

This is for those of you who have asked for help TO JOIN each round neatly. Hopefully I've made it fairly clear, because I'm heading away for a two week holiday, so I won't be able to answer any queries til I return...

If you have trouble understanding... leave a comment, and maybe one of my other readers will be able to help you out before I return.

so... starting with some scrap yarn... ch 18, then slip stitch into 1st ch to form a ring
holiday 014

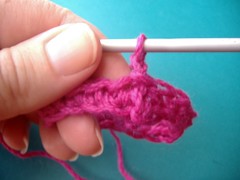
ch1, then work a sc into each ch... 18 sc in total NOT counting the starting ch, join to the 1st sc with a slip stitch
holiday 015

ch1
holiday 016

then sc into the same stitch
holiday 020

work a total of 18 sc around
Copy of holiday 022

then join with a slip stitch to the top of the 1st sc
holiday 024

ch1
Copy of holiday 025

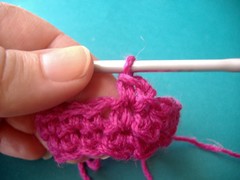
work a sc into the same stitch
holiday 026

work a total of 18sc around
Copy of holiday 028

join with a slip stitch into the top of the 1st sc
holiday 029

work about 8 rounds like this...
holiday 030

now lets try dc... work 2 ch loosely (you could do 3 if you prefer, but I find that 2 loose ch gives me the least obvious join)
Copy of holiday 034

work a dc into the same stitch
holiday 035

work a total of 18 dc around
holiday 036

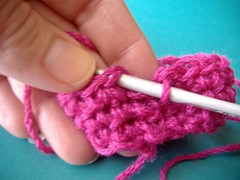
join with a slip stitch to the top of the first dc
holiday 041

holiday 042

and continue for a total of 5 rounds dc
holiday 044

see... there is a very definite ridge where the joins run? ugh

but at least it runs in a straight line... and my stitch count has remained accurate throughout

so... now I've turned it upside down... and embellished it a little...

TA-DA!

holiday 047