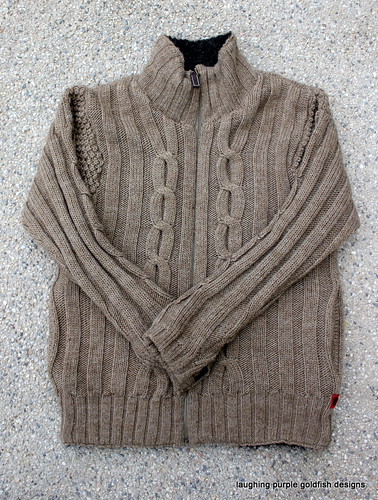
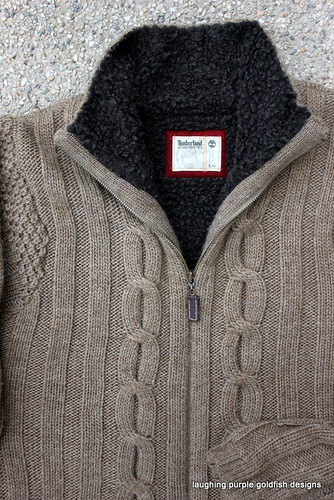
Much of yarn recycling is trial and error... and everyone develops their own little techniques along the way. I have put together a series of photos which step you through my recycling process, to give you an idea of what is involved.
You will certainly have a million questions for me, especially once you actually start experimenting with the process. Ask away... I'll share everything I know with you!
There seriously are loads of photos here, but the basic steps I follow are:
- air the garment
- remove trimmings and tags, and undo seams
- unravel each piece
- wind into a skein
- wash
- dry
- ball
If you are a beginner, I would recommend starting with a single coloured garment, preferably in a simple stockinette. I would avoid cables, fair isle, and anything complicated... until you have had a little practice first. Stick with a standard jumper if possible, and avoid cardigans, coats, or anything with a zipper. A hand knit would be ideal, if you have access to one. Avoid any yarn which looks fluffy or furry or hairy or boucley... because they will be difficult to unravel.
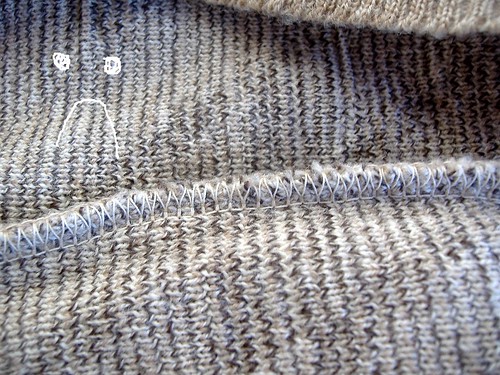
Before I start, I always check the seams. There are 'good seams' and 'bad seams' when it comes to recycling. Overlocked or serged seams are BAD. You will find that the yarn has been cut at the end of every row... so you will end up with lots of short yarn pieces... ugh! So always check the side seams and inner arm seams.
Don't worry if the shoulder or neck seams are overlocked. Because they run across the top of the garment and not down the sides, they are not of concern.
so... some examples of bad seams:

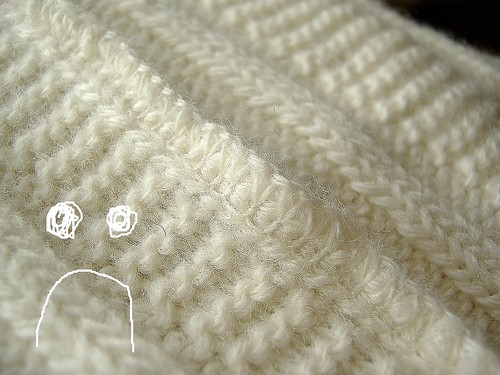
and these are good seams:

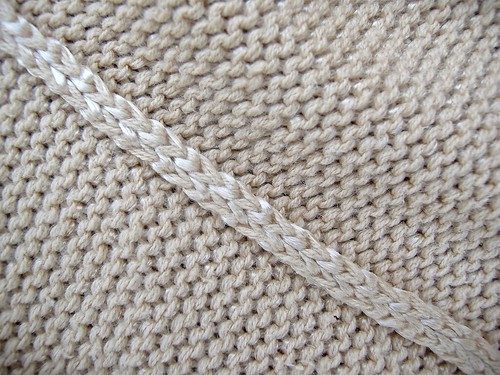
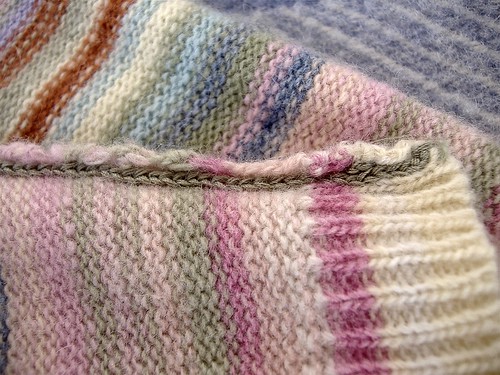
So... if the side seams are bound together by overlocking - BAD!
As for hand knits... all of their seams are GOOD... you don't even need to check them!
Time to get started now...
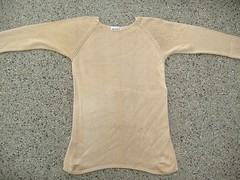
I don't bother washing the garment before I start. Two reasons... Firstly, I don't want to risk any felting or matting of the yarn fibres which would make it more difficult to unravel. Secondly, the yarn is cleaned much more effectively if you wash it AFTER it is skeined.
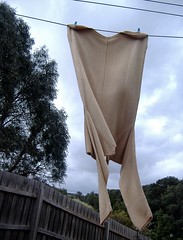
So I just leave it out on the line for a while, just to 'freshen' it before I start working with it.
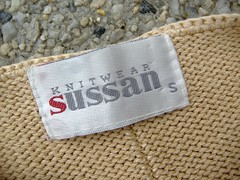

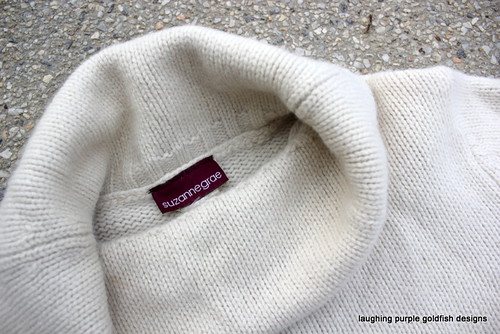
I use an unpicker and a pointy pair of scissors to remove tags, labels, buttons, zips, and any other trimmings.

Then I unpick the seams. Most store bought jumpers are seamed using chain stitch, which is wonderfully easy to undo. See the way the chain stitches form little arrows, pointing down in the photo? Well that tells you the direction to unravel in. So cut the top one, free the tail... and pull... it should unravel in seconds.

So now you have all the seams undone (this one had a seam down the centre of the back piece for some strange reason - probably a
design feature)
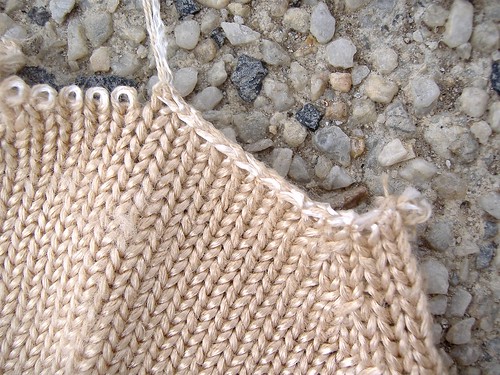
Now it's time to start unraveling each piece, generally working from the top down. The cast off edge forms the same V stitches as chain stitch, and again they point in the direction you need to unravel. So start at the top end and snip, free a tail... and away you go.
Sometimes you might have a hard time getting started. If it's a nightmare for you, just chop the top few rows off, and then start unraveling. You will only loose a few yards of yarn, and it will save your sanity!
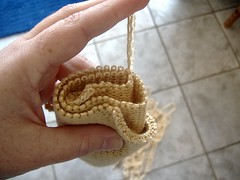
I like to roll the garment piece, so I can grip it nicely while I unravel.
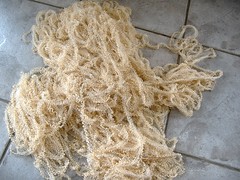
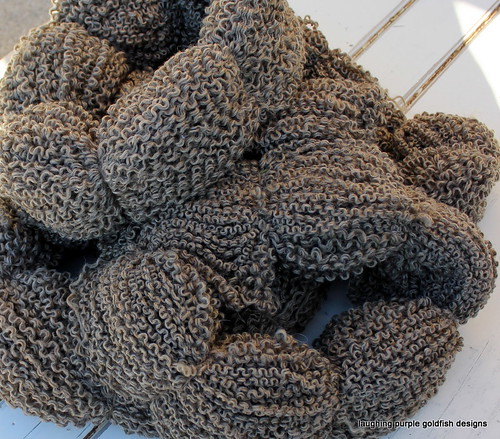
I have heard this kind of display referred to as 'yarn barf' and I think it's a wonderful description.
Anyway, if I am working indoors and am going to be able to skein the yarn immediately, then I just pile it on the floor as I unravel. If I am working outdoors I would wind into a ball as I go, and then skein from that... because you really don't want to get this in a tangle!
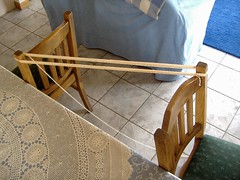
You can wind your yarn into a skein using two chairs like this...
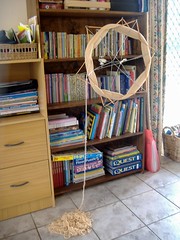
Or using a skein winder if you have one. This one was a fabulous gift from Mr Goldfish last Christmas... and I love, love, love it!
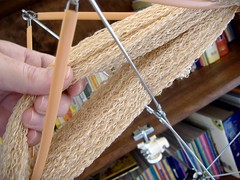
Once it is all wound on, you need to tie the skein in a
figure eight. Use some scrap yarn. I like to use a contrast from the yarn you have wound, so that the ties are easy to locate and removed after drying. I recommend using a light colour, because you would cry if the colour ran from your ties onto you nice new recycled yarn.
First divide the yarn in half as pictured above.

Then pop a scrap piece of yarn through like this...
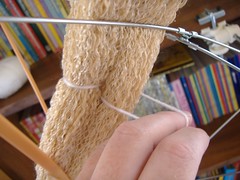
And back through again, forming a figure "8" with the tie.
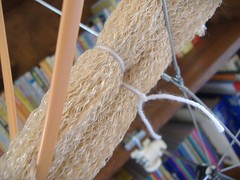
Finish with a double knot.
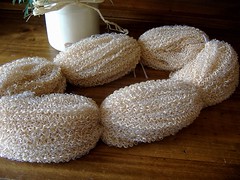
I like to do this in six places around the skein to prevent tangling.
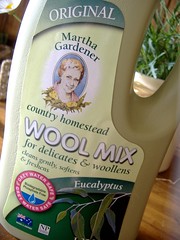
Wash by soaking in warm water and wool detergent. I'm a big fan of Martha Gardener's Eucalyptus Wool Mix, but I'm not sure if it is available outside of Australia.

Gently submerge the skeins. I prefer to soak all the yarn together, so that if it happens to lose any colour, all skeins will be affected evenly.

If possible, I leave it to soak overnight.

Then in the morning, I rinse it in a bucket of cold water.
Of course, with our current water restrictions here... that rinse water gets recycled directly onto my garden...
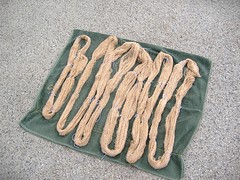
I gently squeeze the excess water from the yarn, and lay the skeins on an old towel.
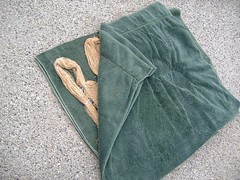
Then I lay another old towel on top.
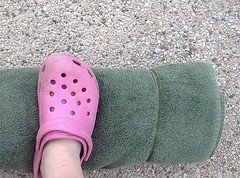
Roll it up, and walk up and down the length of it for a minute or two. This helps absorb a significant amount of water from the skeins.
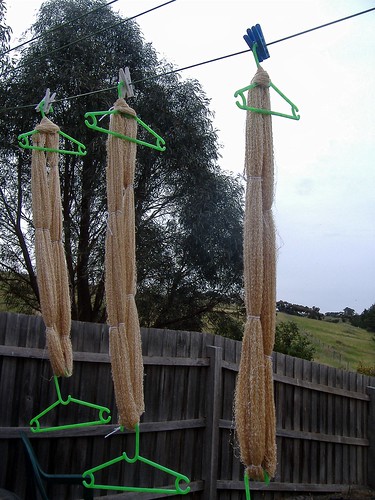
Then I hang each skein on a plastic coat hanger to dry. I also use a second hanger to 'weight' the yarn slightly, and help stretch some of those kinks out.
If the weather is wet, then I put the coat hangers along a curtain rail in a sunny window and dry the yarn indoors.
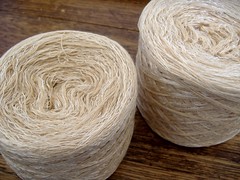
When dry, cut the ties off and place the skein back on to the winder or chairs. Find the end and wind into a ball.
Click here for my ball winding tutorial.
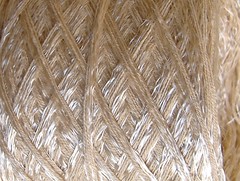
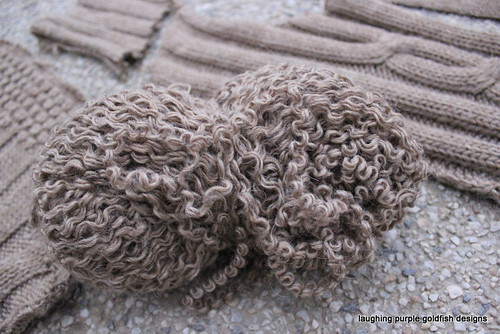
Interestingly the yarn I have claimed from this jumper is not that nice. I'm actually a bit disappointed with it. It looked nice in the garment, but is now a bit ugh! See the sheen in the balls. That is the rayon component. I liked that sheen until I started unraveling...

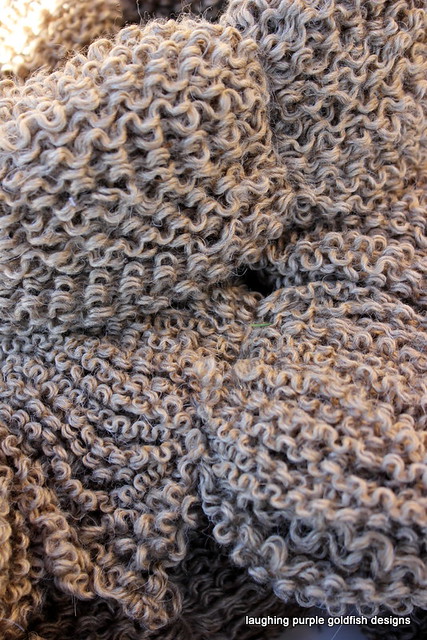
You can actually see the cotton and rayon strands here.
The rayon is harsh and grabby and kind of brittle. It actually reminds me of over bleached hair. I'm thinking it may well become hair on a creature or doll at some point. If I want to knit or crochet with it I think I will have to ply it first. I might even ply it with a different yarn to make my own special blend.
I guess the thing is, not to give up... occasionally you get a bit of a dud (like this one) but that just pushes you to think of alternate project ideas.
Most of what I have learned on this topic is through experience, but if you would like to check out the tutorial I first read on the topic, then
click here.