
It drives me crazy!
So crazy, in fact... that I AVOID joining wherever possible...
Instead of joining at the end of each round, I just place a marker to define the end of the round, and keep on working into the next stitch. Basically you just go round and round in spirals, and when you want to finish up, then just work a slip stitch and fasten off.
But that's not what this post is about!
This is for those of you who have asked for help TO JOIN each round neatly. Hopefully I've made it fairly clear, because I'm heading away for a two week holiday, so I won't be able to answer any queries til I return...
If you have trouble understanding... leave a comment, and maybe one of my other readers will be able to help you out before I return.
so... starting with some scrap yarn... ch 18, then slip stitch into 1st ch to form a ring

ch1, then work a sc into each ch... 18 sc in total NOT counting the starting ch, join to the 1st sc with a slip stitch

ch1
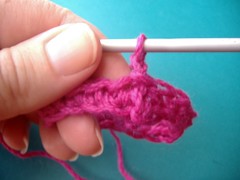
then sc into the same stitch

work a total of 18 sc around

then join with a slip stitch to the top of the 1st sc

ch1

work a sc into the same stitch
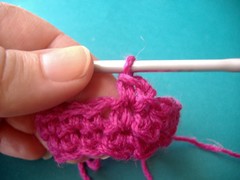
work a total of 18sc around

join with a slip stitch into the top of the 1st sc
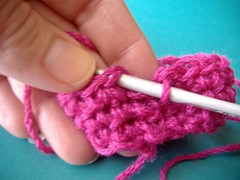
work about 8 rounds like this...

now lets try dc... work 2 ch loosely (you could do 3 if you prefer, but I find that 2 loose ch gives me the least obvious join)

work a dc into the same stitch
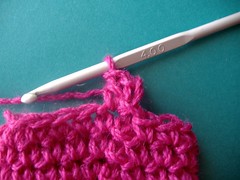
work a total of 18 dc around
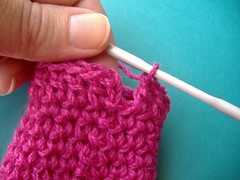
join with a slip stitch to the top of the first dc
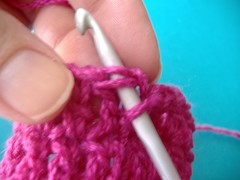
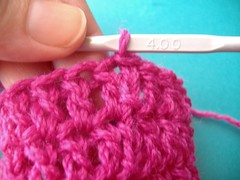
and continue for a total of 5 rounds dc
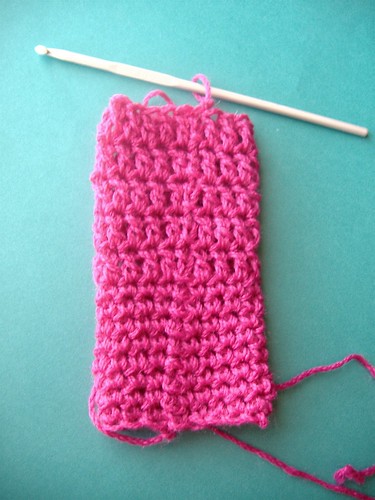
see... there is a very definite ridge where the joins run? ugh
but at least it runs in a straight line... and my stitch count has remained accurate throughout
so... now I've turned it upside down... and embellished it a little...
TA-DA!

8 comments:
I love these tutorials that you've been posting! Thanks!
I hope you had an enjoyable and restful break purple. There is no doubt about you, you are a natural teacher!! I get it now, and see where I have been mucking up. Again a big thank you.
That is really cool!
I know I've never commented before, but I thought I should mention that I never noticed how dependent I am on your blog until you went on this vacation.
You're a constant creative inspiration - I follow hundreds of blogs, and yours is one of the five or six that I will check on before going through the rest. So thank you for the inspiration!
I see I perfectly timed my break from blogland to coincide with yours, lol. Hope you had/are having a good holiday :-)
Another lovely clear tutorial - I don't think I was doing the first stitch in the same place. I shall go and have a play now.
Love the barbie dress!
I always love to see new outfits for Barbie!.. and thanks for the crochet tips! That joining ridge really bugs me too!!
Your tutorial is wonderful.
Thank you for your ever-inspiring crochet loveliness!
fruitful fusion - I love sharing my crafting skills with others... glad you found the tuts helpful!
dawnie - sweetie - thanks... you are always such an encouragement to me
thank you
stancesandstitches - I'm so glad you shared that with me... what a buzz... thank you... I'm definitely feeling the love!
sam - hopefully it will all make sense to you now :)
beansieleigh - I think we need a support group... for crocheters who are haunted by joining ridges!
dawn - you are most welcome
Post a Comment