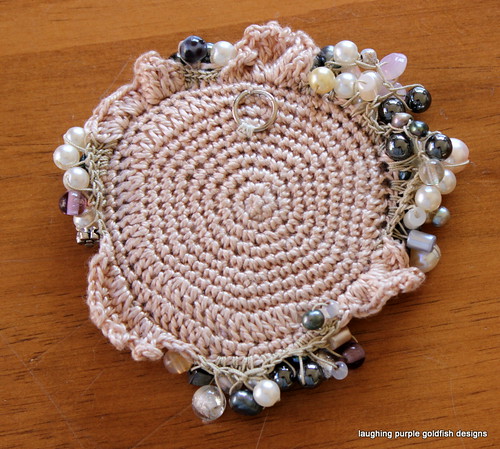
How about I show you just how easy it is to make one of these knitted bracelets?
Unfortunately I seem to have chosen a shocking background for the progress shots here. I wasn't really thinking about colour, and I just placed my work on the nearest surface for the pictures.
As always, if you would like to see the photos in greater detail... click on them... and you will be able to enlarge them using flickr

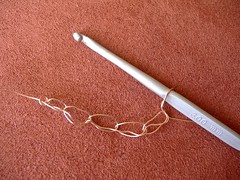
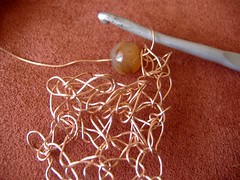
Firstly you will need an old pair of needles. Once they have been used to knit wire with, they will never be quite the same again. I am using a 2.75mm pair, but the exact size is not critical. I could probably have gone a little larger. But these ones were already old and bent, so it was an easy choice. Use what you have!

This is the copper wire I reclaimed from the electrical cable
(click here for the blog post detailing how I did this) It is a bit thicker than the crafting wire I used in the earlier projects. If you are looking to buy wire, I recommend a 28 gauge... it is pliable enough to work with, yet strong enough to resist breaking too easily.
My original knitted bracelet was worked with 28 gauge wire and 2.75mm needlesYour wire will be easier to work with if it is warm, so you might like to place it in a sunny window before you start working. It really does make a difference!

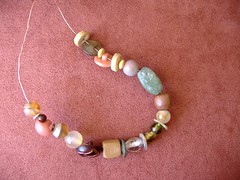
Gather a variety of recycled beads and buttons... or whatever you plan to embellish with

Before starting to knit, you will need to thread these items on to your wire. Always thread on more than you think you will need. If you are using recycled wire you will need beads with large enough holes to easily pass over the kinks in your wire.

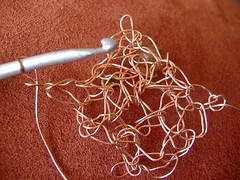
Cast on a few stitches... the width you would like the bracelet to be.
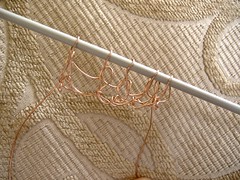
Make sure you keep your stitches
LOOSE, as the wire has no 'give'
Knit one row. This bracelet is worked entirely in garter stitch. Just plain old knitting
Try to ignore the fact that it looks ridiculous!It looks nothing like regular knitting - but that's okay
Do not panic if you think it 'looks wrong'... start chanting to yourself
"embrace the squiggle... embrace the squiggle... embrace the squiggle"
Just keep going... it WILL be fine!

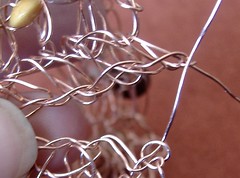
When you are ready to start adding beads, knit the first stitch. Put your needle into the second stitch as if to knit it, then slide a bead all the way up to the needles.

Now you can wrap the wire around the needle and continue making the next stitch. Add as many beads as you like.
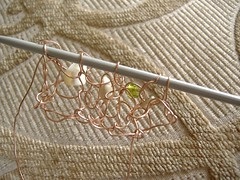
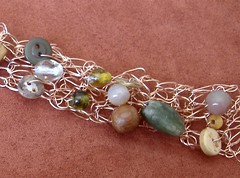
You'll notice that all the beads are settling to the BACK of your work.

Then when you turn for the next row... you will see them clearly.
ALWAYS ALTERNATE YOUR ROWS... a bead row is always followed by a NON-BEAD row
REMEMBER if the beads are facing you, you are working a NON-BEAD row
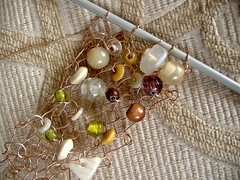
See the way the top two rows of beads are bunched up together in the above photo?

I like to give my work a stretch every couple of rows, to open it up a bit

Work until you are happy with the length.

I have joined this one by 'sewing' the two ends together using the tails of wire. Obviously I have not actually used a needle, just poked the wire end though.