Showing posts with label paper. Show all posts

Monday, July 15, 2013

Repairs to the Paper Mache Mannequin...

Paper Mache Mannequin

I'm a bit hopeless when it comes to FINISHING things...

Surely I'm not the only one, right?

It's just that other projects come along, with new inspiration - and I can't help but go chasing them.

This paper mache mannequin was started back in April 2012... but never actually finished.

There was always supposed to be more layers of paper, including a top layer of torn sheet music,,, and then a few coats of clear lacquer.

But I barely got one layer on.

In fact, if you look at the lower section of the body - you can see that I used giant pieces of paper, just to get that first layer finished quickly!

That was pretty lazy - even for me...
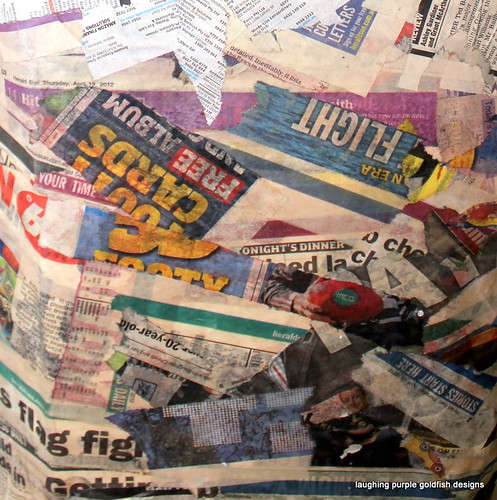
Paper Mache Mannequin

So I shouldn't really be surprised that the neck broke a few month ago, while I was trying to block a hat on it (and pushing WAY too hard, might I add).
Paper Mache Mannequin

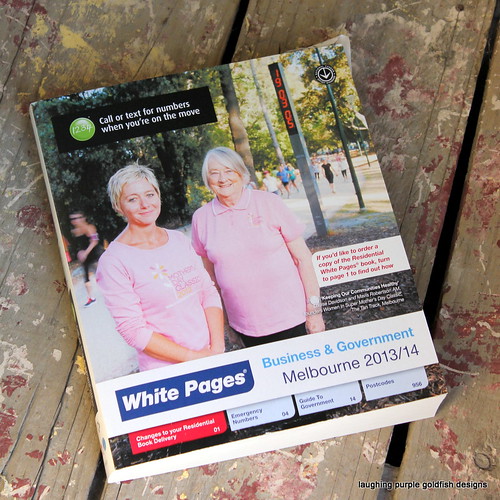
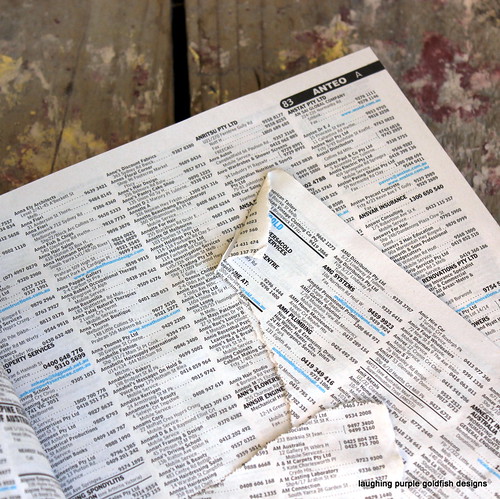
The other day, we received our copy of the local White Pages... which usually goes straight from the front doorstep to the Recycle Bin. I honestly don't know why they print so many copies of these any more. Sure, some people still use them - but I would think most people look business numbers up online these days - or refer to the individual business websites...
Paper Mache Mannequin

This year I'm putting my copy to good use.
Paper Mache Mannequin

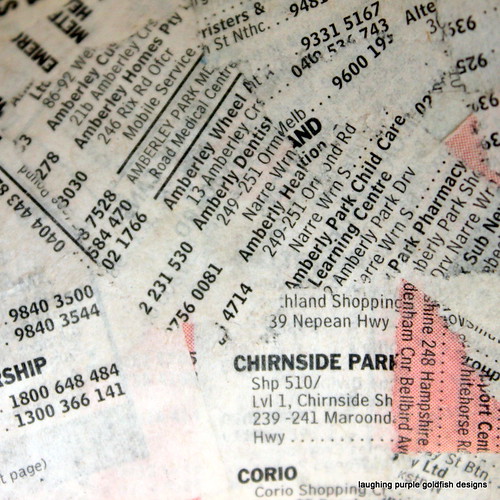
I love the way the tiny print is looking. It still has that recycled feel, but doesn't distract in the way that the newsprint does...

So while it's a nice sunny day, I'm outside adding layers of paper mache - in the hope that I actually finish this off properly by the end of the week!


Monday, April 30, 2012

the Accidental Hat... and Little Miss Paper Mache

IMG_2930

My first Accidental Hat was made years ago for my daughter Katie. We called it the Accidental Hat, because it was originally supposed to be a bag - but you can read all about that in the Original Blog Post.

Just looked at the date on that original post - January 2008 - WOW - more than four years ago!!! How many of you were reading my blog way back then???

IMG_2928

Anyway.

This one was made in an adult size. I've created a ribbed effect to make it stretchy and extra comfortable. Plus I've worked an extra row before changing each colour, which means that there are NO ENDS to weave in at all.

IMG_2925

I'm not going to write a formal pattern, but here's the basics for how to make it.

  • 8ply yarn and a  5.0mm hook
  • chain 46
  • work in sc (US) through BACK LOOPS ONLY
  • work two rows of each colour until length is 53cm (or desired circumference)
  • seam foundation row and last row together
  • tie loose ends together to close the top of the hat across
  • WEAR WITH A SMILE!

On a separate note... here's the progress on Little Miss Paper Mache:

 IMG_2900

I think she's going to be an ongoing project for me, as I fiddle about with some shaping.


Thursday, April 26, 2012

Paper Mache Mannequin

IMG_2739

For the longest time I have wanted a Head Form so that I can display hats to photograph. I've trawled through so many Op Shops looking for one... with no success.

Well, you DO see them in the Op Shops - but they are always very clearly marked NOT FOR SALE.

After what felt like a Lifetime of Searching, I gave in and bought a new one.

IMG_2733

I picked it up at Lincraft - it's polystyrene with a black velvety finish. The one on display looked a bit worse for wear, all scuffy and splotchy, so I chose one in the cellophane packaging...

Sad thing is, that within a few days... my Brand Spanking New one looked just as awful as the display one in the store.

The velvety finish became patchy, and every foreign fibre would stick to the form like glue. I thought I could fix the exposed polystyrene by painting over it with black nail polish - but I think that just made it worse.

IMG_2743

Twelve months down the track, and I've become a little greedy. Now I want a head AND torso mannequin, so that I can display scarves as well as hats...

So I've decided to make one myself - as you do!

IMG_2750

I'm using some polystyrene packaging for the torso... and adding it to the head which I already have.

It's Super Messy to work with polystyrene... as you can see...

IMG_2755

It won't ever be a Realistic Mannequin, but will work well for my needs.

IMG_2758

Friday, December 9, 2011

Sometimes I Swear...

PC080079

I know it's Not Nice...

and I know it's Not Ladylike...

and it's certainly Not A Good Example to my children...

But HOLY MONKEYS, sometimes you Just Have To...

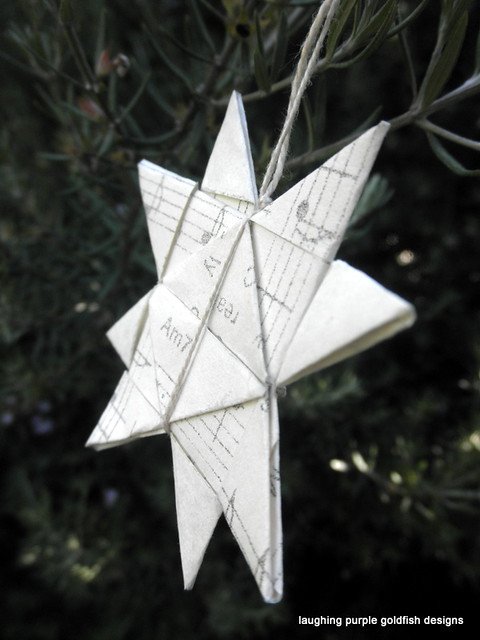
And I DID swear while making this star!!!

PC080035

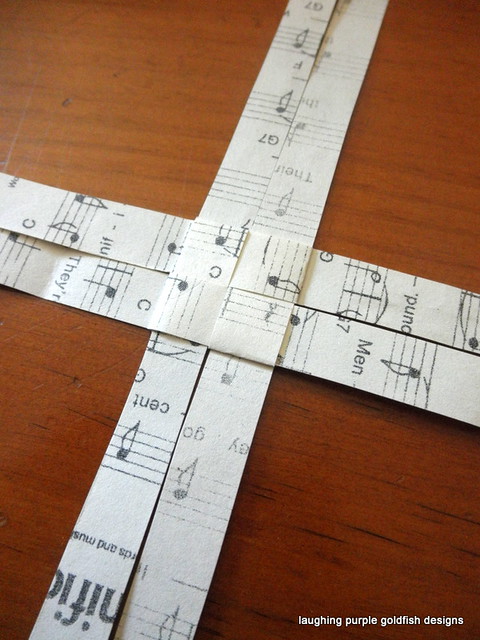
It all started out in a very civilised manner... with four strips of recycled paper

PC080066

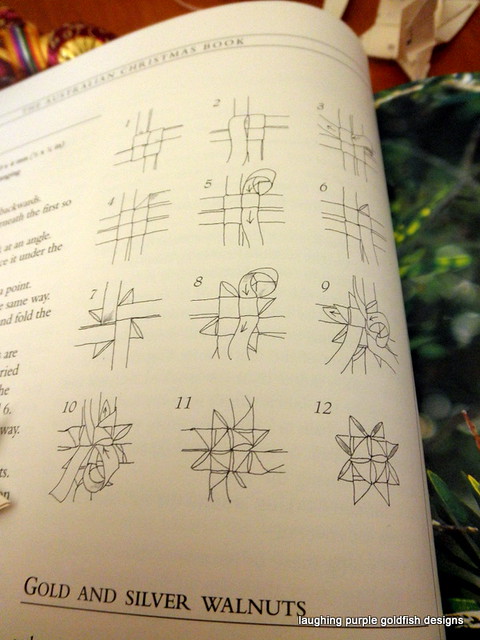
But by the time I reached Step 10 - I was cursing!

I mean, just LOOK AT STEP 10... can you make any sense of that at all???

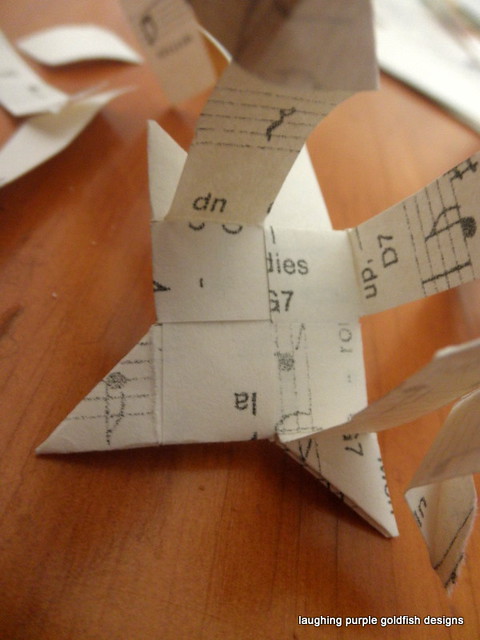
I got about this far when my paper started to tear apart...

PC080060

So it was time for fresh paper.

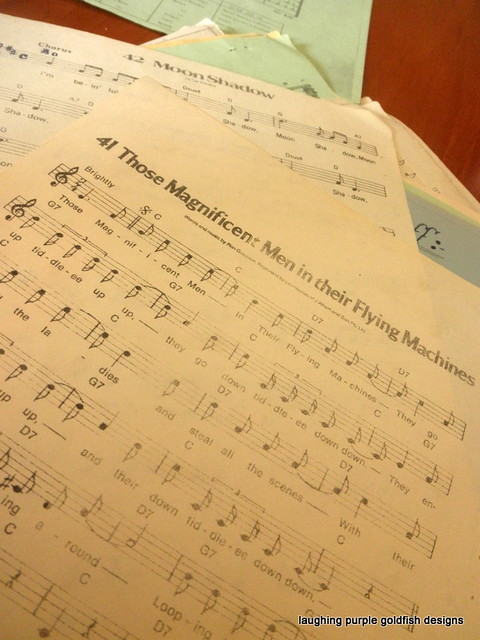
And just what am I using for paper?

Those Magnificent Men in their Flying Machines...

As you do.

PC080021

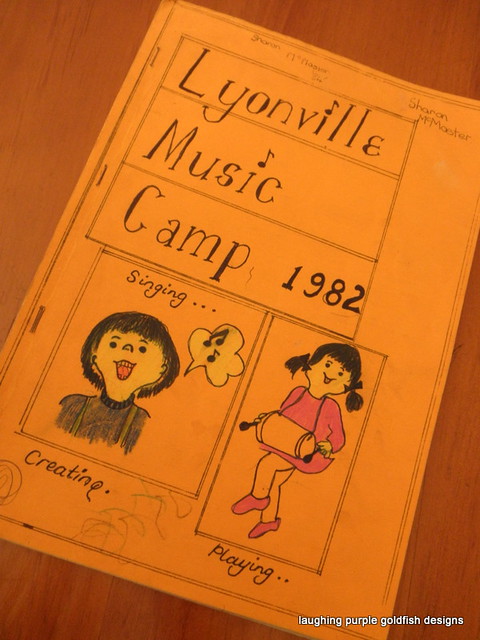
I found this old book when cleaning out the other day...

I know it's mine, because I've put my name on the front cover.

TWICE!

PC080018

Yes.

You read correctly.

School Music Camp 1982.

(Man I keep some crap)

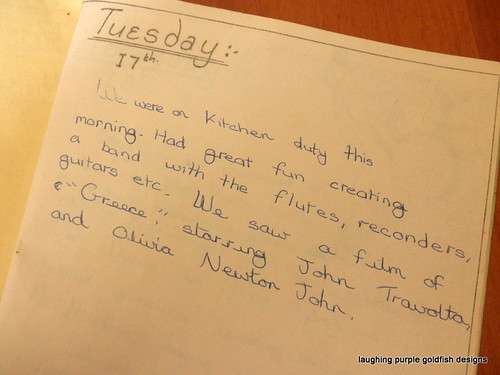
It even had a little Journal in it...

PC080020

Look at that... we watched Greece! Could that possibly have been Grease, do you think???

Awww - the memories!

Anyway, back to that wretched star...

I got there in the end and although I love the way it looks, I don't know if I can muster up the patience for a second one!

PC080075

Looking for something else to read?

I'm linking up with Rhonda at Down To Earth... who has some sad news today about her chooks}