Thursday, June 3, 2010

skull cap

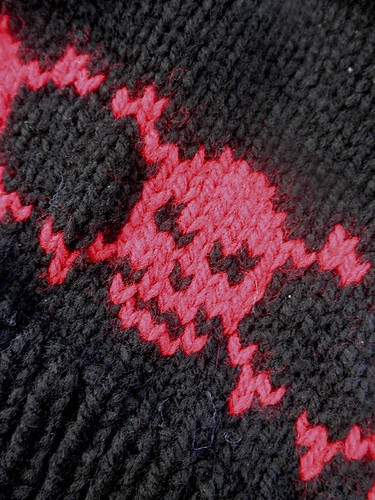
skulls, closeup

This started out as a project to prove to myself that I CAN work with circular needles.

Plus I was feeling a bit bad about the fact that I so rarely make anything for my boys to wear.

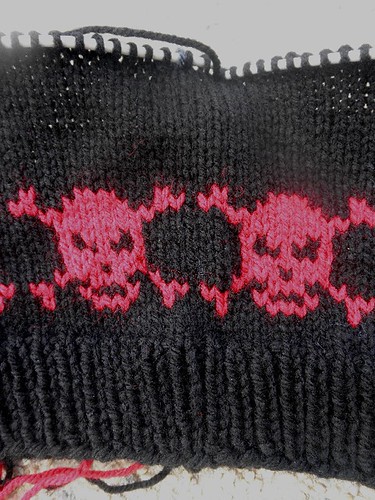
So I'm working on this skull beanie. The photos are a bit average, but I have the base of the beanie done, and am now working on the head shaping.

This one, with red-on-black is for Master Ten...

Master Eight has requested orange-on-black for his version...

and Master Fifty-Two (that would be Mr Goldfish) has put his hand in the air for his very own skull cap - the first time that he has EVER asked me to make him anything!!!

skulls on needles

Wednesday, June 2, 2010

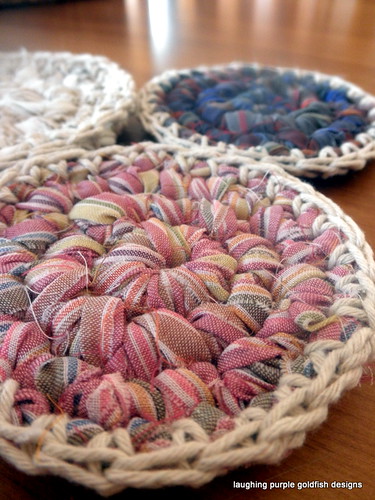
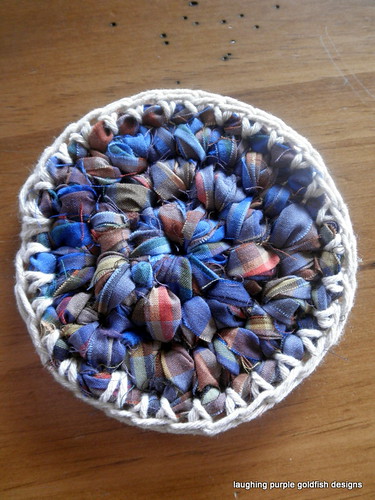
make your own rag coasters

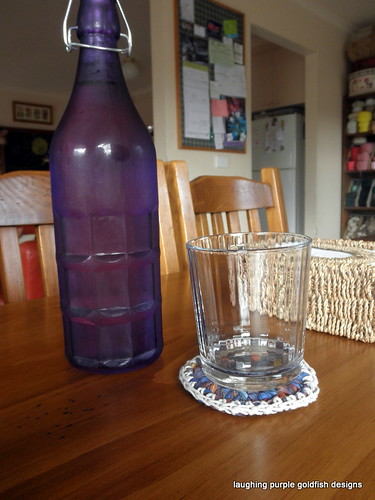
rag coasters, 3

These practical coasters are quick and easy to make, using scrap or recycled materials. You require only basic crochet skills.

You will need:

  • rag strips cut to 1 inch thick - see my tutorial here

  • kitchen string

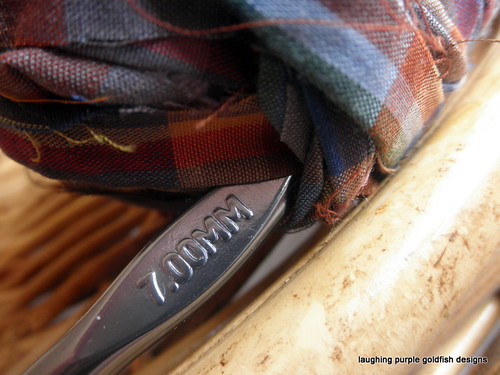
  • 7.0mm crochet hook

  • 4.0mm crochet hook

IMPORTANT TIP: keep your stitches loose when working with rags, or you will have difficulty inserting the hook to make stitches

material and hook

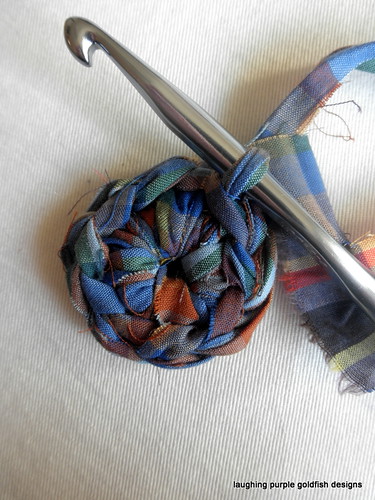
Begin with an Adjustable Magic Ring.

round 1

round 1 - ch1, 10sc into ring, pull tail to tighten, join to 1st sc with a ss.

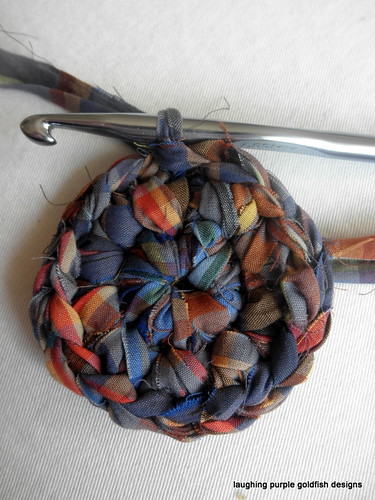
round 2

round 2 - ch1, inc in each st, join to 1st sc with a ss (20sc)

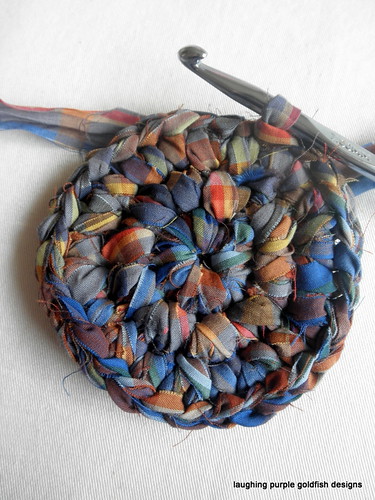
round 3

round 3 - ch1 [inc, sc] repeat to end, join to 1st sc with a ss (30sc)

progress

use 4.0mm hook to weave in ends

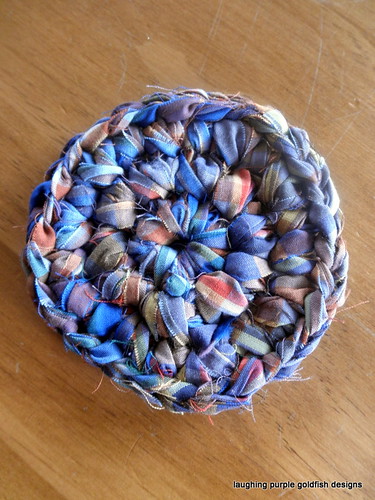
finished

round 4 - use 4.0mm hook and kitchen string, work sc into each stitch from round 3, join to 1st sc with a ss (30sc)

P6010033

weave in ends and you're done!

Tuesday, June 1, 2010

under the weather

P6010001

I've been a little quiet this past week...

Spent most of my time tucked up in bed, trying to defeat the dreaded lurgy...

This is one of the times when I miss mum the most - when I'm not feeling well - I remember as a child she would sit by my side and stroke my forehead until I fell asleep. I sometimes ask Mr Goldfish to do it for me... but it's really not the same. He lasts about 30 seconds, and then asks "is that enough yet?"

So instead, I've settled for snuggling up under the childhood blanket that mum knit for me.

Meanwhile the kids are enjoying my complete lack of voice, and inability to shout at them!

Wednesday, May 26, 2010

simple maths

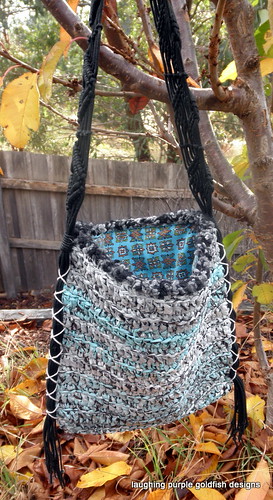
finished


bag for sale - click here for details


how did I make it???

40 plastic bags

plus...

2 audio cassette tapes

plus...

a macrame belt

plus...

some kitchen string

plus...

some fabric remnants

and...

a length of scrap wool

... and there's even a pocket inside

pocket

Monday, May 24, 2010

super sleuth!

embroidered bootee

Guess what guys???

We have a super sleuth among us...

Three big cheers for VJESTICICA who managed to track down the pattern for these bootees!!!

You can find the pattern in this book here which is available for sale from Annie's Attic.

Mind you, that's not where I got the pattern from...

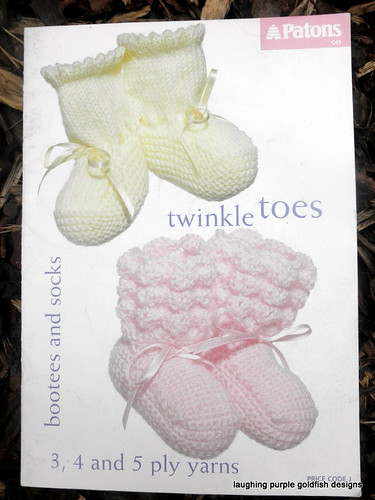
I used this book here:

booklet, bootee

Some of you Aussie folk might actually have this one at home. I probably bought it about 12 - 15 years ago, probably somewhere like Big W or Spotlight or a similar store. It's a Patons booklet, and it's one that was around for years and years. But no longer in publication.

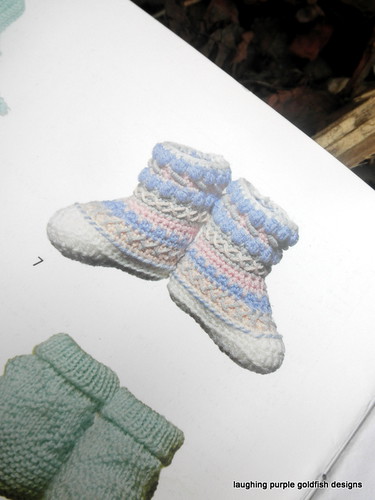
Here's what the bootee looks like in my pattern book:
booklet, bootee - closeup

And here's my finished bootees...

Well, one is finished, anyway!

I thought I'd take a comparison photo for you - one with embroidery and one without...

pre and post embroidery

My embroidery isn't EXACTLY as directed in the pattern...

The blue on green at the top is supposed to be bullion stitch - which I haven't mastered yet... so I just worked a straight stitch there.

The dark blue crosses on light blue are as written, but I added a little red dot in the centre of each.

And the light blue zig zag on dark blue, was supposed to be herringbone stitch, but I couldn't get it working neatly into the space... and I went the simple zig zag instead!

Anyway, time for me to get on with embroidering the second bootee, before the baby outgrows them...

Friday, May 21, 2010

cutie bootees

bootee, progress

Ooooooh.... it's a long, long time since I have sat down and made a pair of bootees. And I honestly don't think that I have EVER crocheted a pair, so this project was quite a novelty!

This is the sole of the foot... can you just imagine the eency weency teeny weeny little footsie wootsie which is going to fit into these???? Too adorable...

But, as we all know... they GROW UP!!!

Anyway,

the pattern was a bit of a challenge for me - as it is written in UK terminology, and I generally only work in US terms. So there was a bit of translation going on in my head the whole time, but I got there in the end.

Now here's the surprising part...

So far I have followed the pattern EXACTLY.

Well, I changed down a hook size, but that was only because I couldn't find a 3.5mm hook (not that I don't have one, just that I couldn't FIND it)

And I didn't use baby yarn in pastelly colours, because... well... I didn't HAVE any... but I've stuck with a 5 ply yarn...

But those things don't really count, do they???

Other than that, I have followed the pattern as written.

Even all those colour changes - they are exactly as written in the pattern.

But they're not finished yet! There's embellishing to come - it says so, right there in THE PATTERN!!!

I'm off to find a tapestry needle, will have the results for you soon...

bootee, pre embroidery

Thursday, May 20, 2010

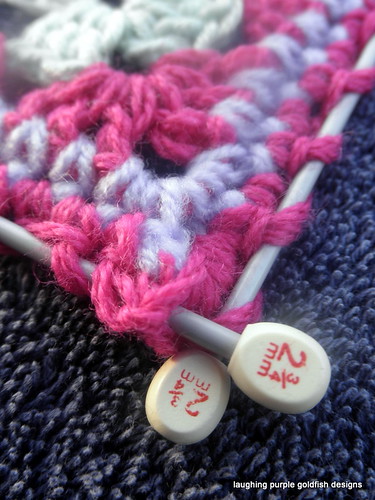
blocking with knitting needles

needle blocking, closeup

Now this is a technique that I heard mentioned a couple of months back, and finally decided to give it a try for myself.

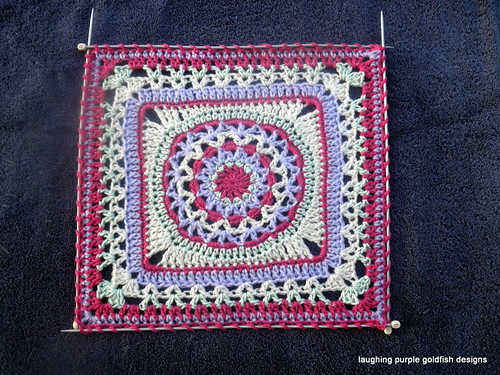
Blocking with knitting needles.

Obviously it only works for small projects.

I've used 2.75mm needles, which are 35cm long. It would have been even better if my needles were actually straight, but these ones are a weeny bit bent.

They're a perfect size for blocking a 30cm/12 inch suare.

Just weave needles along all four edges. Make sure that your piece is sitting flat, and then give a light water spray all over. Lightly press if desired (although you do need to be VERY careful with some fibres).

Leave the piece to dry or cool down, before removing needles.

needle blocking

How easy is that???

And it saves messing around with all those pins like I usually would.

Have you tried needle blocking yet?