Friday, December 9, 2011

Sometimes I Swear...

PC080079

I know it's Not Nice...

and I know it's Not Ladylike...

and it's certainly Not A Good Example to my children...

But HOLY MONKEYS, sometimes you Just Have To...

And I DID swear while making this star!!!
PC080035

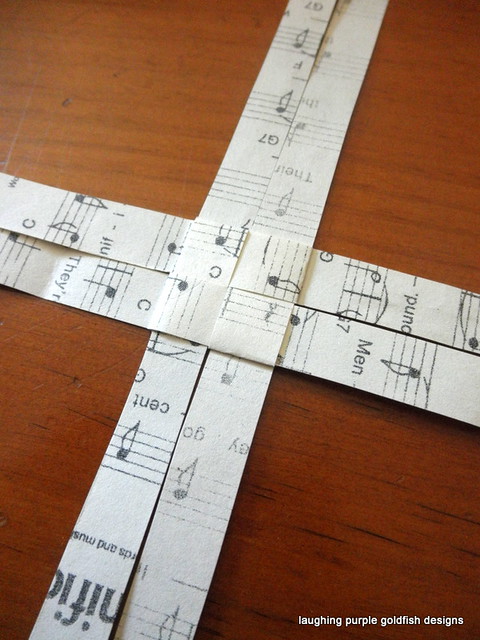
It all started out in a very civilised manner... with four strips of recycled paper
PC080066

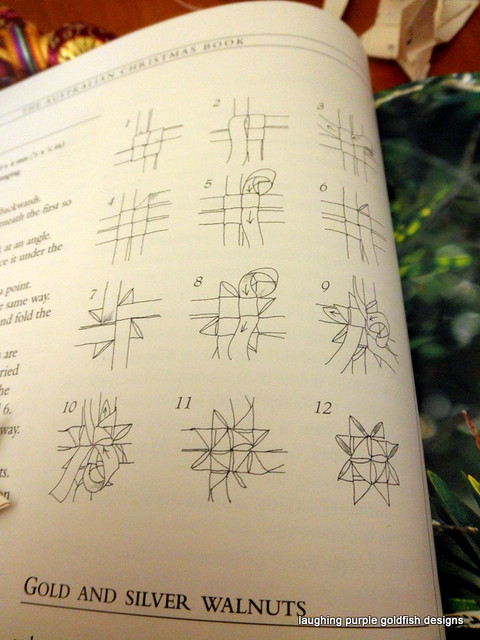
But by the time I reached Step 10 - I was cursing!

I mean, just LOOK AT STEP 10... can you make any sense of that at all???

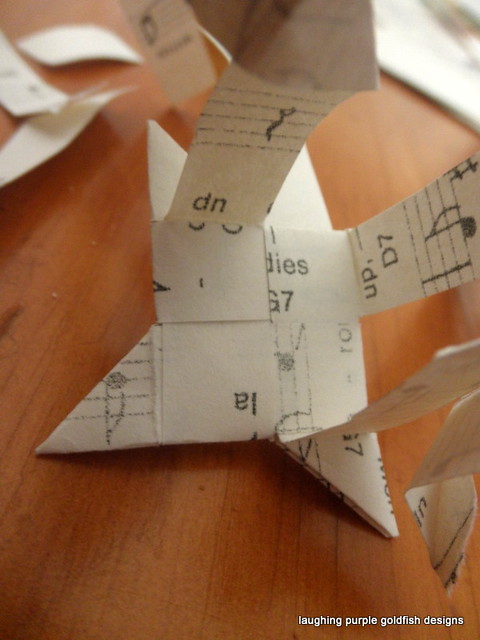
I got about this far when my paper started to tear apart...
PC080060

So it was time for fresh paper.

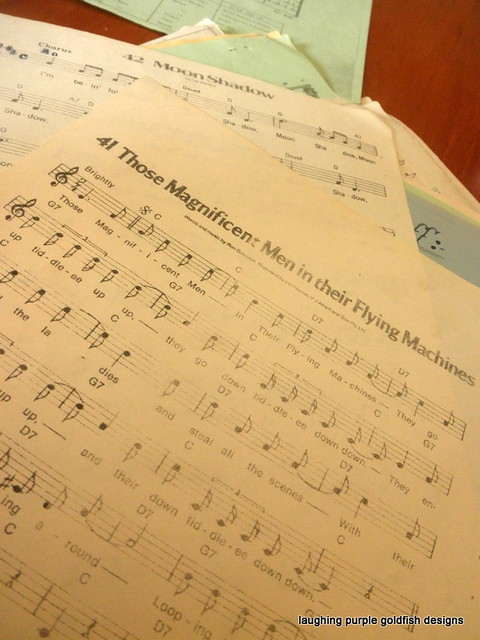
And just what am I using for paper?

Those Magnificent Men in their Flying Machines...

As you do.
PC080021

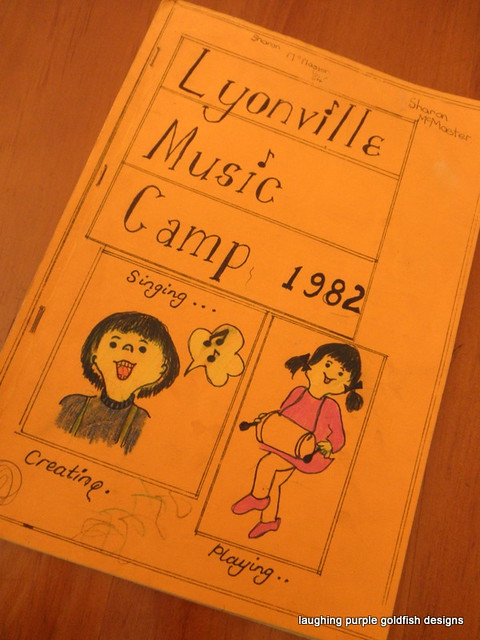
I found this old book when cleaning out the other day...

I know it's mine, because I've put my name on the front cover.

TWICE!
PC080018

Yes.

You read correctly.

School Music Camp 1982.

(Man I keep some crap)

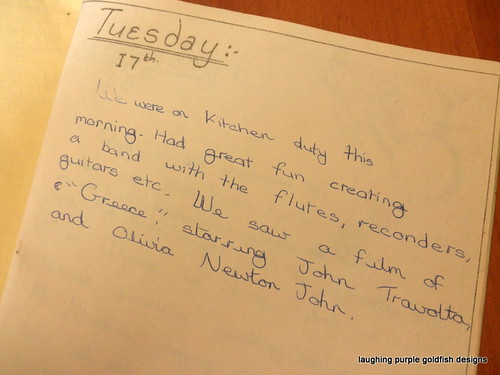
It even had a little Journal in it...
PC080020

Look at that... we watched Greece! Could that possibly have been Grease, do you think???

Awww - the memories!

Anyway, back to that wretched star...

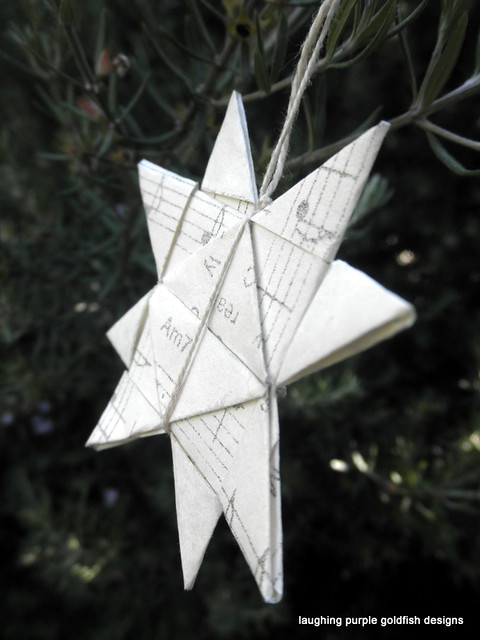
I got there in the end and although I love the way it looks, I don't know if I can muster up the patience for a second one!
PC080075

Looking for something else to read?

I'm linking up with Rhonda at Down To Earth... who has some sad news today about her chooks}

Thursday, December 8, 2011

Advent UFO

PC040049

What do you do with an UnFinished Object (UFO) that you are never EVER going to finish?

Seriously...

Like one that has been hanging around in your craft cupboard since the 1980s?

Do you trash it?

Or donate it to the Op Shop?

Or tuck it back into the cupboard - JUST IN CASE you decide to finish it one day?

PC040045

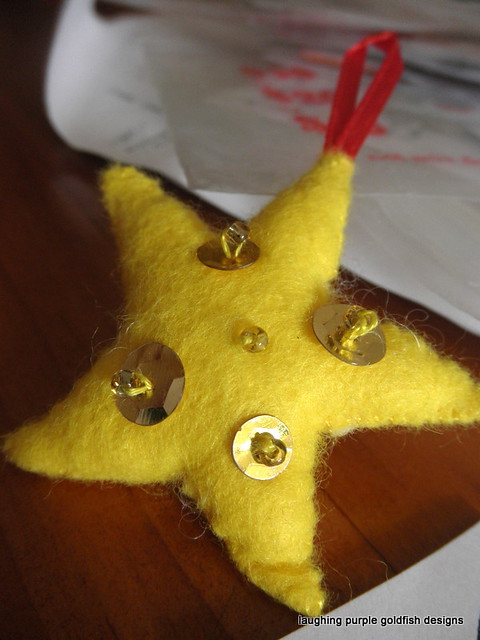
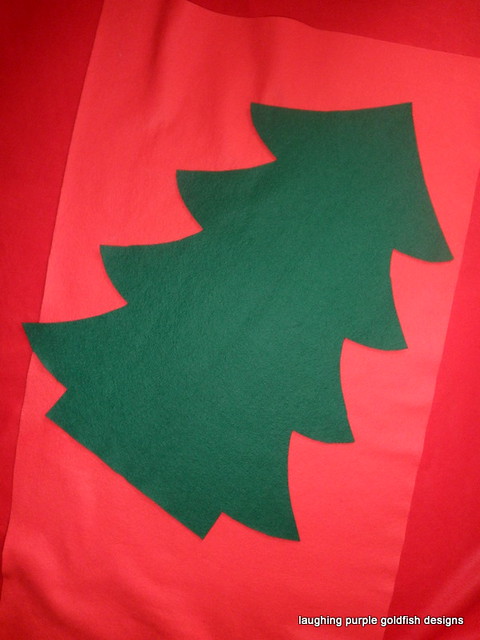
This one is an Advent Calendar made from felt.

It's a wall hanging - the Christmas Tree has buttons on it for the decorations, which hide in the pockets at the bottom... until it is their turn to hang on the tree.

Totally gorgeous, and the kids are excited about starting this tradition in our home.

But first I need to make it!

PC040047

The project was started by my friend Adele, but she donated it to me after it has spent TOO MANY YEARS languishing in an unfinished state at her place.

PC040046

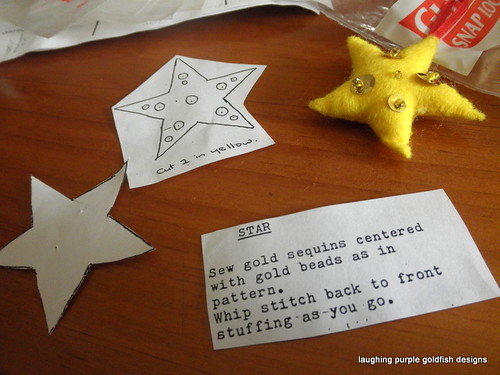
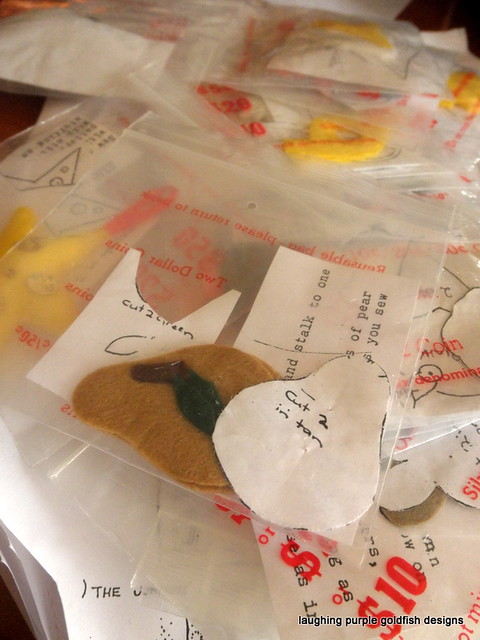
Mind you, I think that Dellie has done most of the hard yards already. All of the pieces for each decoration have been cut from the felt, and placed in individual bags.

In fact, two of them have already been constructed.

PC040053

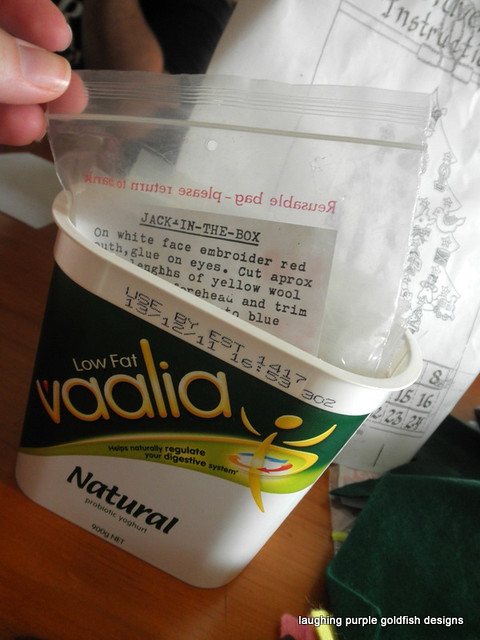
Katie was very helpful, and has filed each little baggie in the order she would like me to make them.

Notice our stylish File Box?

We call it 'The Vaalia'... very IKEA, don't you think???

PC040057

But before I get started on the decorations, I guess I should prepare the Tree!

The instructions for this part seem to have gone missing, so I'm just gonna 'wing it'

PC040082

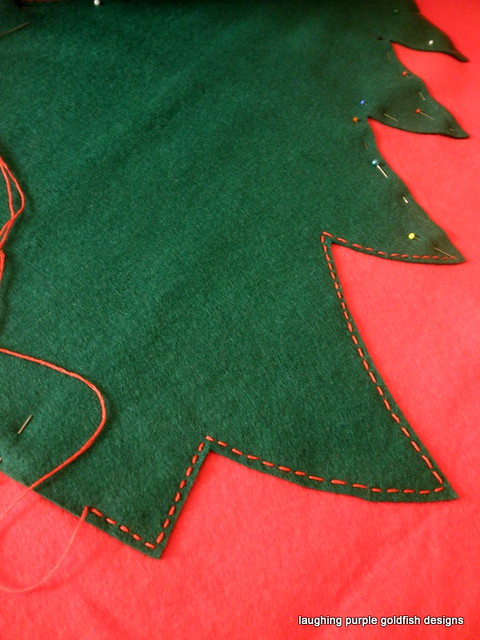
Stitching by hand, because I don't trust myself to get it right using the machine...

Plus I like the look of the contrasting embroidery:

PC040085

I figure that if I can get the Tree done in the next day or two... then maybe a couple of decorations each day after that, we can 'kinda sorta' use it this year...

Or maybe NEXT YEAR!

Thanks Adele.

Wednesday, December 7, 2011

All I Want For Christmas...

... is my two front teeth!

Just look at that Gappy Smile - isn't she adorable?

PC040007

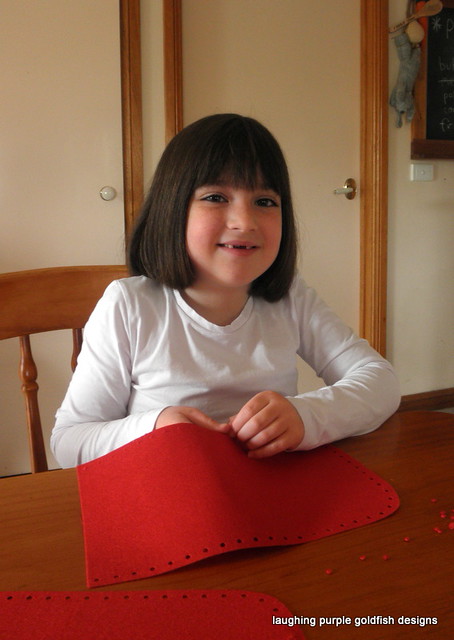
Little Miss Katie is now 7 1/2 years old, and heavily into all things Christmas...

PC040013

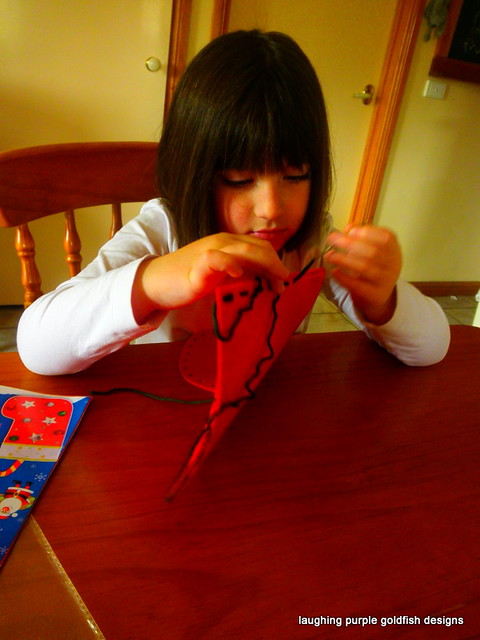
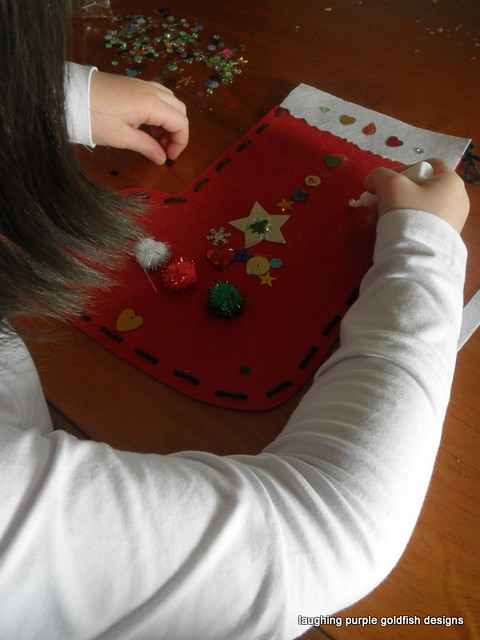
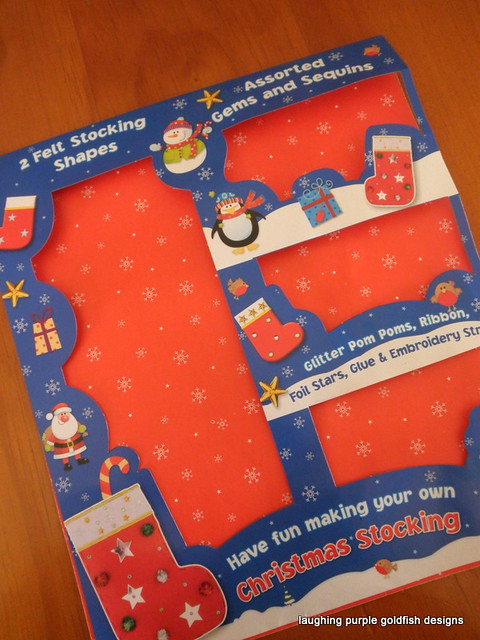
Grandma Maria bought her a DIY stocking kit, and my generous girl is making it up for her baby sister.

We almost had tears with the sewing... lots of frustration with the yarn not going where she wanted it to! But once she slowed down and thought about it carefully, things really improved.

(I know the feeling)


PC040022

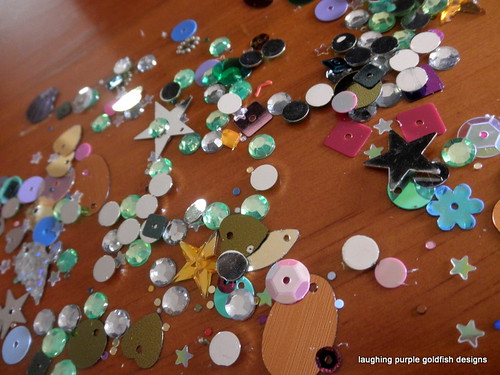
Meanwhile, Mummy has been given permission to use the packaging... but NOT the leftover bling

PC040030

PC040001

Tuesday, December 6, 2011

Doily Snowflakes - Photo Tutorial

PC020129

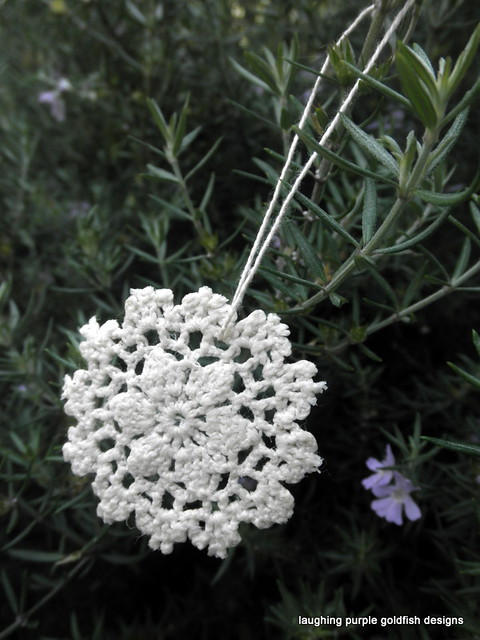
Would you believe that this decoration took less than 5 minutes to make???

I promise you, it did!

You'll need an old doily, scissors, PVA glue and a piece of string for hanging:

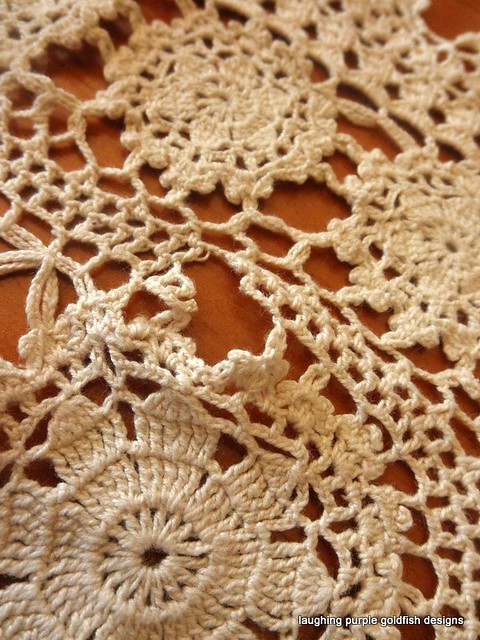
So I started with this old doily which had a small tear in it. It could probably have been mended, but I wasn't going to use it anyway.

PC020084

First you cut out your motif.

I felt positively evil doing this... it just felt SO WRONG to cut into a piece of crochet like that!

At any moment I expected my first grade teacher to appear, and revoke my Scissors License.

PC020085

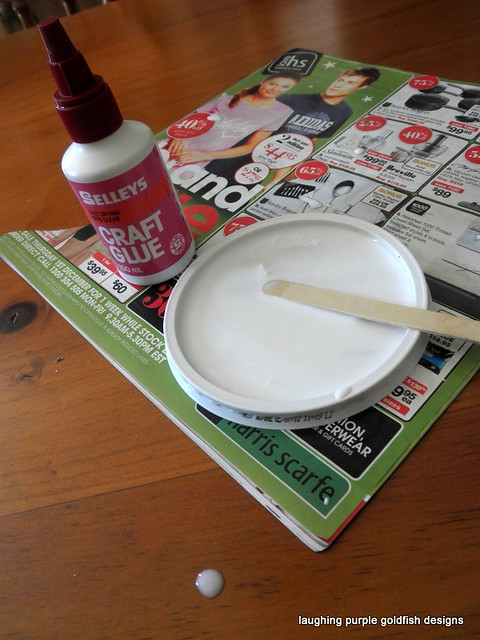
Next make up a 50:50 mix of PVA glue and water. You can get it all over the table like I did, but it's not really necessary.

PC020087

Pop your motif into the mix

PC020088

And swish it around with your fingers.

Yes - just dip your fingers right in there, I did... and now my camera is covered in glue spots!


PC020089

Squeeze out the excess glue, and lay the motif on a flat surface... I used the lid from a plastic container.

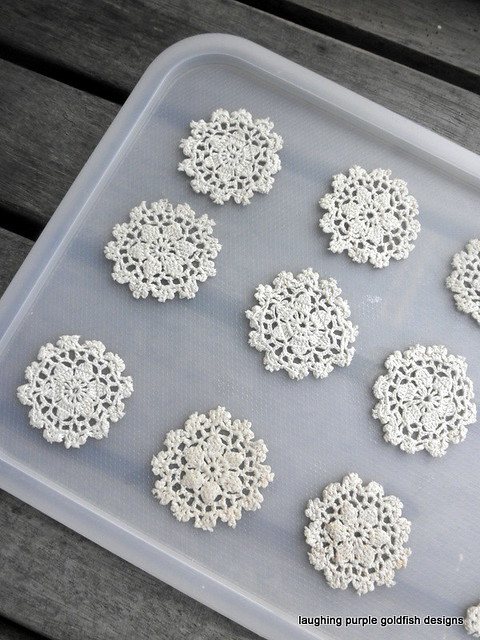
Use your fingers to shape the motif neatly, then leave it to dry.

PC020090

I was impatient, so I took the tray outside and left it in the sunshine so that it would dry more quickly. Probably not the best idea. It was a windy day, so I ended up with all sorts of unidentified flying objects stuck on my snowflakes.

I do like the way they kind of look like a tray of cookies... Or maybe I'm just hungry...

PC020109

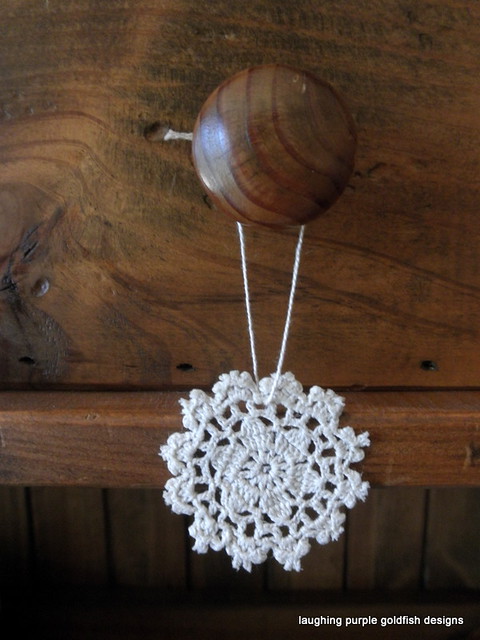
Once dry, you just need to tie a piece of string at the top, and the job is done:

PC020157

Too easy.

Again...

Monday, December 5, 2011

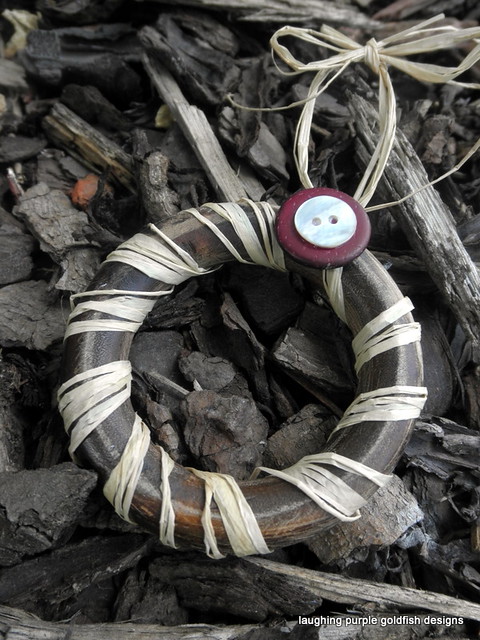
Rustic Wreath - Photo Tutorial

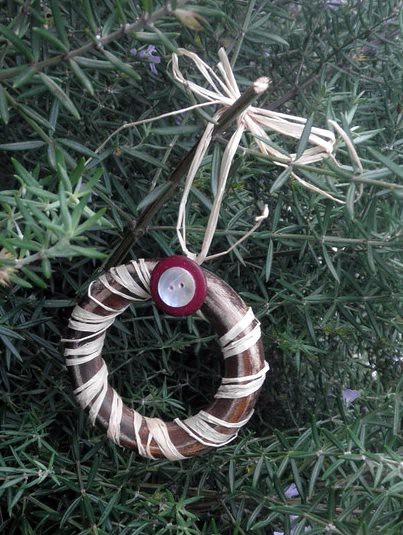
PC020110

So this is another Super-Duper Easy-Peasy Christmas decoration idea...

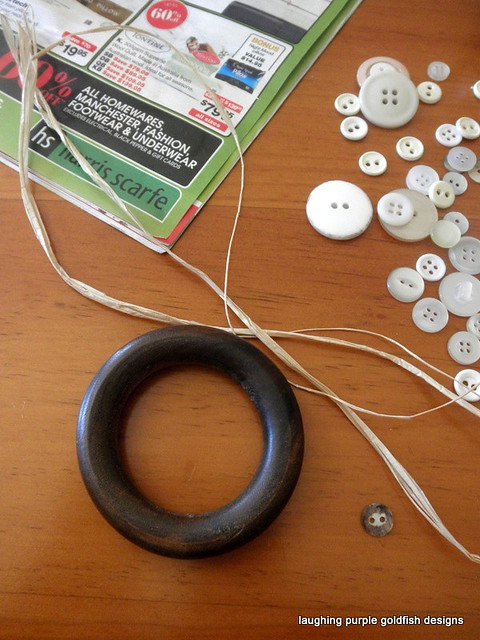
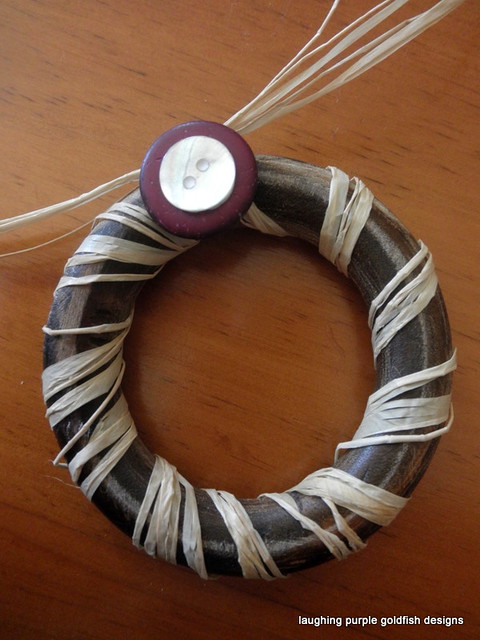
You need an old wooden curtain ring - I have so many of these things, it's just not funny!

Also grab a length of raffia and some buttons... plus glue and sandpaper

PC020092

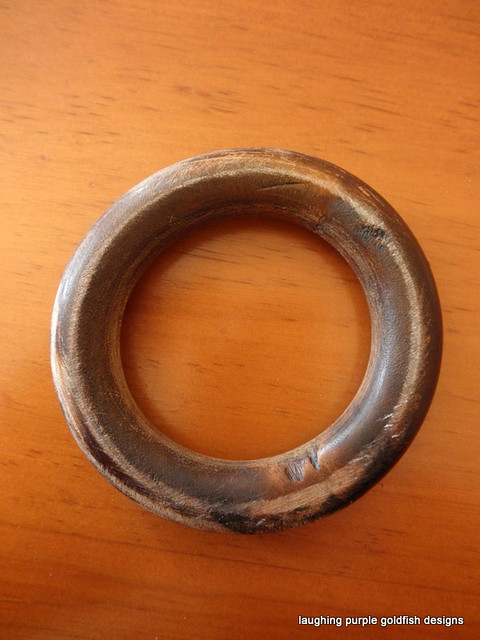
I wanted my wreath to look a little distressed, so I gave the curtain ring a quick sand to rough it up a bit... I really do mean a QUICK sand - I wouldn't have spent any more than 30 seconds doing it!

Afterwards I was thinking that I could have just rubbed it up and down on the footpath a few times... no sandpaper required...

PC020093

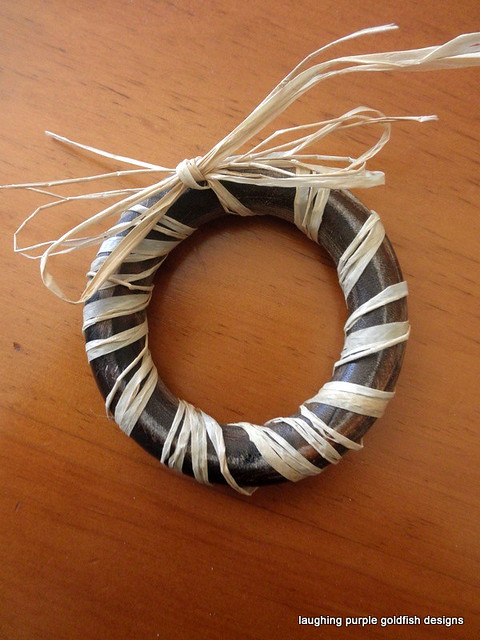
Now you can wrap the raffia around, then tie the two ends together.

I made a bow at the top 'cause I thought it looked pretty... but later I had to change it to a simple knot - the bow was too bulky for the buttons.

PC020095

Now just glue a couple of buttons at the top, a small one on top of a big one...

PC020096

Then tie another knot in the raffia to make a hanging loop

PC020115

Too easy.

And once again... no more than 5 minutes to make it!

Gotta love that.

Friday, December 2, 2011

Scrappy Heart Decoration - Photo Tutorial

PC020150

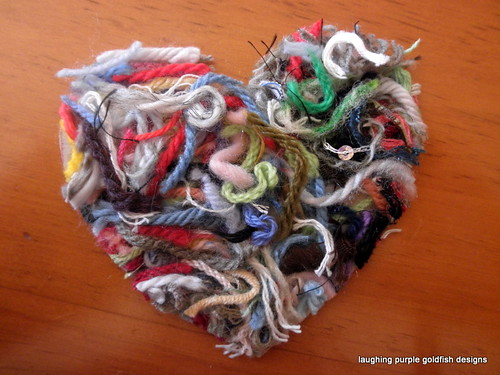
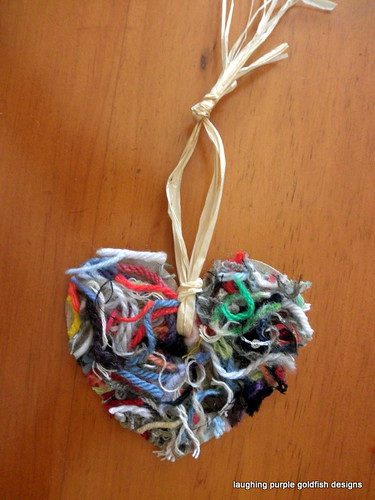
Now I'm sure that you don't really need a tutorial for making these Scrappy Hearts, but since I took progress photos I might as well share them with you:

And yes, I'm aware that it looks like it was made by a three-year-old... but I'm okay with that! They're cheap and simple to make, fun to do and I love the results. Plus the materials are 100% recycled.

I'm even planning to make more and string them together as a garland...

Wish we had a mantlepiece...

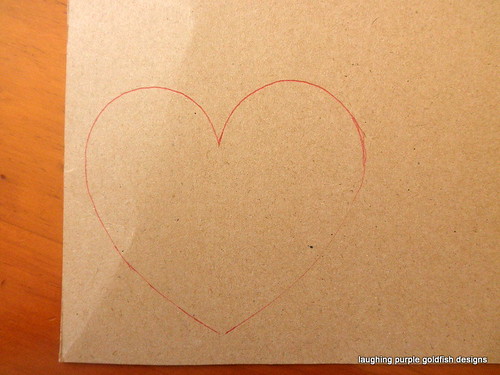
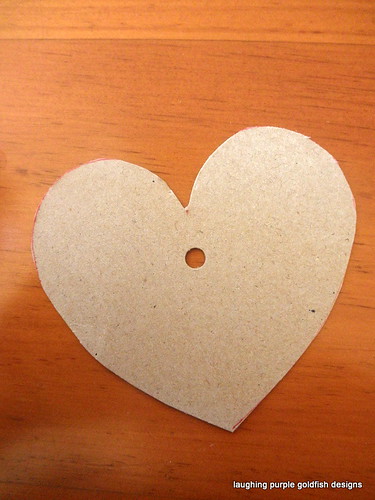
Anyway, I started out with cardboard:

PC020098

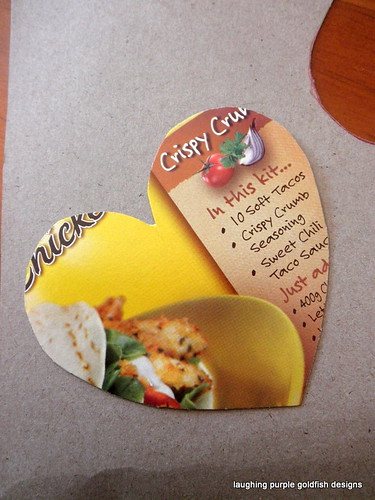
And cut out a heart shape:

PC020099

Then punched the hole for hanging - I put it a fair way down so that it wouldn't tear easily

PC020100

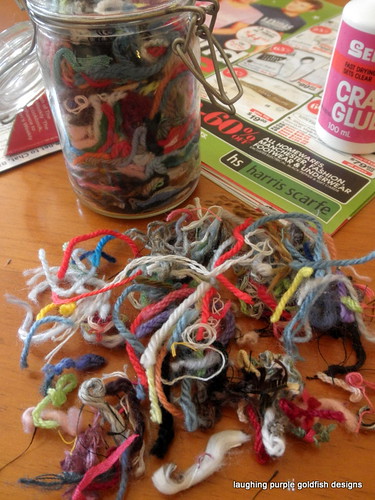
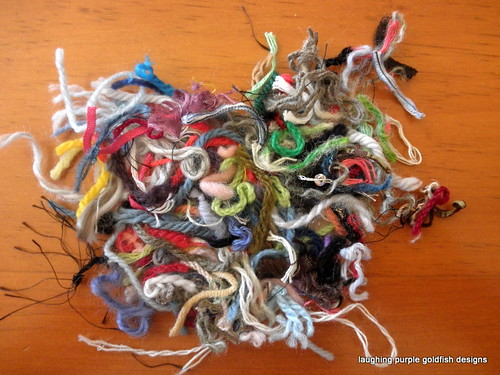
Now for some of those yarn scraps I've been saving. These are the ones that are TOO SMALL to do anything else with. Anything longer than 5 cm (2 inches) I have been able to use in other projects, but these shorties have been waiting for their Day in the Sun.

PC020101

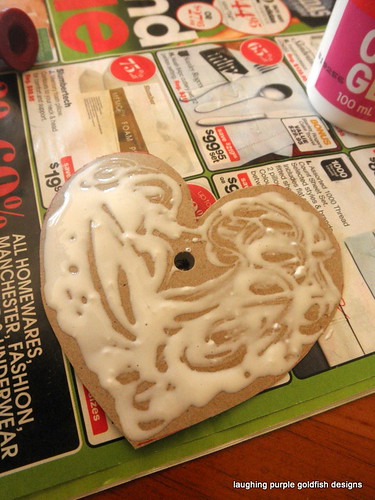
So. Loads of glue on the cardboard:

PC020102

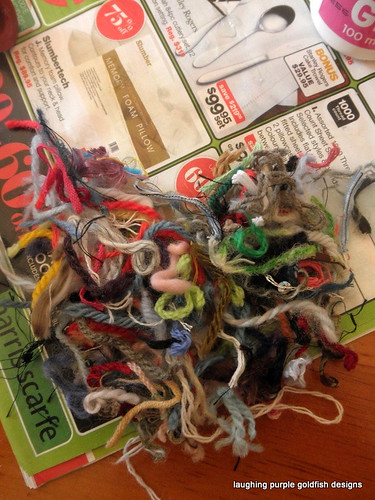
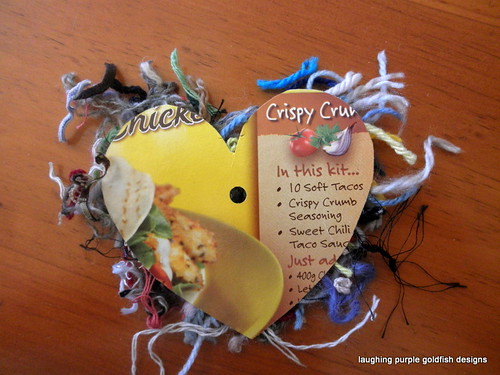
Pile those scraps on top

PC020103

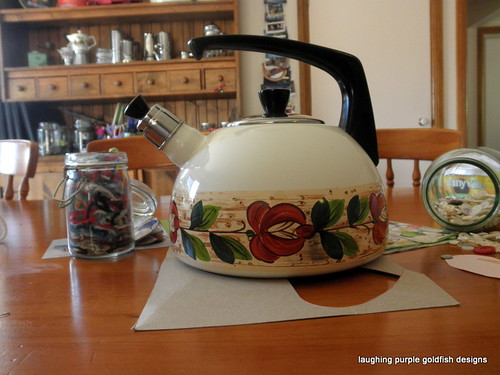
Then put the kettle on...

Yes, I mean literally PUT the kettle ON the decoration:

PC020106

Of course it wouldn't HAVE to be the kettle, but I wanted something heavy to press the yarn securely onto the glue... and also prevent the cardboard from bending while the glue was moist.

Oh, and I popped the rest of the cardboard between the decoration and the kettle... just in case the glue soaked through and stuck.

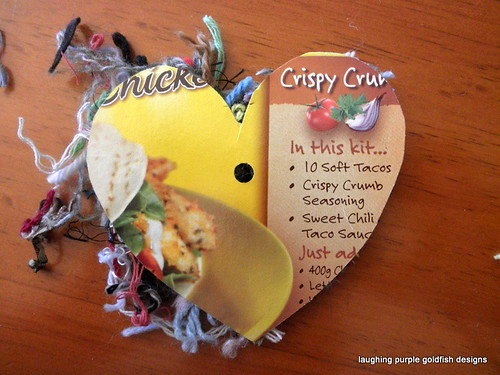
Here's how it looked once the glue dried:

PC020131

And from behind... (yes, it's a gratuitous bottom shot)

PC020132

Time for a trim around the edges like so:

PC020133

Awwww... doesn't it look pretty?

PC020135

And a little raffia threaded through the hole for hanging

PC020136

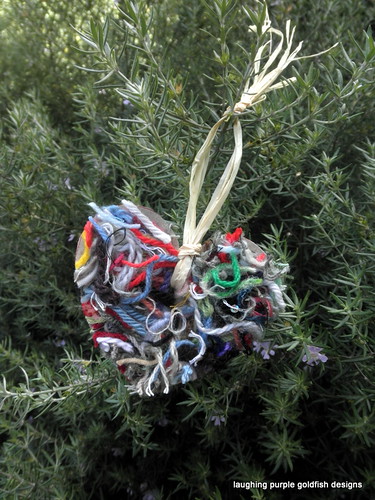
Then onto the Christmas Tree... (or any random plant in the front yard where the lighting is goodish for a photo)

PC020137

I can really see a row of these, with holes punched in the side rather than on top...

strung together with raffia...

dancing across a rustic mantle piece...

bringing a quirky sense of fun to the festive season...