Wednesday, March 11, 2009

a lacey basket?

materials

I almost threw these old lacey curtains away...

For the past few years they've been hanging in the bedroom of Master Six. Now for those of you who haven't met Master Six... let's just say that he's not the most delicate creature to grace our household! He's a boy's boy through and through - a middle child - wild, crazy, and more than just a little bit full on.

As you can imagine... those poor lace curtains didn't really stand a chance. I repaired the first few holes, but after that it just became ridiculous...

So the curtains are down, and replaced by a less destructible blind.

I can't believe I almost threw them away...

They've been through the wash, and are ready to use. I'm planning to make a basket for Little Miss Four's dolls to sleep in. I think I'll cut it into 2cm widths, and then crochet the basket using my 20mm hook (which some of you might remember as the 'table leg')

It will be my first time crocheting WITH lace... stay tuned to hear how it goes...

Tuesday, March 10, 2009

bathmat... completed

2009_0310pinkmatfinished0007

pattern used

needles used
  • 15mm needles
  • pattern actually calls for 19mm needles, but I don't own any!

yarn used
  • the fabric is some kind of ribbing... looks like the kind of thing you would use to trim t-shirts perhaps? I found a couple of rolls of it at the op shop
  • it's about 3cm wide
closeup

thoughts
  • the cable looks really chunky, but is actually quite soft underfoot
  • although the cable adds visual interest to the mat... if I was making another one, I would omit the cable and just work the piece in moss stitch
  • love the moss stitch... creates a really nice texture underfoot
  • measures 46cm x 84cm... next time I would make it a bit wider... just because that's what I prefer!
2009_0310pinkmatfinished0010

Monday, March 9, 2009

the scrappy kitchen mat

I've been plodding away at the scrappy kitchen mat... using some grey carpet nylon worked together with my crazy yarn.

Absolutely loving the results so far. In fact... I'd love to carpet my entire home in this stuff!!!

Unlikely... but a girl can dream, can't she???

Here's a sneak peek at how it is looking so far:

progress

Saturday, March 7, 2009

losing shape - losing stitches... part 2

I'm not an expert when it comes to crochet...
in fact, I still consider myself a beginner in many ways!

But I have experienced a great deal of frustration when first learning...
it almost seemed as though there were these unwritten rules with crochet - things that you were just supposed to KNOW... even though you had never been told!

Well... that's how it felt to me, anyways.

Last time I talked about how to keep your edges straight when working a flat piece of sc or hdc. I mentioned that the place where you are most likely to run into trouble is where you work the FIRST and the LAST stitches of each row... and that the part which can trip you up is that the 'rule' changes depending on which stitch you are working in.

So this time we will look at what to do differently when working in dc (US)
(this is also the method to use if you are working in tr, except that you would work 4 turning chain at the end of each row)

Grab your hook and some practice yarn again, and I'll talk you through the process:

chain 8:
2009_0306straightdc0001

dc into 4th chain from hook
2009_0306straightdc0002

dc into next 4ch:
2009_0306straightdc0003

ch3 and turn work:

skip the first stitch and work your 1st dc into the top of the 2nd stitch as shown in the diagram:
2009_0306straightdc0004

it will feel like you have left a gaping hole - don't worry - you're doing the right thing
2009_0306straightdc0006

dc into next 3 stitches...

then dc into the top of your turning chain from the previous row:
2009_0306straightdc0008

5dc in total
2009_0306straightdc0009

count in your head as you go:
ch 3, turn... 1... 2... 3... 4... 5...
over and over again until you have the hang of it... it won't take long

2009_0306straightdc0010

2009_0306straightdc0011

2009_0306straightdc0012

2009_0306straightdc0013

see the way the sides are even and I am not losing stitches? yay!
2009_0306straightdc0016

if the sides look a tiny bit wavy like mine, don't stress... if you want to straighten them more perfectly, you can block your work when you are finished


Now... I'm sure I heard someone comment that they had trouble with losing stitches when working in the round... leave it with me, and I'll talk you through that one in a few days time.

Friday, March 6, 2009

losing shape... losing stitches

Okay... this is a really common problem for those learning crochet...

I know, because I have experienced it first hand. Working row after row of regular crochet... just trying to make a square or a rectangle, but the shape goes all wonky - and you realise you are losing stitches. Sound familiar to anyone?

Well... I know that some of you are struggling with this... because you have told me!

So.

Stop reading right now...
Go and get yourself a hook and some practice yarn...
and we will work through it together!

Ready?

The place where you are most likely to run into trouble is where you work the FIRST and the LAST stitches of each row... and the part which can trip you up is that the 'rule' changes depending on which stitch you are working in.

To keep it really simple for today, let's use single crochet (US)

chain 6:
2009_0305straight20001

sc into 2nd chain from hook, sc into next 4ch:
2009_0305straight20004

ch1 and turn work

work your first sc into the first stitch as shown in the diagram:
2009_0305straight20006

sc into next 4 stitches... 5sc in total:
2009_0305straight20008

ch1, turn work
2009_0305straight20009

sc into first stitch:
2009_0305straight20013

sc into next 4 stitches... 5sc in total

count in your head as you go:
ch 1, turn... 1... 2... 3... 4... 5...
over and over again until you have the hang of it... it won't take long

see the way the sides are even and I am not losing stitches? yours will look like this too...
2009_0305straight20014

so... that's the way to start and finish your rows when you are working in either sc or hdc...

next time I'll show you what you need to do differently if you are working in dc or tr - it's not hard - you just need to know the rules!

Thursday, March 5, 2009

beginner's boo-boos

I was first taught to crochet by a neighbour. Couldn't tell you exactly how old I was at the time... definitely in primary school... maybe eight or nine years old?

Her name was Dorothy... she wore metallic bronze coloured nail polish (well - it WAS the 70s) and smelled strongly of cigarette smoke. I was in awe of Dorothy. She knew how to crochet AND she owned a knitting machine - double wow! Also, her daughter had a perfume making kit... so that was three gold stars in my book...

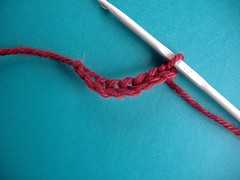
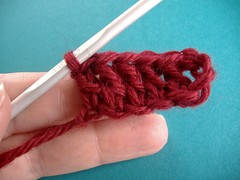
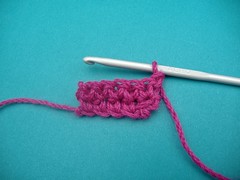
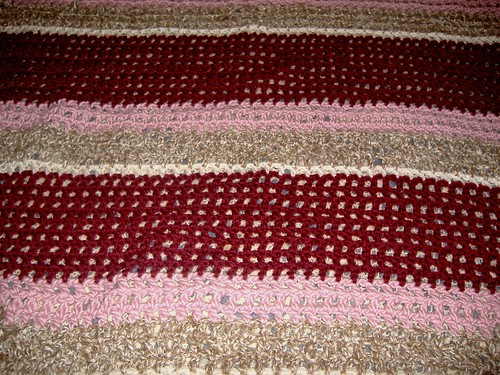
Anyway, Dorothy introduced me to the fabulous granny square. I loved making them. Round and round I would go... the square getting bigger and bigger until I ran out of yarn... then I would unravel it and start again.

Hmmm... my unraveling tendencies did start in childhood... INTERESTING!

Well, I guess that the novelty must have worn off at some point... and I stopped crocheting.

In my late teens, I decided it was time to get serious about crochet. I could knit beautifully, but kept running away from patterns which contained any crochet... even just an edging. I had lots of crochet patterns already... I just needed to learn to DO IT!

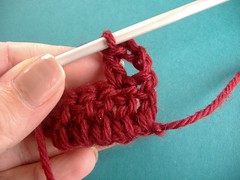
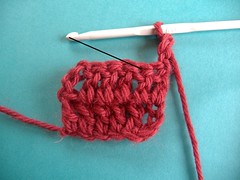
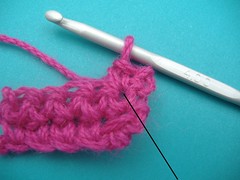
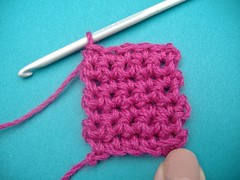
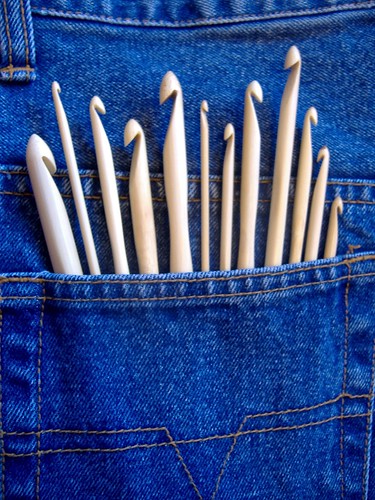
So I bought myself a stitch guide, and sat down with the instructions on one side of me, and the pattern on the other. HOWEVER... no matter how carefully I followed those rotten instructions... my work did not come out anything like the pattern in the picture!!!

I might have gone totally insane... I'm not sure... but let's just say it was a LONG time before I could even look at a crochet hook again.

1

Enter the era of the INTERNET... by now I'm a grown up (well... sort of) and I decide to give this crochet thing one more shot... I WILL NOT LET THIS THING BEAT ME!

I discovered something very interesting... crochet terminology is not universal!

USA and UK terminology are different
... arghh... but also similar...

that is... they use the SAME TERMS but have DIFFERENT MEANINGS

One of the joys of living in Australia... is that BOTH terms are used here... All this time I had been using a UK pattern with a US stitch guide... no wonder it was a disaster!

Such a simple factor... and yet so important. You MUST know which terminology you use, and which terminology your pattern is written in. With experience you will learn to recognise this just by glancing at the pattern. It's not difficult to find out... but you MUST know.

Now... generally if faced with a choice, I would lean towards the British way of doing things. Perhaps because my parents both grew up in the UK... I don't know... it just seems more proper! But in this case I've adopted US terminology... since I find it the most convenient. Most of the patterns I use are found online, and the bulk of them are written in US terms. Same goes for online tutorials, stitch guides, etc. So it just made sense for me to learn and use those terms.

Well... that's one beginner boo-boo out of the way. Next time I'll share another dilemma.

Wednesday, March 4, 2009

event plaid

Well... I took my sweet time in getting back to you, didn't I??? But I'm ready to tell you all about that neapolitan icecream project. Click here to refresh your memory, if you have no idea what I'm talking about...

So... All up-to-date now?

Okay. I've been working on an event plaid blanket. It's a really fun concept, where use use the NUMBERS from a SPECIAL EVENT to determine the colour repeats within your project.

Confused yet?

Well. I made this blanket as a gift for my mother-in-law... for her seventieth birthday. So I used the numbers in her date of birth... 1/3/39... there's my numbers... easy... 1 3 3 9

006 folded

So, what that means is that I choose four colours, and work in stripes

I worked one row of my first colour, cream
I worked three rows of my second colour, brown
I worked three rows of my third colour, pink
and then nine rows of my fourth colour, burgundy

1... 3... 3... 9... see?

and here is a photo:

002b progress

By this stage I was getting pretty fed up with the project. The crochet was complete, and yet it wasn't looking anything like I had hoped it would. I guess the thing is, that you are creating a plaid effect... so at this stage you have only created the 'bones' of the piece.

Basically, you crochet the horizontal stripes, and then weave in the vertical stripes... creating the plaid effect. For the weaving, I used three strands held together. Following the same stripe sequence as before... 1... 3... 3... 9... easy!

Then it's just a matter of tying off the ends. I added a little bit extra to bulk the tassel up a bit.

So... if you are interested... click here for the link to the original pattern I used.

My verdict?

So glad I stuck with this project! The crochet section is mindless... a good simple project for while you watch a movie, or gossip with your craft buddies. The weaving section is slow and fiddly... and you HAVE to get it right. The finished effect is stunning... but the progress looks crappy all the way along. Honestly. It's not until you tie that last knot, and sit back and look at it... that it feels worthwhile.

004 close up

003 fence

005 overview