Friday, September 26, 2008

celebration of a life

platelets

Today's post is in memory of my mum... who passed away yesterday after a five year battle with leukemia.

She was a dignified woman, with a great deal of patience, compassion and grace. She was faithful, and giving, and possessed the most amazing strength of spirit. A close friend and confidante. I will miss her dreadfully, in ways I cannot yet imagine.

I am going to take a little bit of breathing space from blog land.

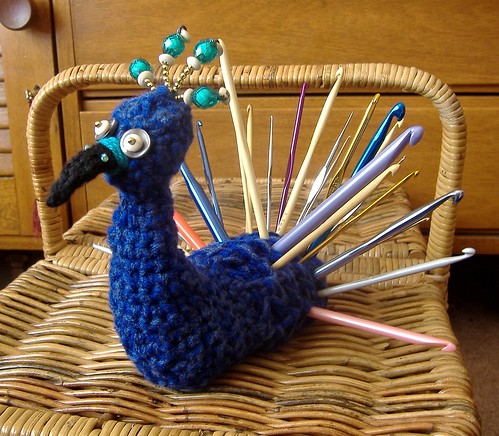
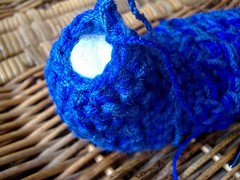
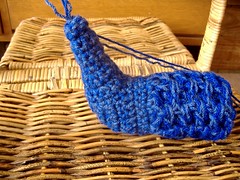
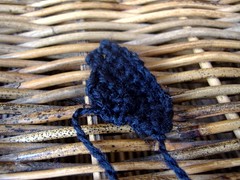
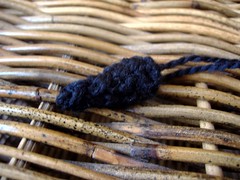
When I return, I will share my pattern for the gorgeous creatures pictured above. Click here to read about their significance.

Thursday, September 25, 2008

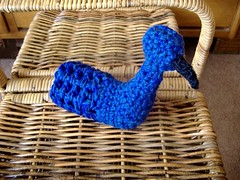
peacock complete

2008_0925finito0016

The finishing off was easy!

I added some recycled buttons and beads for the eyes, then threaded some beads onto garden wire to make up the head feathers. Next was a little bit of embroidered detail to the beak...

And time to add the hooks

2008_0925in0001

Wednesday, September 24, 2008

more progress

Not feeling especially 'wordy' today,
so I'll let the photographs tell the story...

005

006

007

008

009

010

011

012

013

014

015

Tuesday, September 23, 2008

I have a rear end...

Really... I do!

I really wanted to start with the hook holder section of the bird, because that was going to require the most thought. I wanted to be able to insert the hooks randomly into any part of the 'rear end', rather than having specific holes for each one.

Most of the peacock will be stuffed like a toy, but I didn't want to be stabbing hooks into the stuffing, so I had to come up with a different plan for the rear...

001

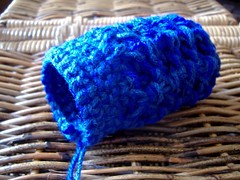
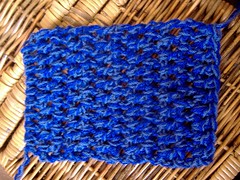
so I have crocheted a rectangle...

002

folded it in half lengthways...

003

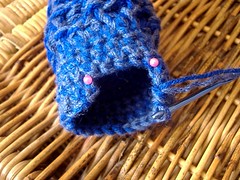
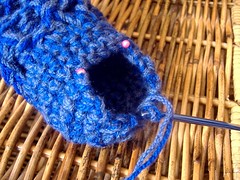
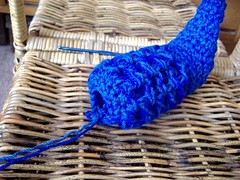
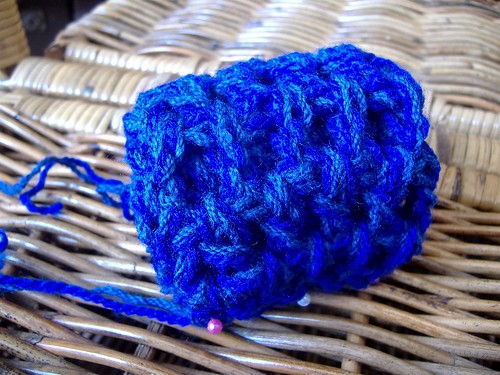
and rolled it up like a swiss jam roll... I've just pinned it in place for the moment, but will stitch it together before I move on to the next step. It is only rolled loosely, so that I will be able to add some weights to the bottom later if I need to for balance.

004

See all those holes in the roll? Crochet hooks can be inserted into any of those, then deep into the centre of the roll. They are held quite securely in place.

So you might not be able to visualise it just yet but this is the back of the bird. Next I will move onto the front...

Monday, September 22, 2008

where do I start?

A number of you have been asking me about my CREATIVE PROCESS... where do my ideas come from? how do I make a start? when does it all come together? It's not always an easy process to explain, and it doesn't really follow a set formula.

Not being very helpful yet, am I????

It's probably easier if I step you through a project from start to finish.

For example, I need to make a crochet hook holder for a swap. I want it to be unique and original and fun! The recipient loves peacocks... so I am going to incorporate that passion into the project.

So... what do I know about peacocks? I'm thinking majestic blues and greens, and fabulous feathers. But I want more information, so I'll start with some research…

Don't panic... it's nothing too serious! I'll go to 'google images' and look at some pictures of peacocks. I'll search PEACOCK... also ANIMATED PEACOCK... and TOY PEACOCK. I need to browse through a few pages of images, and then think about the features which jump out at me... the colours, shapes, etc.

Thinking about what makes the peacock distinctive/cute? What gives them their character?

With all these thoughts in my head... I start to sketch a plan. Maybe I should say 'doodle' a plan... because it's not ever anything too fancy.

Again, don't panic. It is incredibly helpful to sketch out your thoughts before embarking on a new project. It will give you a focus, and help you to formulate a 'plan of attack'

Many of you are nervous about sketching. I was too... But now I find it such a useful tool, that I am starting to love that part of the process too.

The thing to remember, is that the sketch is only a guide... and it only needs to make sense to you. You are not aiming for a magnificent artwork to be framed and admired by all. You just want to give yourself some visualisation of where you are heading.

You don’t need to be an artist… just work with shapes in mind… thinking about what will be manageable with crochet. I sometimes like to add some colour to my sketches, so I start to get an overall impression.

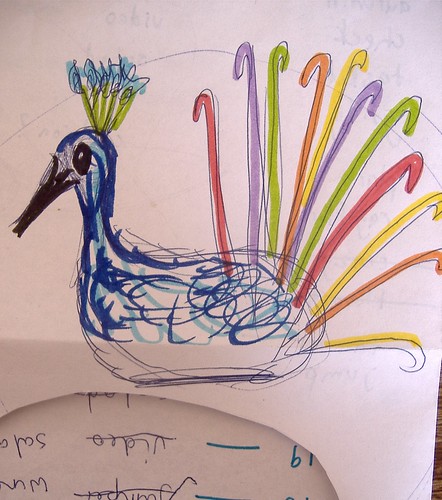
I started by sketching out the head and body... thinking about how to store the hooks? how could they sit? should they be hidden by the tail feathers? how would I make that work?

Then it hit me! The hooks will BE the tail...

peacock sketch

So I know have an idea in mind... I have my ideas on paper... The next step is to bring them to life.

Sunday, September 21, 2008

spinning lesson

Very exciting day ahead... I have a spinning lesson.

I first learned to spin when I was about twelve years old... but that's more than a few years back now! I am in desperate need of a refresher course, and Lyndy has kindly offered to share her knowledge with myself and a couple of others this afternoon.

sheridan macarthur spinning wheel

Mr Goldfish bought me this traditional spinning wheel for Christmas last year. I have been having fun using it to spin plarn, and also to ply together different recycled yarns. But now the time has come to use it 'properly'. I'll take it with me to my lesson today, and hopefully pick up some pointers on how to care for it, and keep it running at it's best.

This is going to be so much fun....

Saturday, September 20, 2008

sprout scarf

I was playing around with my crazy yarn the other day, and decided to test it out on a quick scarf pattern. I crocheted the sprout scarf by Lisa Gentry, using three strands of crazy yarn held together. It's a super speedy pattern and is also available in a knit version, although I haven't tried that yet.

As I was working it up, it reminded me of a chain of shamrocks... I think it would look fabulous worked up in green as a St Patrick's Day scarf.

Here it is being modeled by Little Miss Four... she adores it!

3

Friday, September 19, 2008

finished object #5 - silly string swap

These challenges are turning out to be so much fun! It really is amazing what you can achieve when you push yourself a little.

I have posted about this particular challenge several times. If you would like to see my progress through previous posts... here are the first, second, third, and fourth posts.

Just to refresh your memory... I was required to create a doll, consisting of at least 50% crochet.

She had to be humanoid with pointy ears, antennae, a belly button, wings, extra limbs, flippers and a tattoo...

So meet Jewellie...
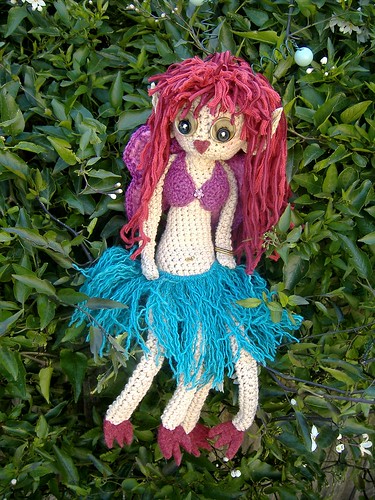
main shot

She is humanoid.

Little Miss Four named her for me. I was surprised when she chose the name Jewellie. I had been expecting her to choose the name LIPSTICK, as that is what she names EVERYTHING at the moment. In fact, she was recently visiting with friends on a nearby farm... and was given the opportunity to name a newborn lamb... you guessed it... LIPSTICK!

So 'Jewellie' it is... "because she has such beautiful jewels, mummy"
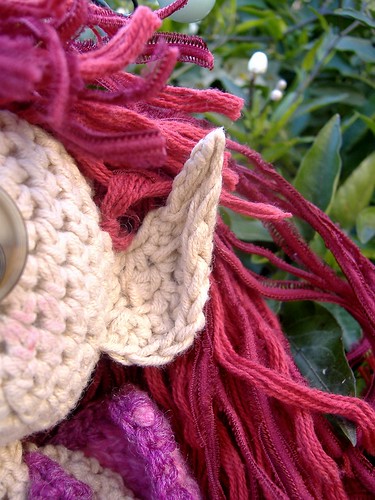
pointy ears

She has pointy ears. She tries to hide them under that mass of wild red hair, but they always end up poking out.
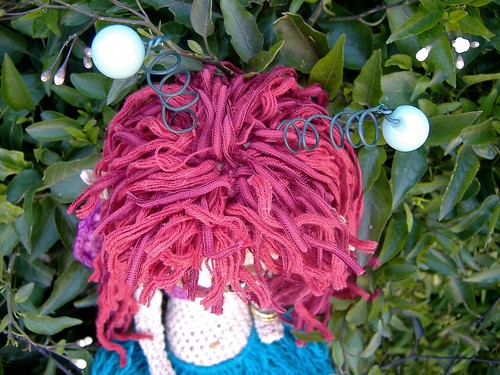
antennae

She has antennae. I've used garden wire which has been twisted around a pencil to achieve a coil, and a couple of old round buttons on the ends.
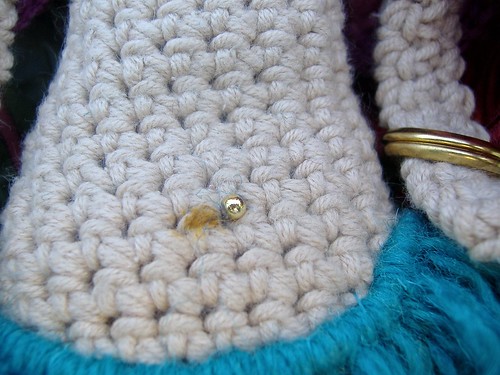
belly

She has a belly button, complete with piercing. Just a dot of brown texta for the navel, and a small gold bead for the piercing.
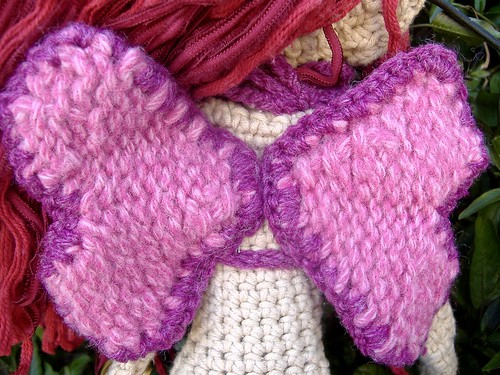
wings

She has wings. These were leftover lightly felted hearts from this project. I just added a crochet edging and attached them.
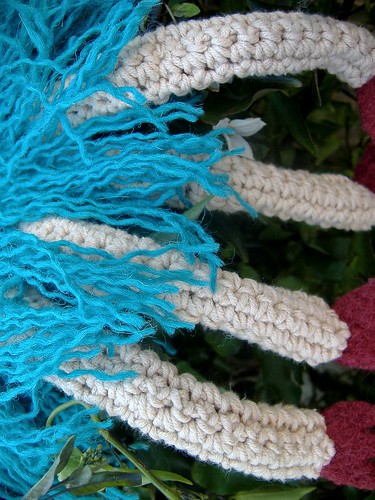
extra legs

Extra limbs. Yep! I'm sure four legs is more than enough.
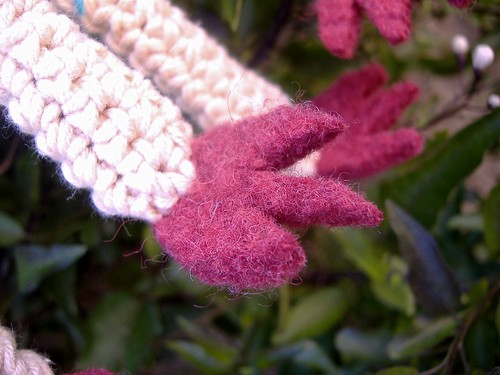
webbed feet

Webbed feet. These were cut from an old felted jumper.
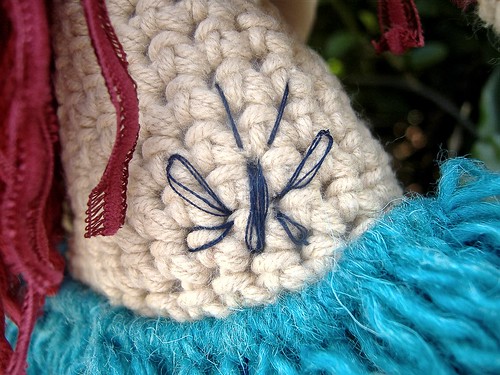
tattoo

Tattoo. She has a large butterfly tattoo stitched onto her right hip.
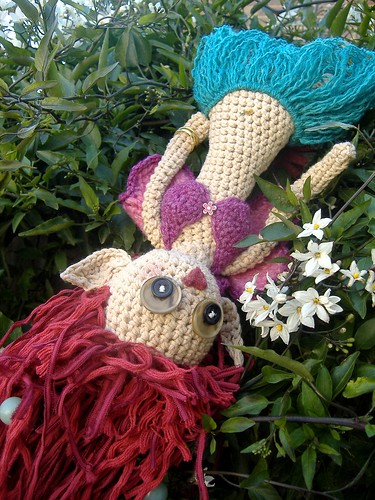
upside down

So now she is ready for her new home... and will be flying all the way to the USA. Can you tell she is excited?

Thursday, September 18, 2008

a new toy...

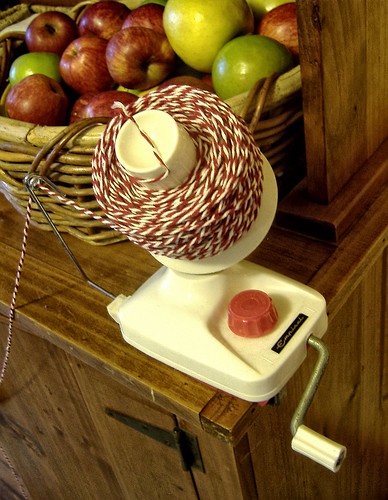
It's not that long ago that I was singing the praises of the humble cardboard tube, and declaring that I would absolutely not be investing money in a ball winder. But look what we have here...

winder - dawn

In my defence... I didn't actually buy this little gem. It was given to me by a very generous fellow crocheter Dawniedear. At first I was a little reluctant to use it - after all, I had a perfectly good winding system in place already. But once I started, I couldn't stop. I love it!

So my verdict is this... If I only had one or two balls to wind, then I would probably just use my cardboard tube. But if I was winding a whole garment worth of yarn, I would certainly employ the winder.

Or I could just leave the winder attached to the end of my buffet as it is in the photo... and use it ANY TIME I FANCY... if only I could get the children to leave it alone! I don't like my chances!

Thank you so much Dawn. I will cherish my 'new' toy.

Wednesday, September 17, 2008

finished object #4 - plarn bag revived

1

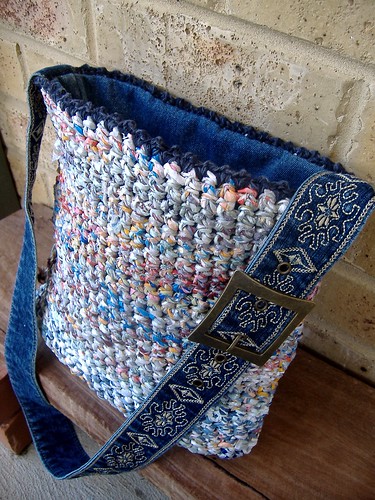
I spotted this belt at an op shop earlier this year, and fell in love with it immediately. I knew I wanted to use it on a bag at some stage, either as a trim around the top, or as a strap. But no matter how many different bags I tried it on... it just didn't sit right!

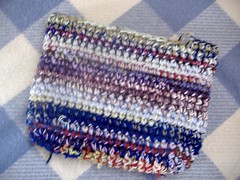
But now I have found the perfect use for it. Remember my plarn bag? I was so annoyed when the loopy trim stretched. I had removed it, but been at a bit of a loss as to where to go next. Then I spotted the denim belt again... just the right length for the strap.
3

So I added a simple navy cotton picot trim to the plarn, attached the belt and lined it with denim from an old pair of jeans.

I love it now more than ever before. It's my everyday bag, and is so much more 'ME' now than it was before. Yay!

Tuesday, September 16, 2008

I love you Mr Goldfish!

Several times a week the postman delivers a parcel addressed to Mr Goldfish... always some 'bargain' he has picked up on ebay!

Today was no exception. We arrived home to discover yet another parcel on the doorstep...

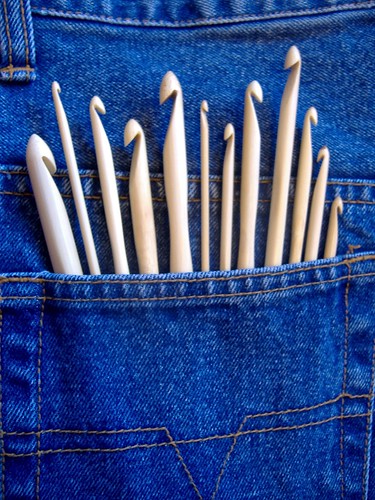
But this time, when he opened it... he handed the contents over to me. What a fabulous surprise! The most wonderful array of crochet hooks was inside.

1

some bamboo ones...

2

aluminium ones...

3

and these teensy weensy ones...

THIRTY-SIX HOOKS

Until today I only owned a grand total of about ten crochet hooks, so this has been a major boost to my supplies! What an absolute treasure my husband is.

Monday, September 15, 2008

finished object #3 - experimenting with crazy yarn

Wondering what 'crazy yarn' is?

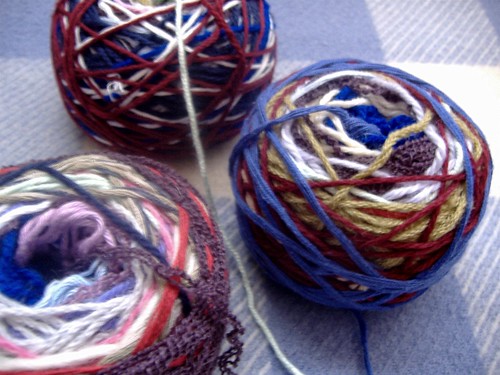
Well... I took all my bits and bobs of leftover yarns which have been accumulating. I then cut them into assorted lengths (no greater than six metres) then mixed them all up and knotted them together randomly. No fancy knotting technique, just leaving a tail of about an inch or so. Regardless of fibre type and thickness. There's cottons, acrylics, wools, novelty yarn, and every possible blend in between. All mixed in together.

I was astounded when I ended up with 18 balls of 'crazy yarn'

magic balls

What would I make with all this yarn?

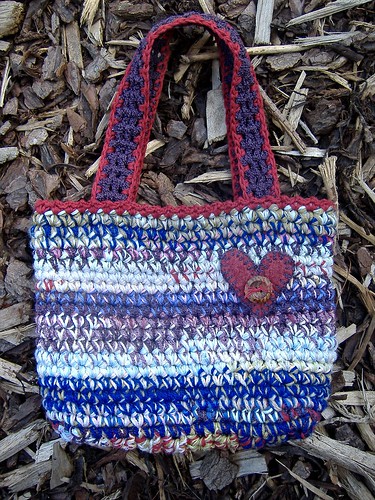
You don't get any prizes for guessing that I started on an easy peasy crochet bag!

magic ball bag - base

Using three strands held together.

magic ball bag - body

I ended up working this bag 20 rounds tall. I didn't worry too much about all those knots, just kept them to the inside of the bag as much as possible. Any that 'escaped' were just woven back to the inside before I added the lining.

lining

I didn't have a thread colour which was remotely suitable for sewing on the lining. So that left me with a number of choices. Option One - go shopping for the perfect match? NO WAY... that's not what I'm all about! Option Two - Use a completely contrasting colour and make a feature of the stitching? A definite possibility, but then I thought of a third option... Option Three - raid Mr Goldfish's garage, and 'borrow' some fishing line? YES, YES, YES... strong, invisible, perfect!

look closely... you can only JUST see a hint of where those stitches are! YAY for fishing line! I'm keeping the reel with my craft supplies now. I craft way more often than Mr Goldfish goes fishing...

bag

here's the finished bag...

closeup heart

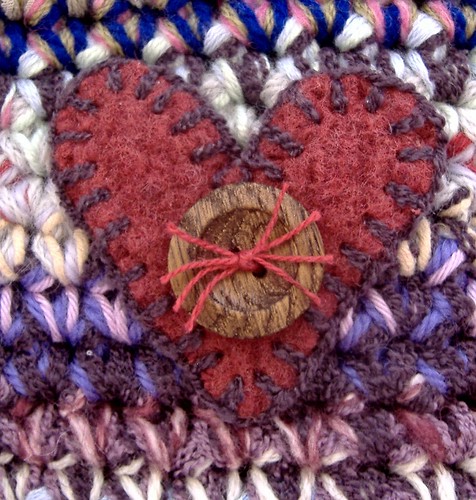
you won't be at all surprised to see that I have embellished with a felted heart...

1

Sunday, September 14, 2008

a cat for Our Cat

Okay... so this one is a new project, but it's just a little one...

Then, I promise I will get back to finishing those items in the red case!

closeup

One of my 'crochet friends' is going through a very difficult time at the moment in regards to her health. Cat is one of the moderators of the Crochet Lovers Victoria forum over at Ravelry, and a very active member of the group. She is kind and generous, and always willing to share her crafting expertise. Click here to take a look at her blog. She has quite a number of free patterns on offer there. If you are a member at Ravelry, you can see her designs here

We wanted to do something nice for Cat, to let her know that we care and are thinking about her. So a number of us are working on 12 inch crochet squares to make into an afghan for her.

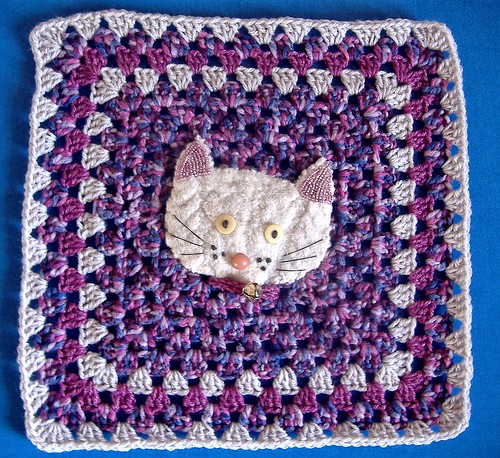
Mine is a very basic 'granny square' which I have embellished with a cat! The face is cut from a felted jumper, with buttons for the eyes and nose, and lots of pink 'seed beads' to decorate the ears. I've added a jingle bell around the neck, which I love... but I have attached it separately, just in case Cat wants to remove it... it might drive her batty!

square

Saturday, September 13, 2008

finished object #2 - theory tested successfully

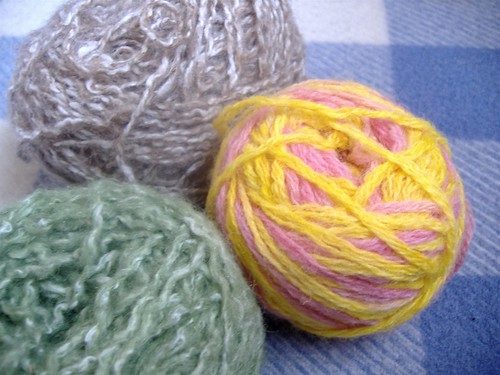
a theory - awful yarn choice

Remember my theory?

That you could combine ANY three yarns, and still end up with a decent looking bag. I asked my daughter to choose the yarns for me... and she selected the unusual combination of a fairly bright pink/yellow and then added a brown fleck and a green fleck yarn.

Did you think it was going to work out?

I certainly would not have chosen to co-ordinate those colours!

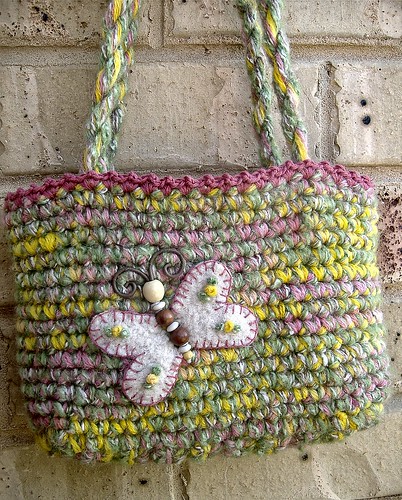
Using three strands held together, I crafted another easy peasy crochet bag. A little embellishing, and here it is...

wall

What do you think?

closeup

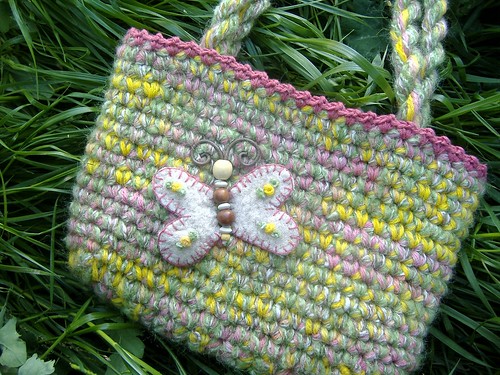
The butterfly is made from an old felted jumper, recycled wooden beads, and some electric cable for the antennae.

lining

grass