These challenges are turning out to be so much fun! It really is amazing what you can achieve when you push yourself a little.
I have posted about this particular challenge several times. If you would like to see my progress through previous posts... here are the
first,
second,
third, and
fourth posts.
Just to refresh your memory... I was required to create a doll, consisting of at least 50% crochet.
She had to be humanoid with pointy ears, antennae, a belly button, wings, extra limbs, flippers and a tattoo...
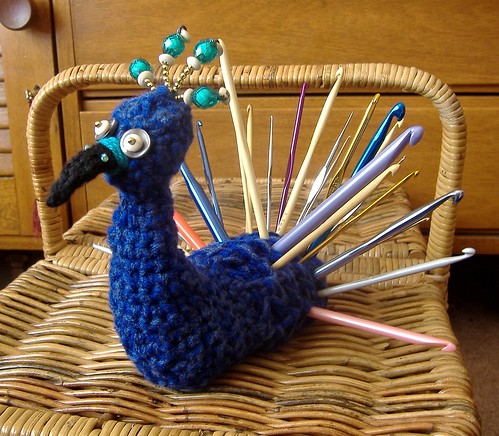
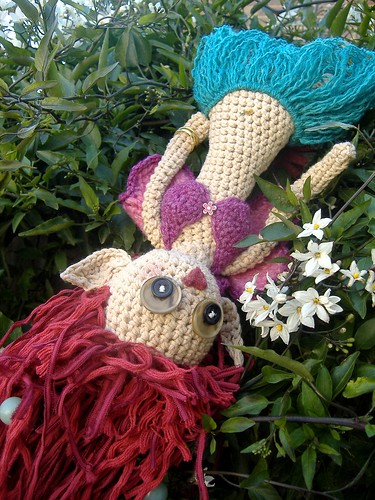
So meet Jewellie...
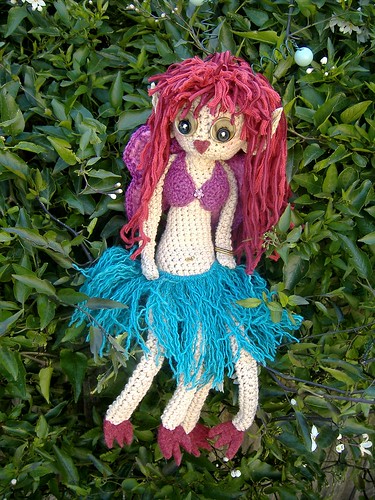 She is humanoid.
 Little Miss Four named her for me. I was surprised when she chose the name Jewellie. I had been expecting her to choose the name LIPSTICK, as that is what she names EVERYTHING at the moment. In fact, she was recently visiting with friends on a nearby farm... and was given the opportunity to name a newborn lamb... you guessed it... LIPSTICK!
So 'Jewellie' it is...
"because she has such beautiful jewels, mummy"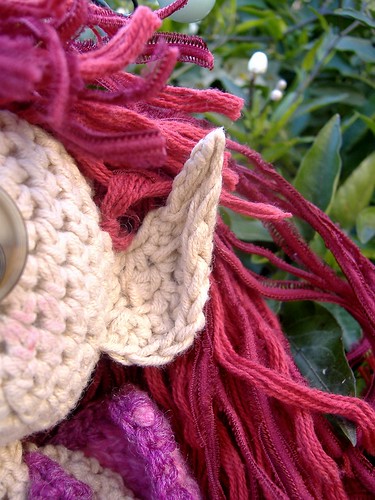 She has pointy ears.
 She tries to hide them under that mass of wild red hair, but they always end up poking out.
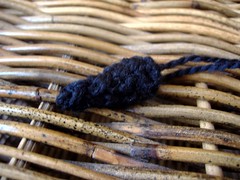
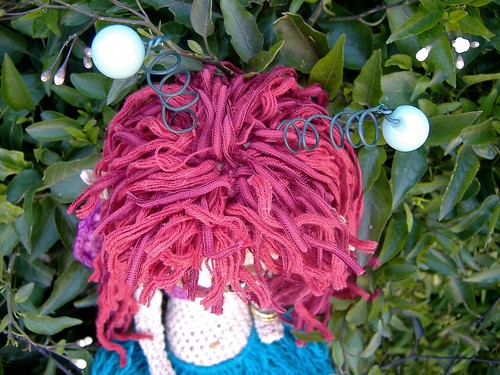 She has antennae.
 I've used garden wire which has been twisted around a pencil to achieve a coil, and a couple of old round buttons on the ends.
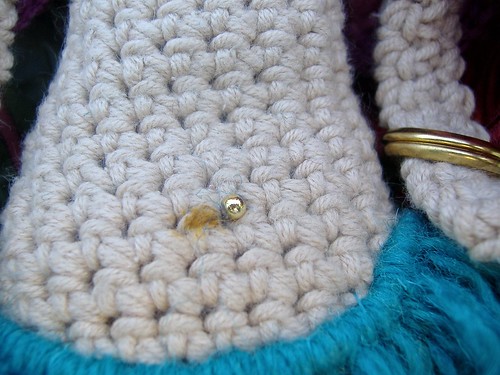 She has a belly button, complete with piercing.
 Just a dot of brown texta for the navel, and a small gold bead for the piercing.
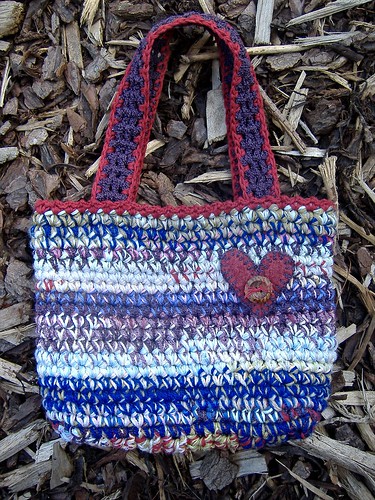
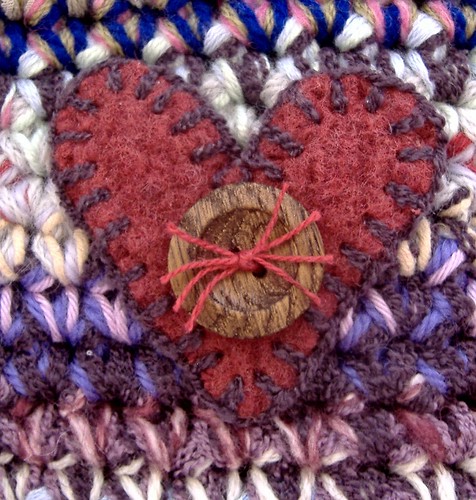
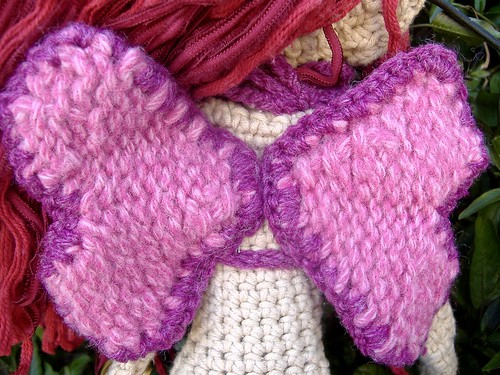 She has wings.
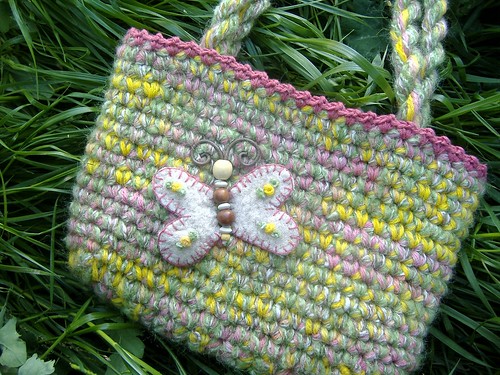
 These were leftover lightly felted hearts from
this project. I just added a crochet edging and attached them.
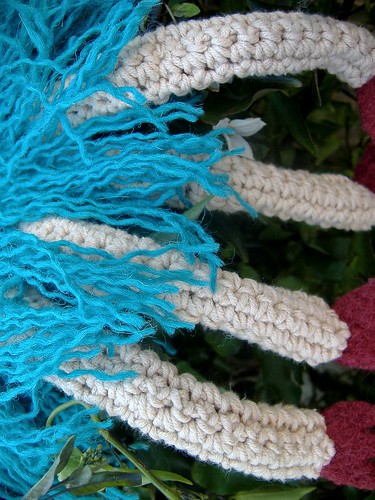 Extra limbs.
 Yep! I'm sure four legs is more than enough.
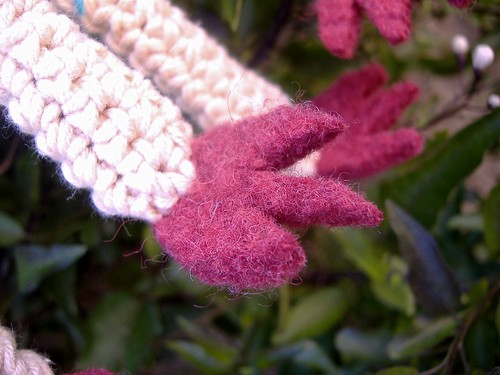 Webbed feet.
 These were cut from an old felted jumper.
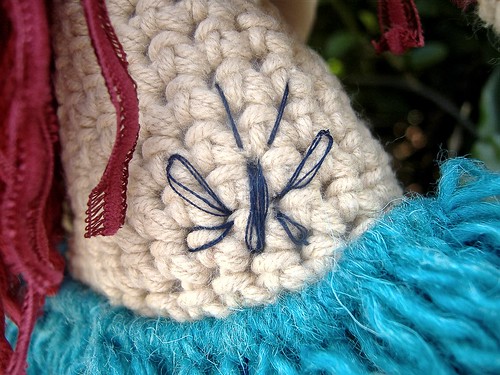 Tattoo.
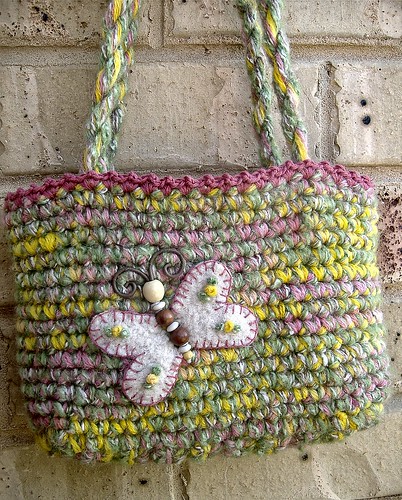
 She has a large butterfly tattoo stitched onto her right hip.
So now she is ready for her new home... and will be flying all the way to the USA. Can you tell she is excited?