Repairs are done... and they didn't take long at all. I don't know why I put off doing things like this. I feel so much better when they are finished and out of the way.
I've taken some 'operating room' shots... don't look if you're squeamish!!! And I've explained how I like to go about making repairs like these.
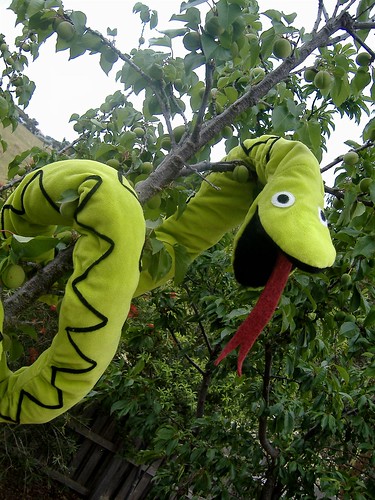
snake:
this one was required the most work, and I have been putting it off for about a year... so I felt a bit silly when it was done in about 20 minutes
somehow I've managed to attach the tongue a bit off centre... which makes him look a little bit drunk! never mind... gives him character...
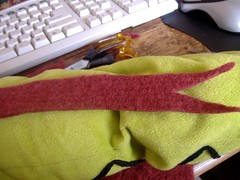
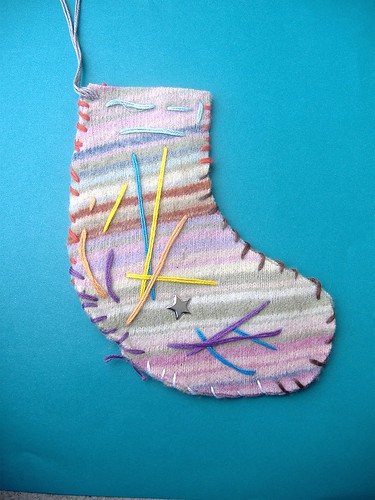
first up, I needed a new tongue - this one was cut from an old felted jumper
(
click here to learn more about how to felt a jumper)

I over stitched the tongue to the back of the mouth

then stitched back and forth a few times to make it secure

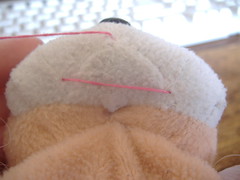
the seam across the back of the mouth needed completely re-sewn... go in and out with the needle on one side, as pictured above

then in and out on the other side, as pictured above
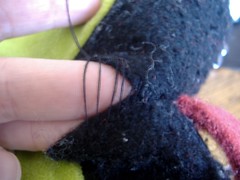
keep working back an forth in this manner... it's as though you are forming the rungs of a ladder
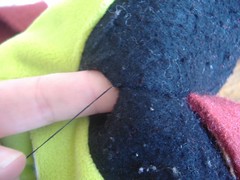
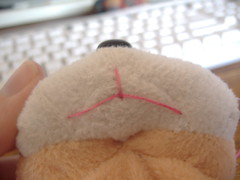
and look what happens when you pull the thread to tighten the stitches... they disappear completely... I would usually tighten after every couple of stitches
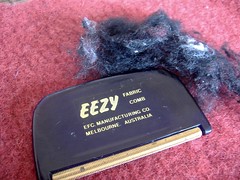
the finishing touch was to remove the pills from inside the mouth... all done... looking as good as new

I used the same seaming technique for Big Ted
working from side to side

like rungs on a ladder
then tighten, and watch the stitches disappear
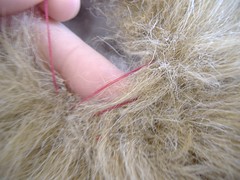
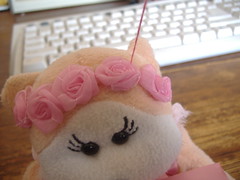
For Rosebud, I am using a couple of strands of embroidery thread to replace her mouth
I've tied a knot in the end of my thread, then put my needle into the bear about an inch away from where I want to start the mouth... then I've brought the needle out at the point where I need it
Then I've pulled the knotted end of the thread into the bear. The idea is that the knot will disappear into the bear, then get caught in the stuffing, and not pull out on the other side with the needle. My first knot pulled all the way through... unsuccessful. So I made it a double knot... which also pulled all the way through! Finally a triple knot was small enough to pull into the bear, but too large to pass through the stuffing and out the other side... SUCCESS!!
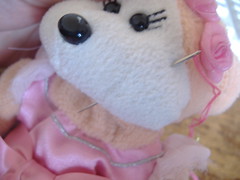
working my way across
and then down
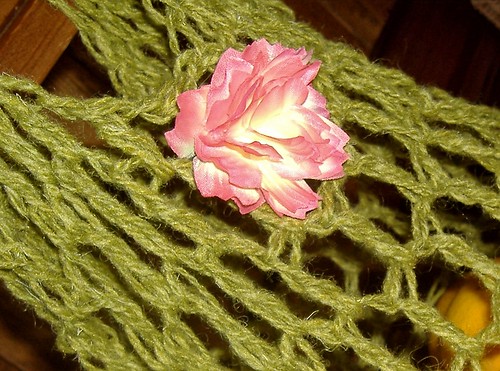
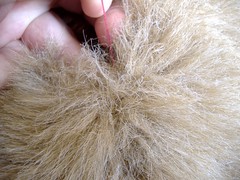
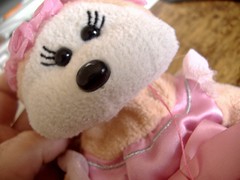
I've finished the mouth, but I need to secure the end... so I have brought my needle out at the flowers (somewhere a thread might not be noticed)
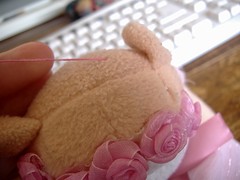
I worked a couple of tiny stitches at the base of the flower, to secure the thread... then gone back into the bear, and come out at a random spot about an inch away

the final step is snipping the thread close to the surface, then allowing it to slide back inside the bear